
|
Re: Rear axle help (54-55)
|
||||
|---|---|---|---|---|
|
Home away from home

|
The side bearings are Bower 25590/25520
The frontmost bearing is Bower HM89449/HM89410 The large bearing is almost certainly a Bower HM804848/HM804810
Posted on: 6/5 19:31
|
|||
|
1955 400 | Registry | Project Blog
1955 Clipper Deluxe | Registry | Project Blog 1955 Clipper Super Panama | Registry |
||||
|
||||
|
Re: Rear axle help (54-55)
|
||||
|---|---|---|---|---|
|
Home away from home
|
Ok on closer inspection I agree at least these side bearings are nearly shot. You can see the one race has a lot of spalling. The other one appears to maybe be corrosion, it's not as bad as it looks in the photo, but still not worth keeping. The rollers are visibly scored; the worse of the two is also feelable with a fingernail, though not enough to grab. I noticed the bores are also scored noticeably. What is the fix for this?
The front bearings to me seem fine. Not 100% new but a lot better than the side bearings. I believe this differential has never been torn down, so it's 93k miles on these, and these look like they could do some more. Side bearings: 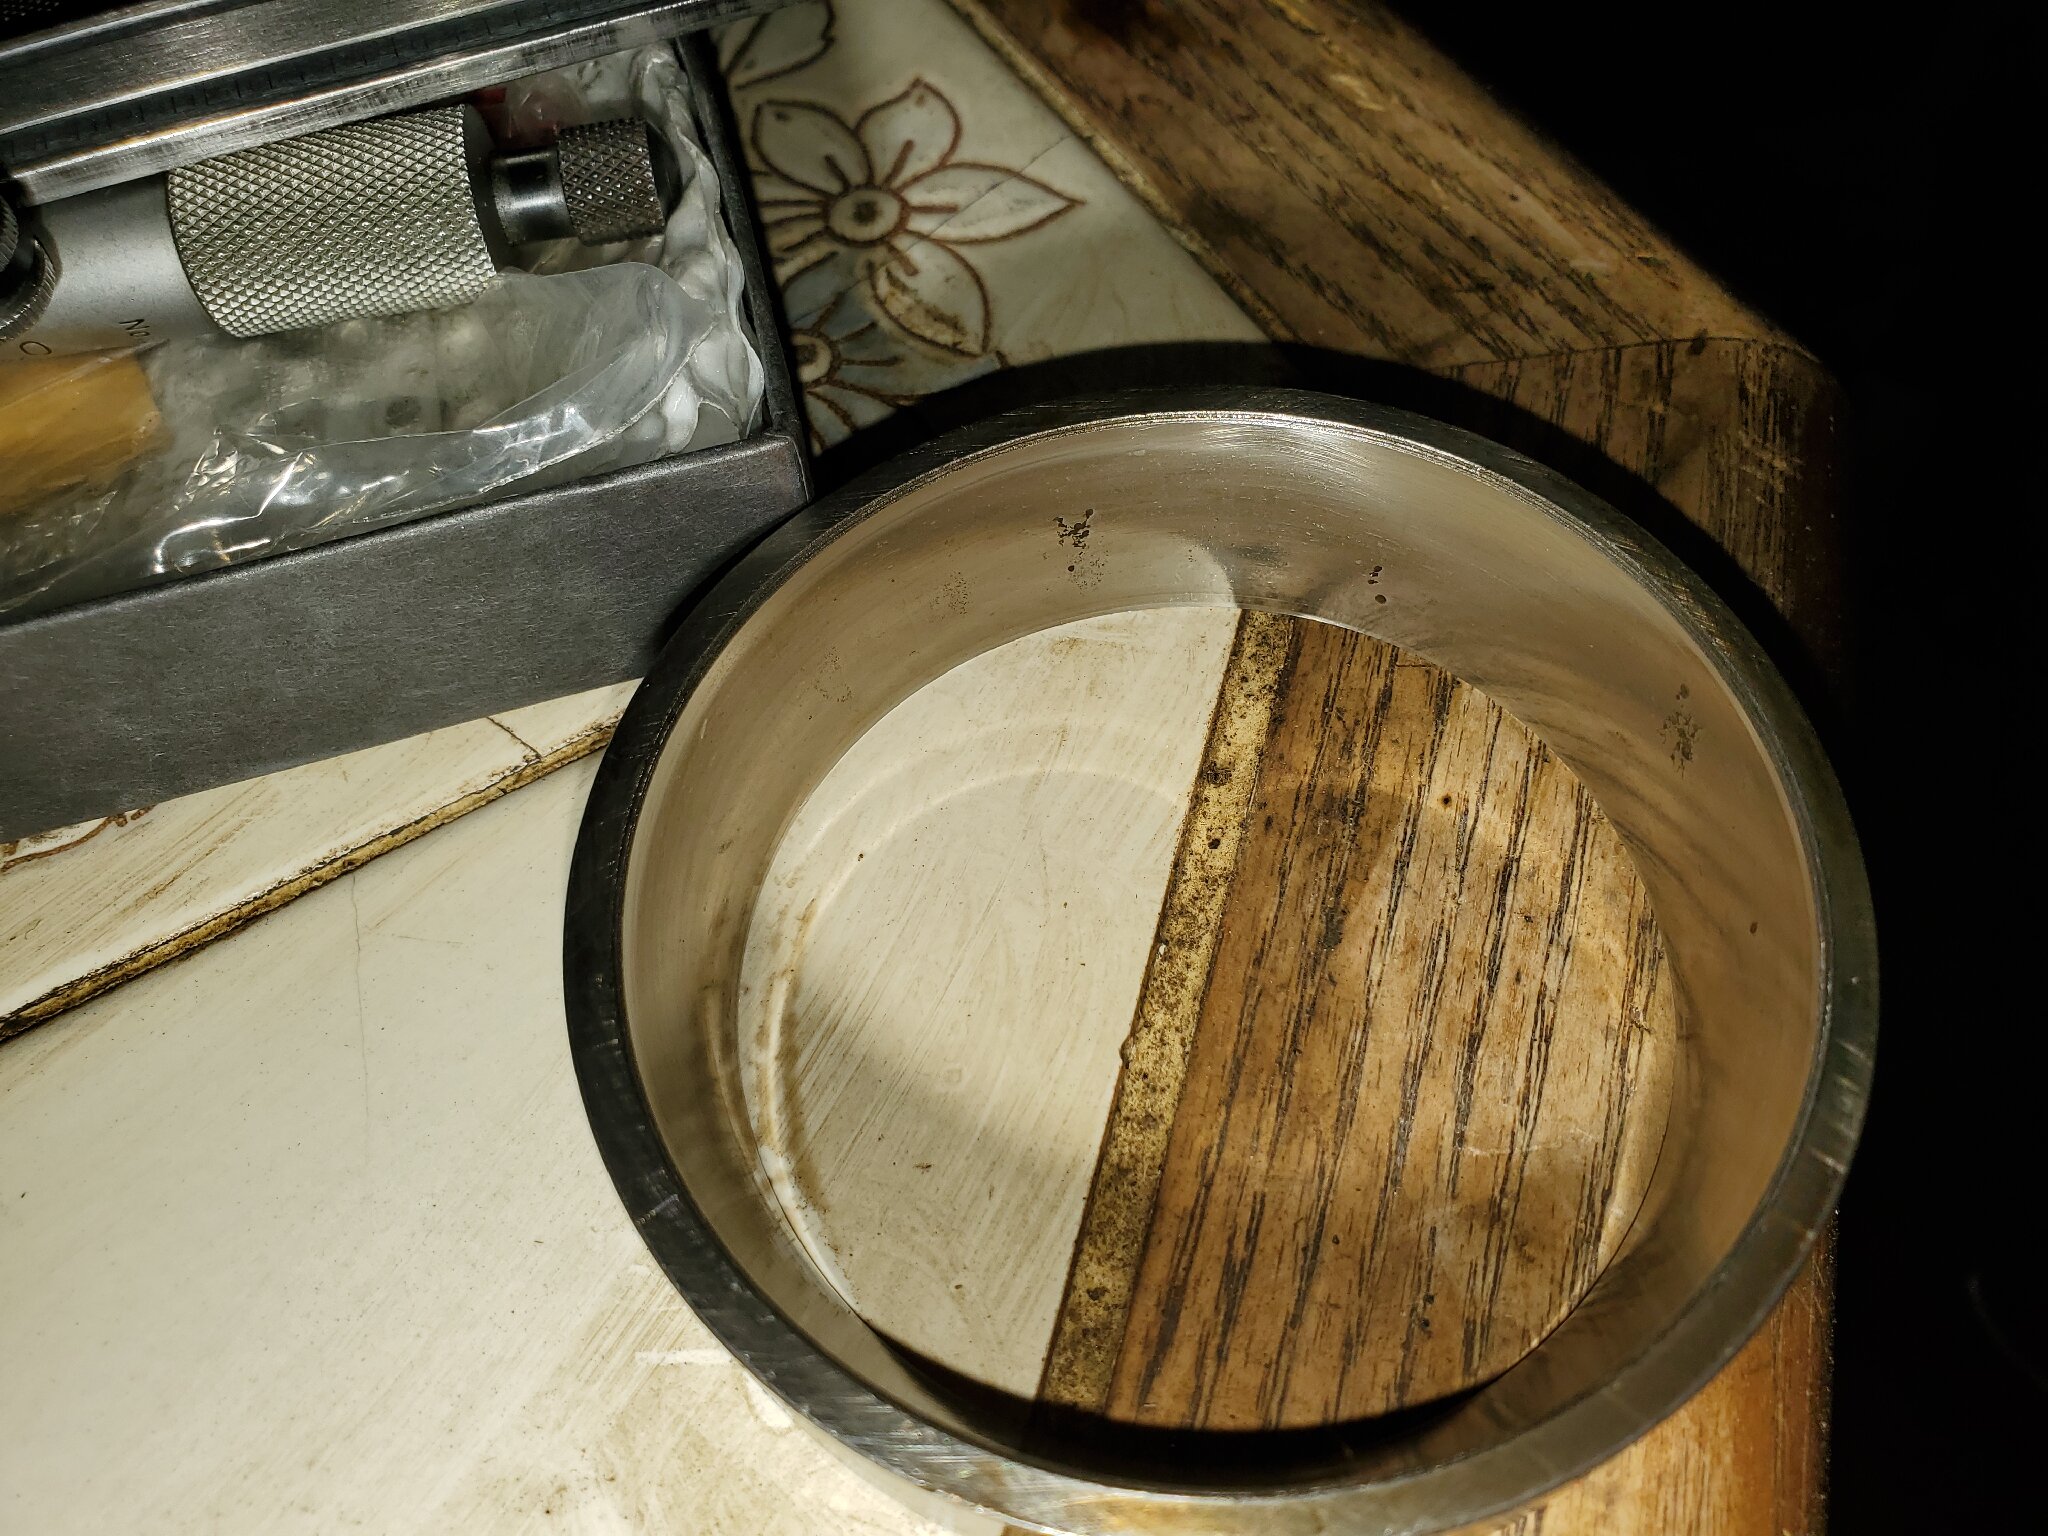 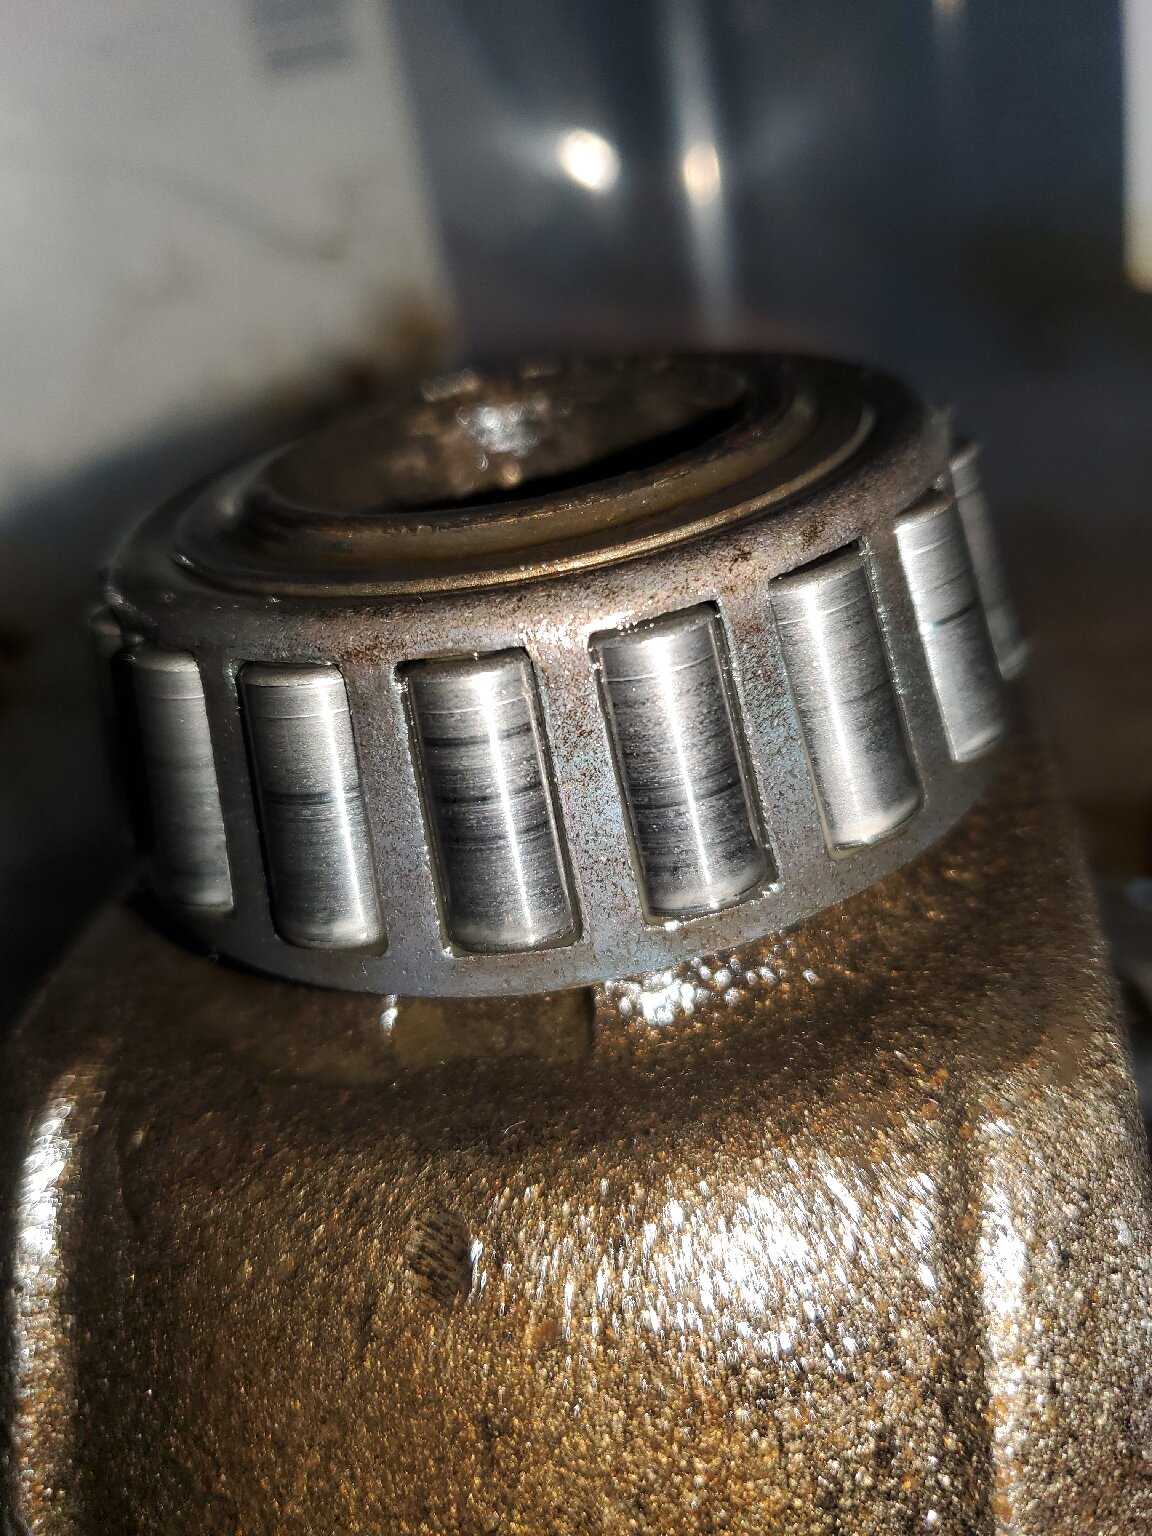 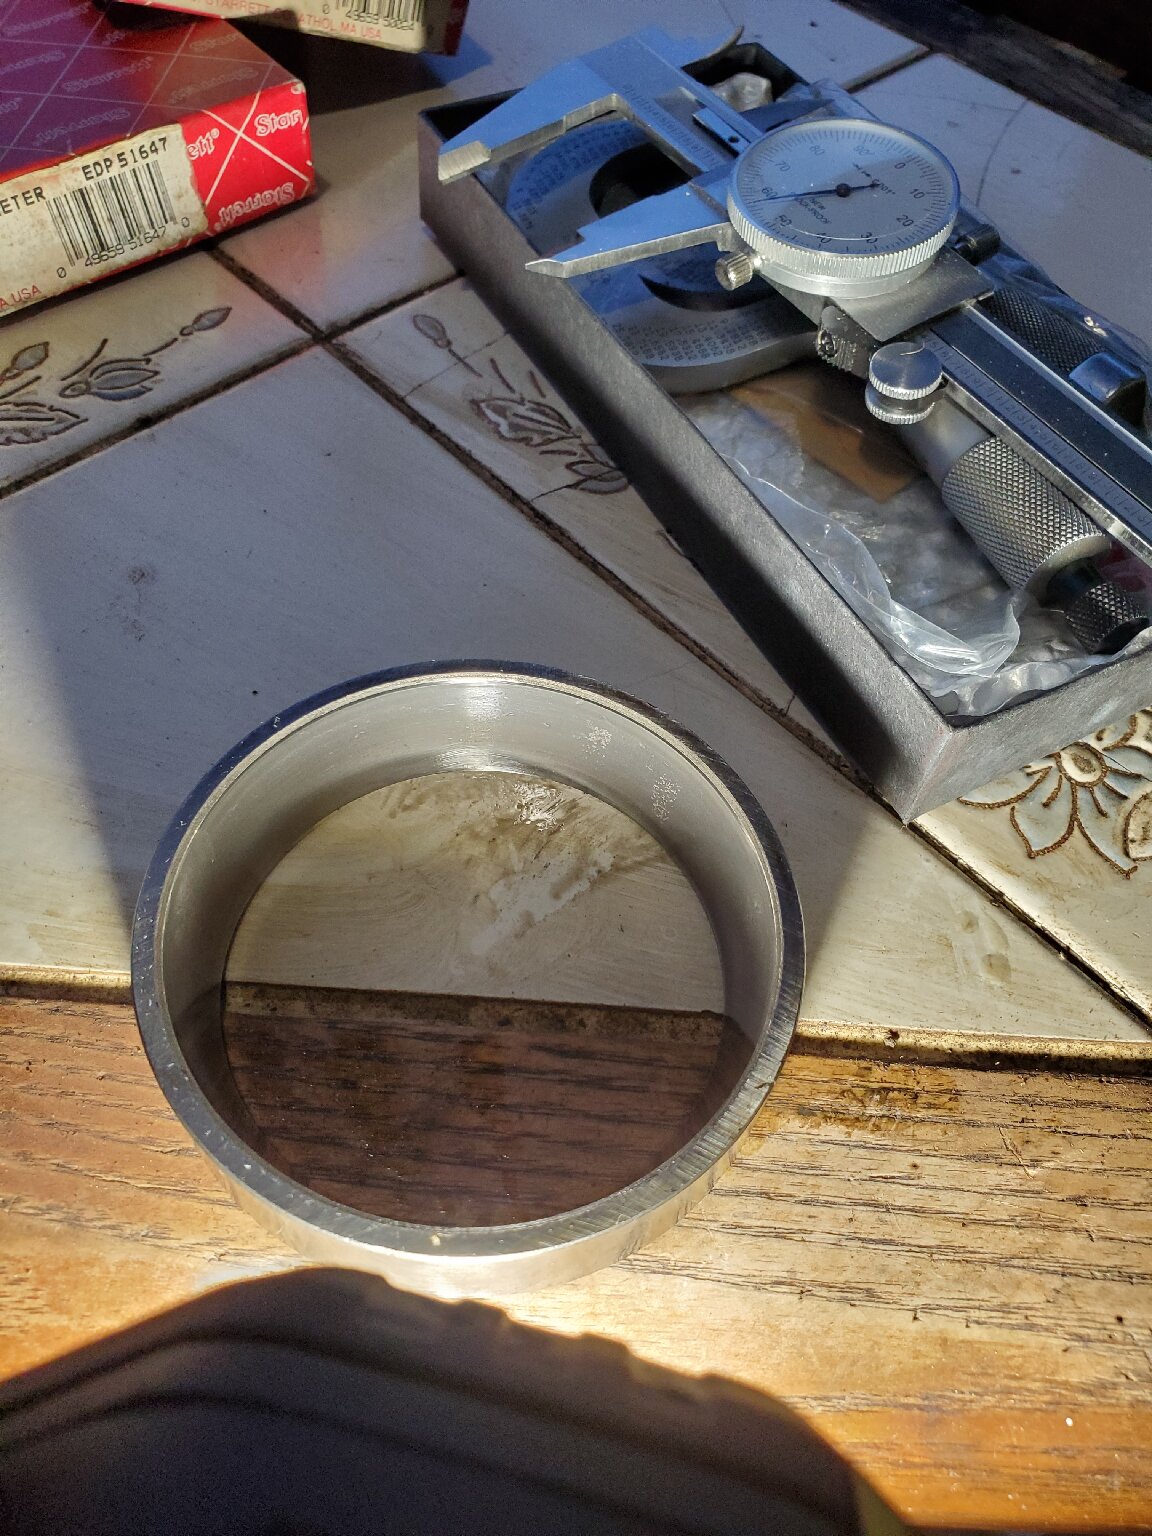 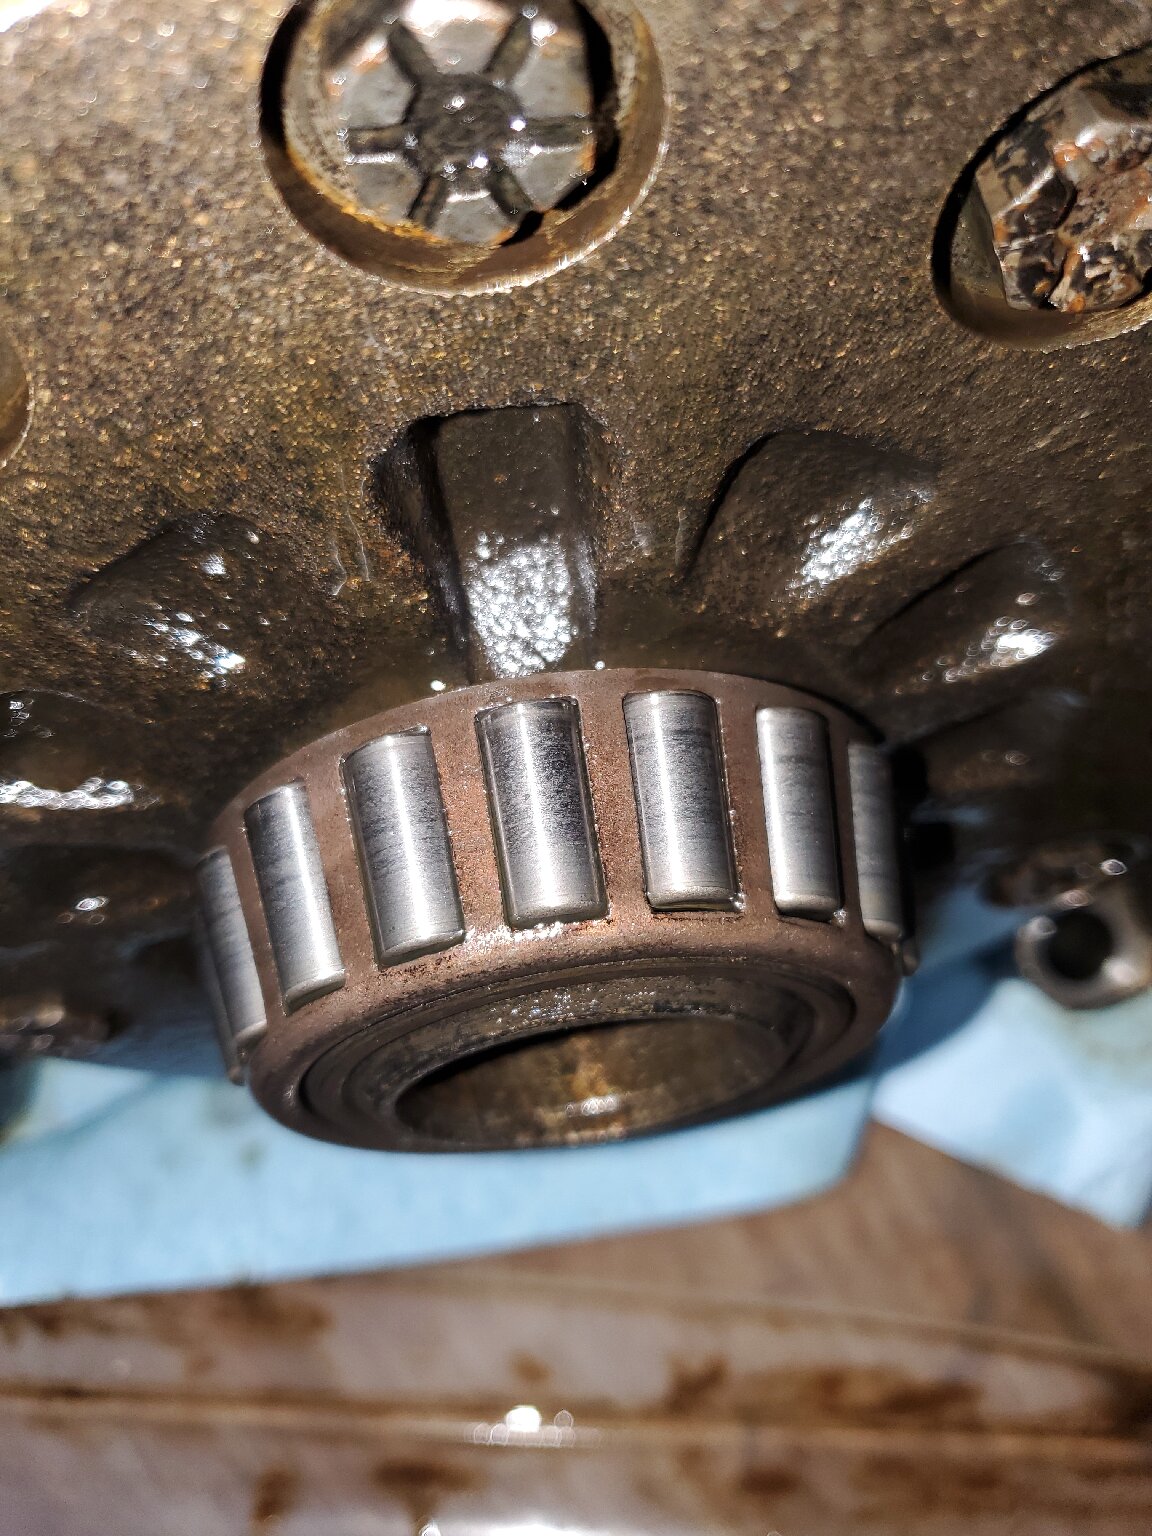 Side bearing bores: 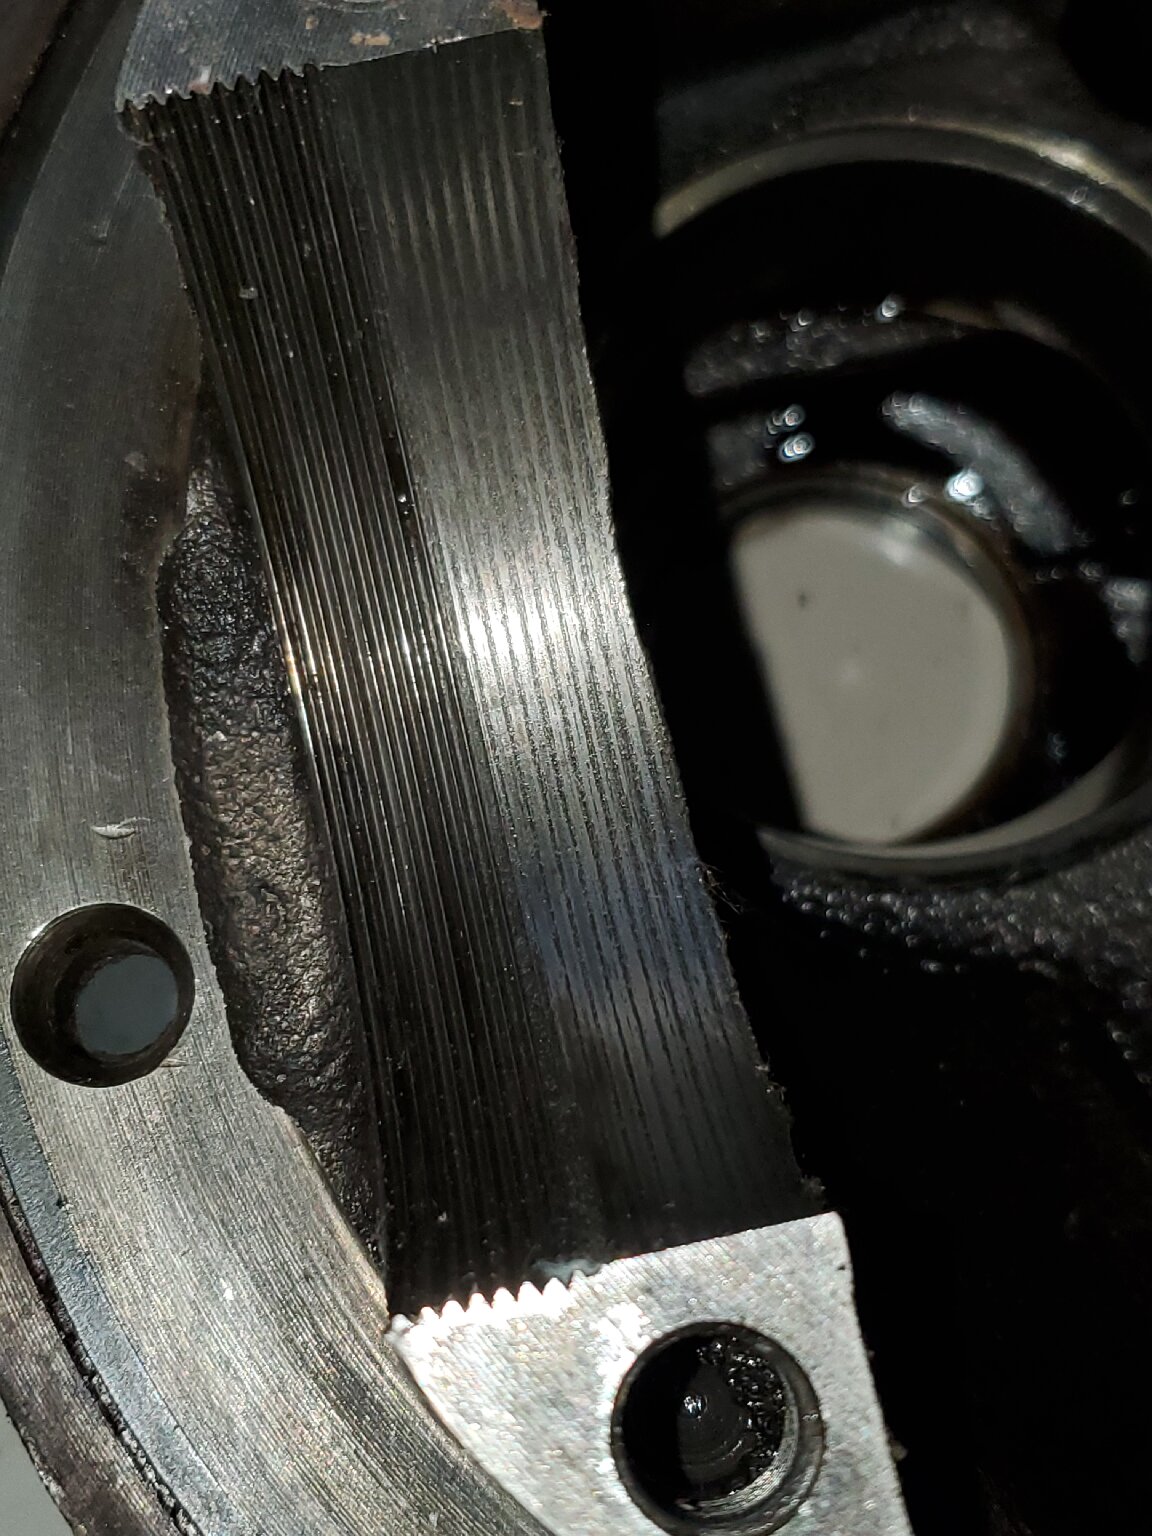 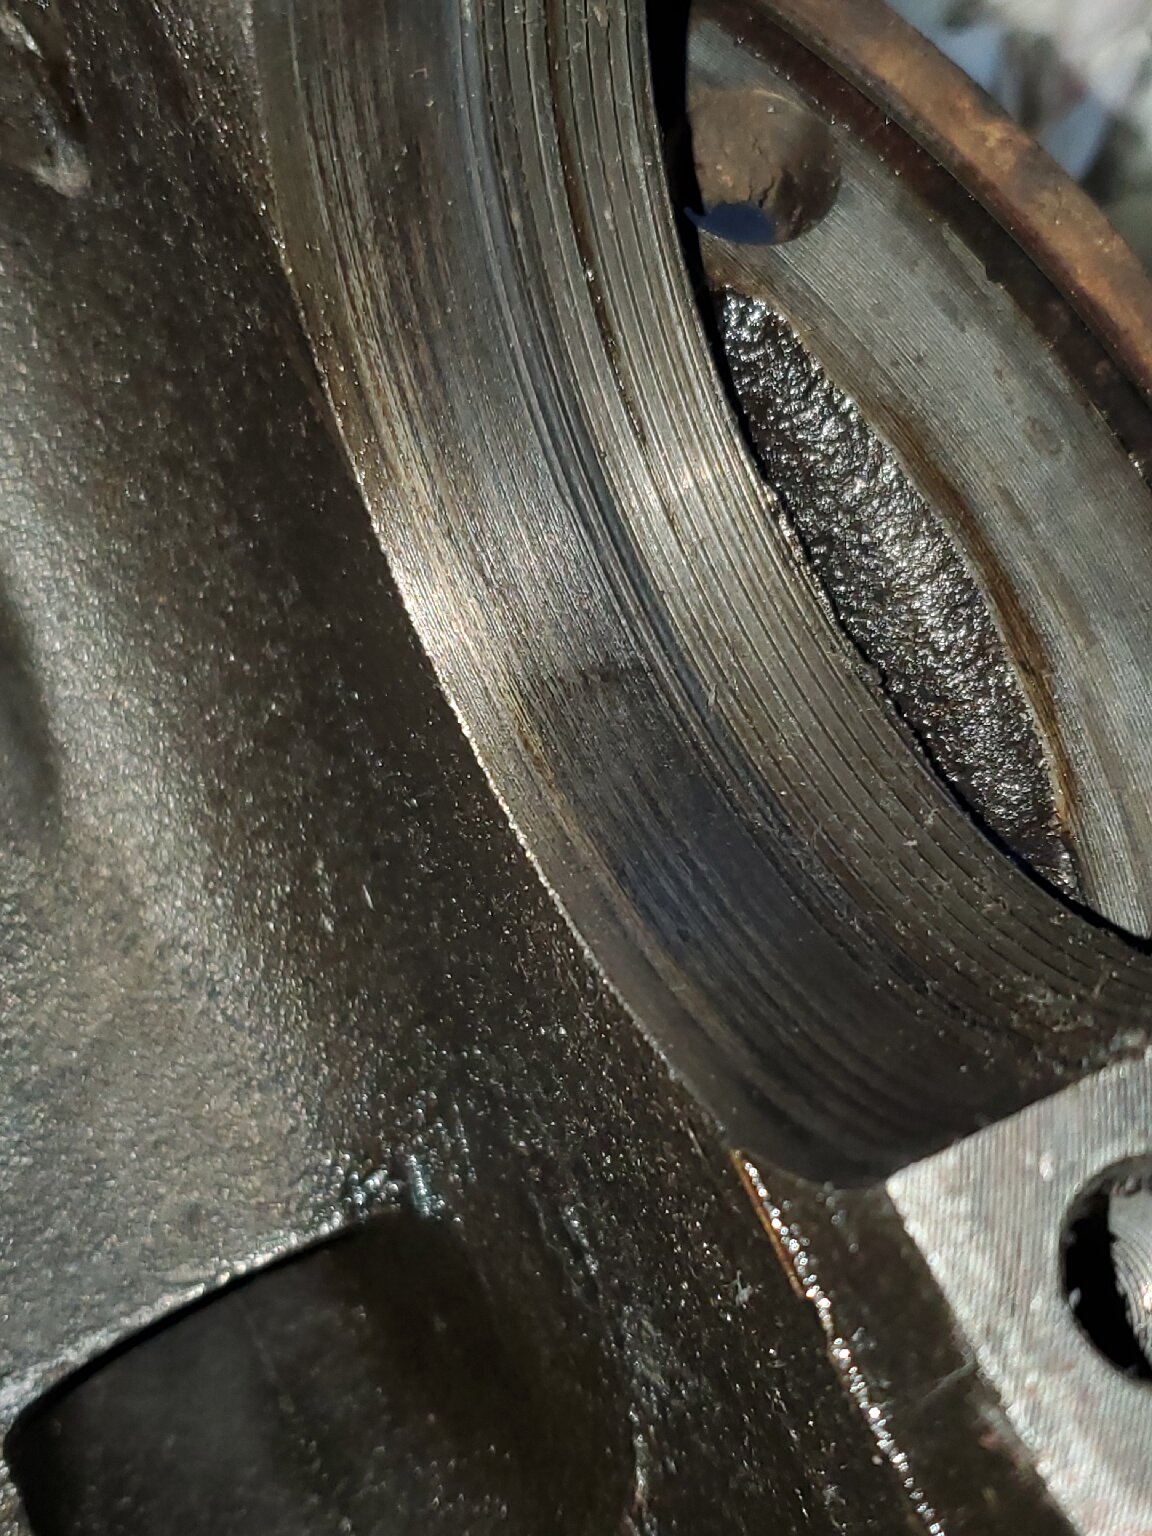 Front bearing races: 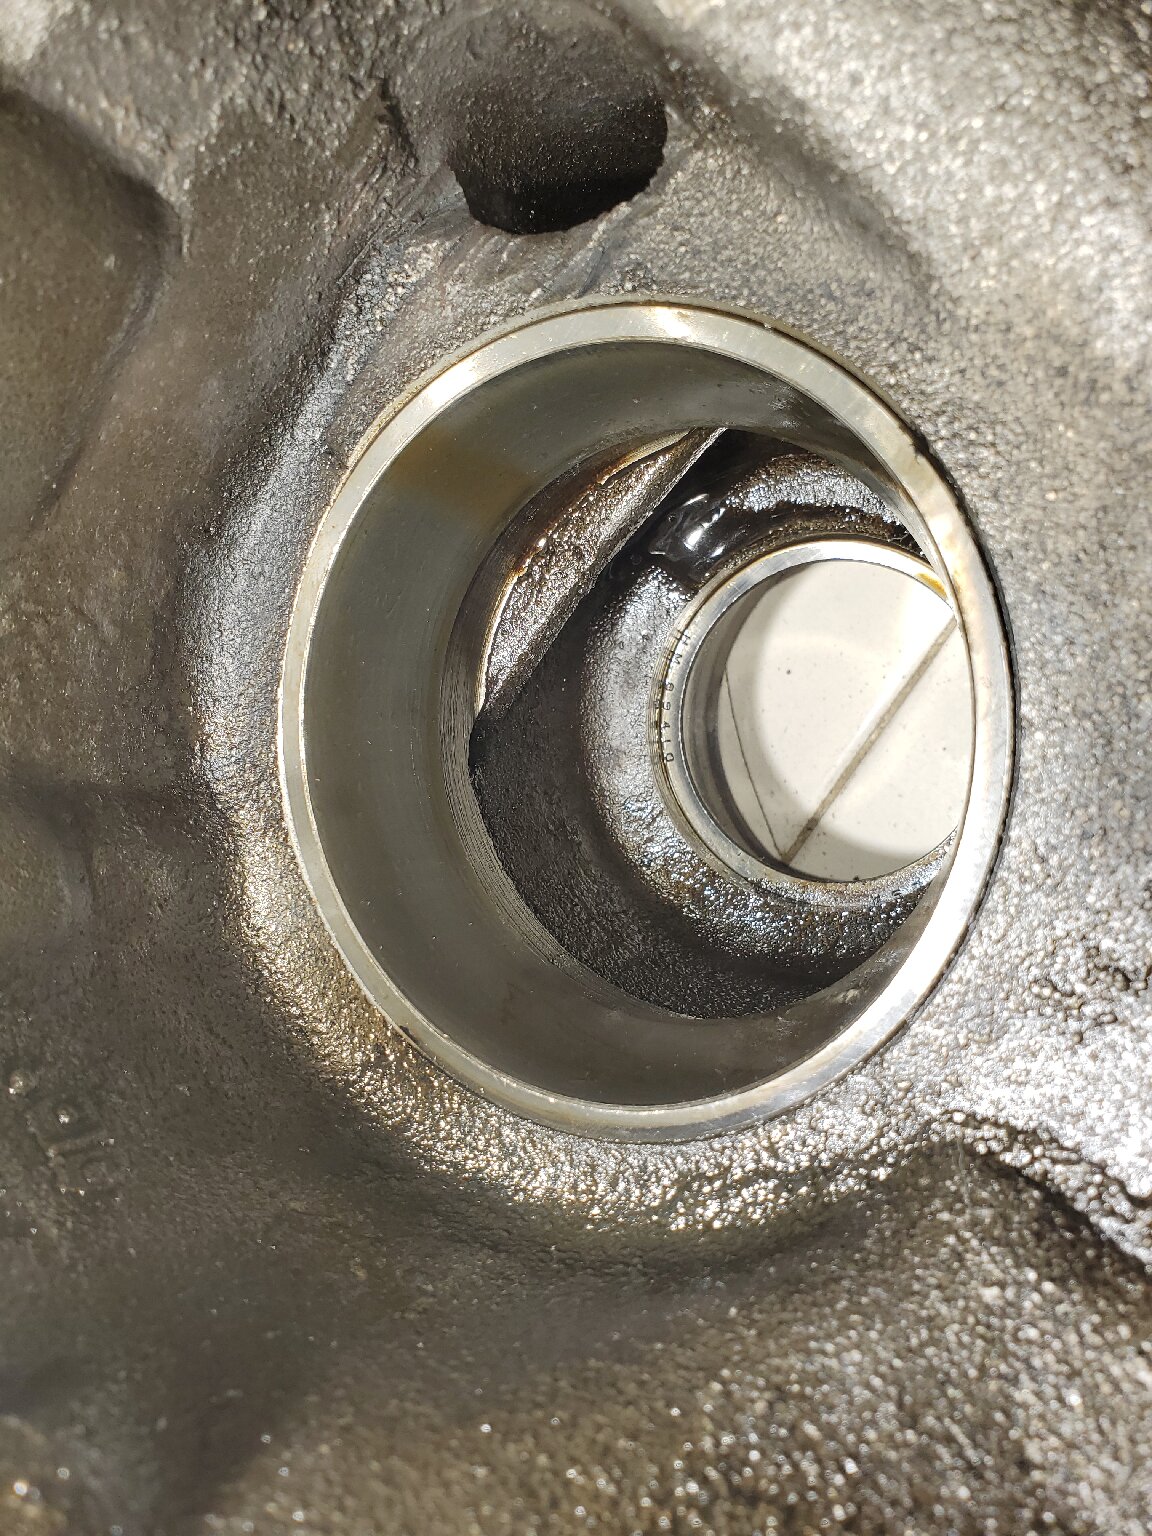 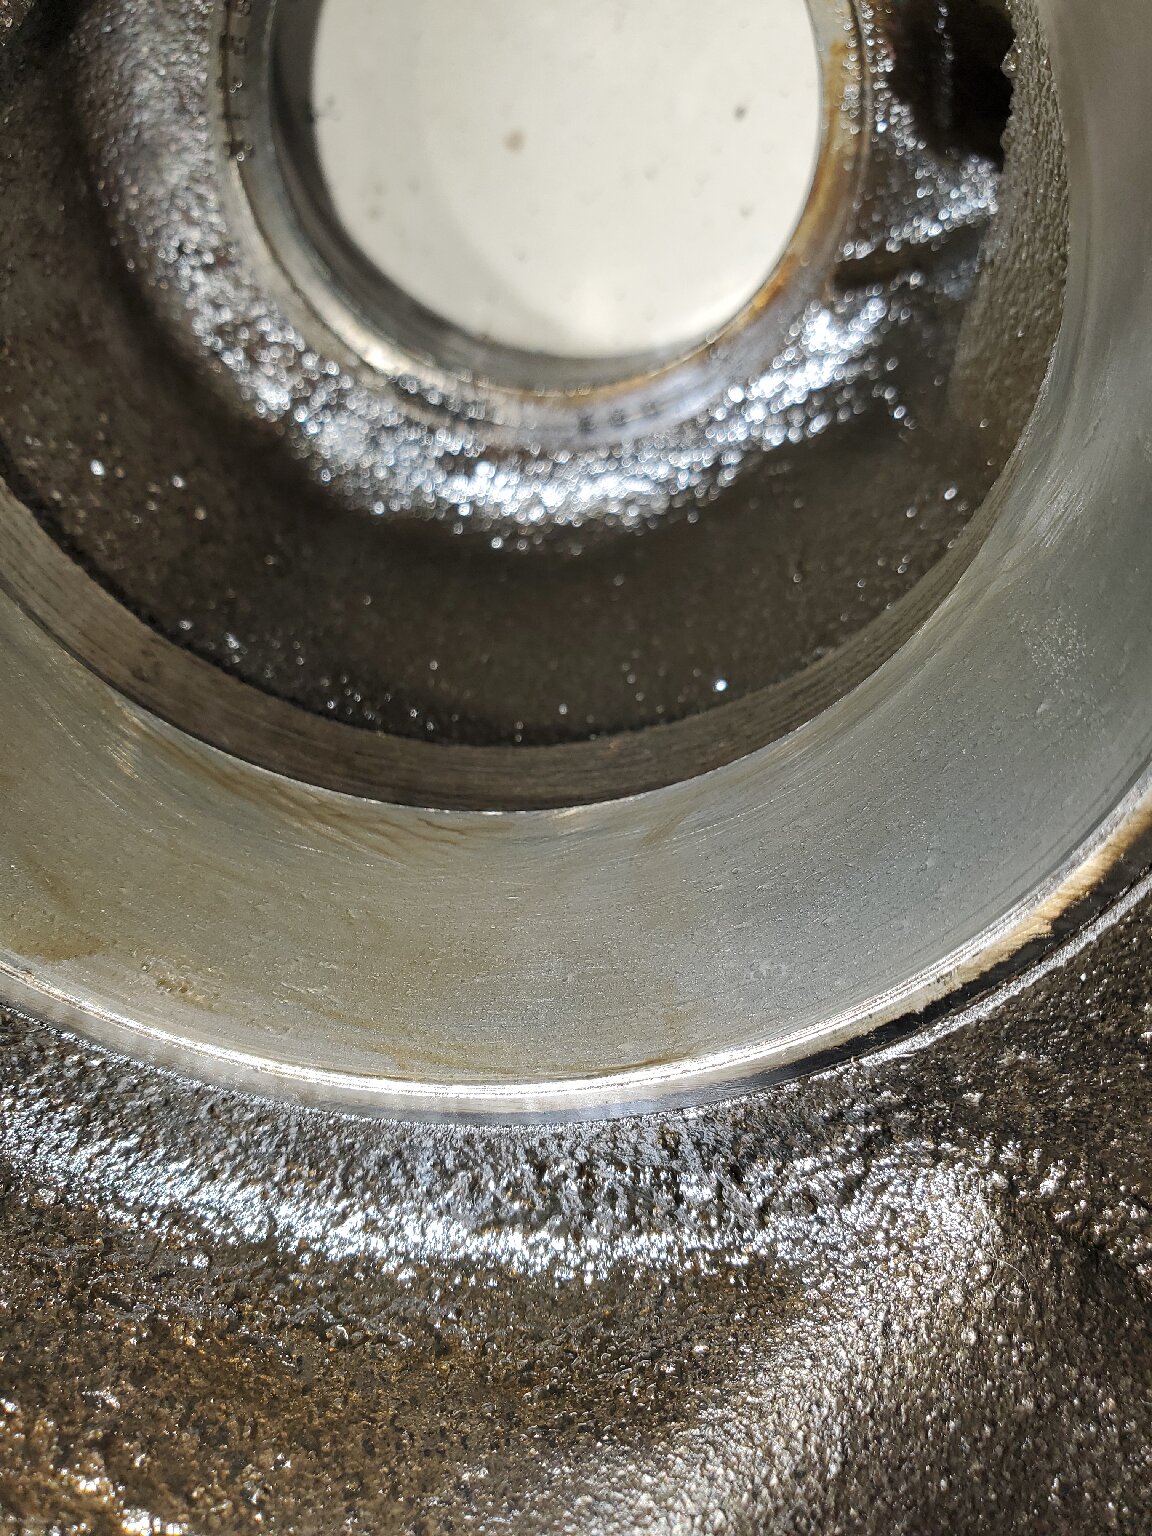
Posted on: 6/5 20:01
|
|||
|
1955 400 | Registry | Project Blog
1955 Clipper Deluxe | Registry | Project Blog 1955 Clipper Super Panama | Registry |
||||
|
||||
|
Re: Rear axle help (54-55)
|
||||
|---|---|---|---|---|
|
Home away from home
|
Ok, on Page 5 of the Rear Axle manual, at the very end, they start to talk about setting the pinion bearing preload. I think I can follow what they are asking regarding measuring the torques.
What are the talking about with "when tightening, the sleeve will collapse"?? What do they mean by collapse? The sleeve I removed did not look the least bit "collapsed" nor do I understand the point of such a thing. Attach file:  20240616_200742.jpg (415.80 KB) 20240616_200742.jpg (415.80 KB)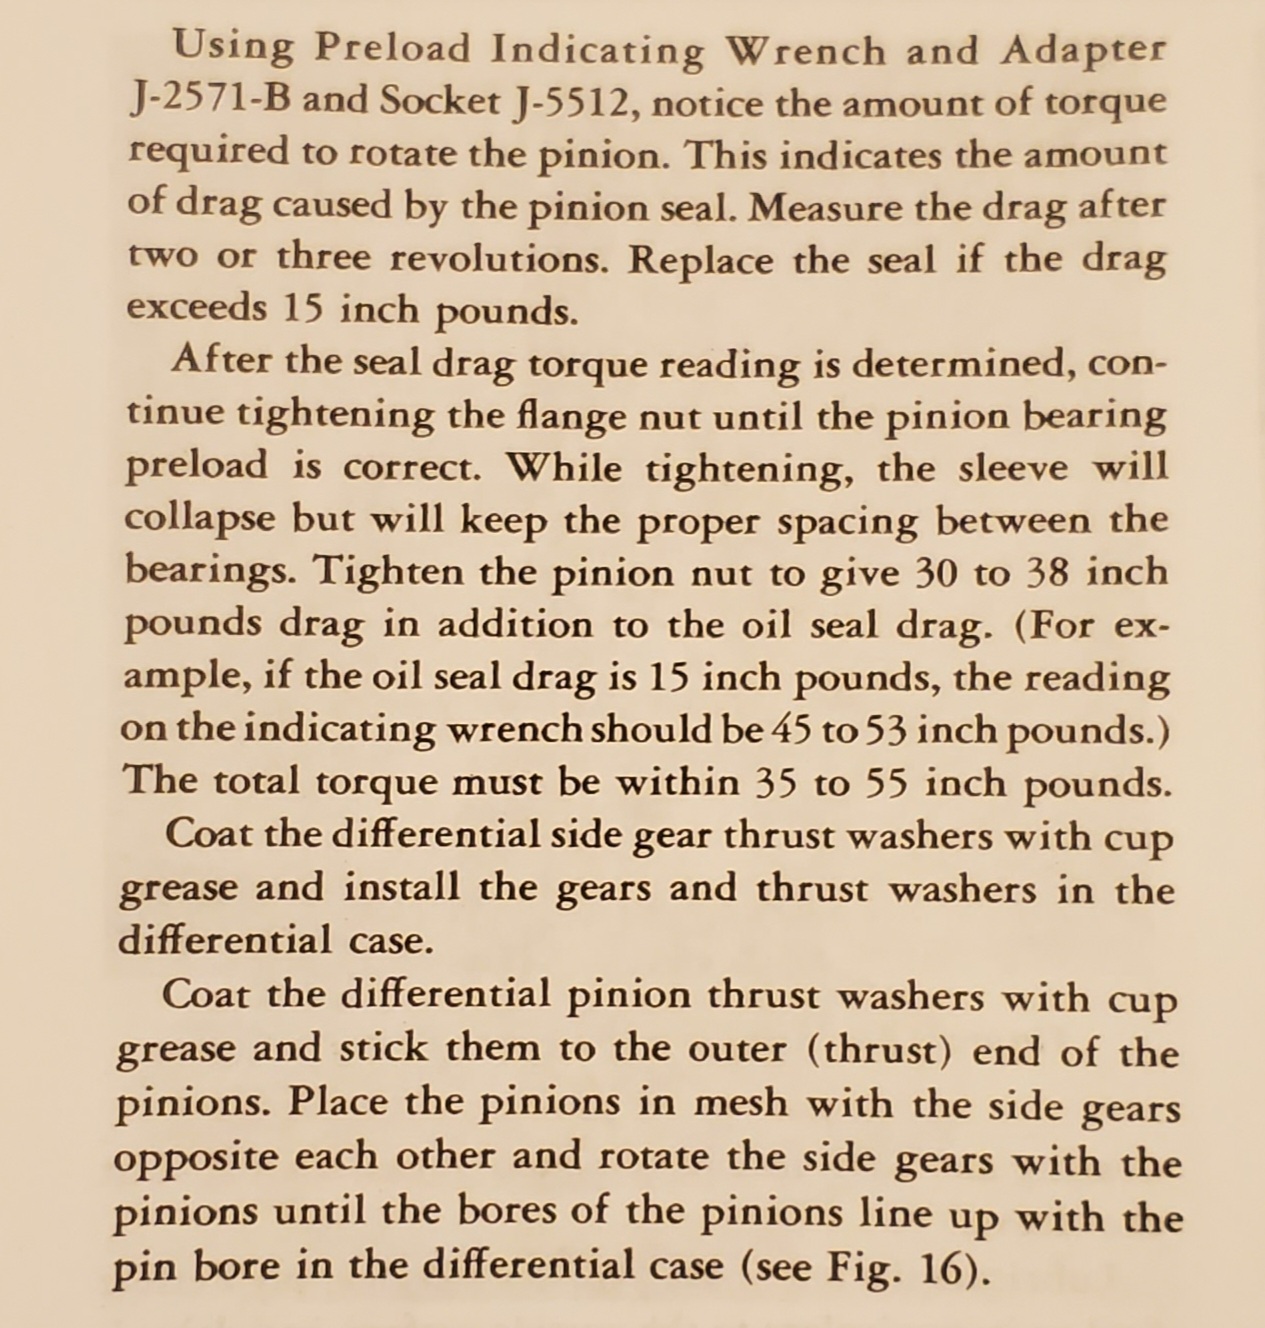
Posted on: 6/16 19:07
|
|||
|
1955 400 | Registry | Project Blog
1955 Clipper Deluxe | Registry | Project Blog 1955 Clipper Super Panama | Registry |
||||
|
||||
|
Re: Rear axle help (54-55)
|
||||
|---|---|---|---|---|
|
Home away from home

|
HPH
Pinion bearing adjustment is somewhat similar to adjusting the clearance of the outboard axle bearings, except in the case of the pinion bearings the clearance is considered negative, meaning the bearings are tight enough to produce a rotational drag. Some manufactures used a shimming procedure that was somewhat iterative. I don’t know of any designs that had a threaded adjustment for the pinion bearing adjustment, but given the number of designs there may be at least one that featured an adjustable feature, but alas not the Packard design. Fast forward to a simpler design of setting pinion bearing preload that does not require a distance measurement, or shimming, and can be done once and once only. This simpler design places a spacer between the bearings. This spacer is a piece of tubing (pinion gear passes through the center) that starts life longer than needed. A long spacer results in loose bearing that would have much less than the required drag torque. One more special feature of this design is the spacer tubing has a bead rolled in it. The bead is proud on the outer diameter. Most shop manuals suggest this bearing spacer is a ‘use once’ item. As the pinion flange nut is tightened the inner races of both bearings and the spacer become in intimate contact, but may not yet be the correct total length. Addition tightening of the flange nut begins to collapse the tubular spacer and the length is approaching the correct length. The bead in the tubing is the location where all of the plastic deformation is occurring (that’s why the bead is there in the first place) . . . the spacer is getting shorter. You continue this process until the required drag torque is correct. By using a collapsable spacer the pinion bearing drag is an assembly process that is not iterative. One of my non-Packard shop manuals suggests a torque of 350 ft-lbs may be required to collapse the spacer. The forums advise on pinion seal replacement stress the idea that getting the pinion nut back to the same position with respect to the pinion shaft is a recognition that the collapsable spacer should be returned to the same load / dimension . . . not tighter, or looser. Ultimately, we’re trying to get back to the same bearing preload. Since you have a bare case you will be determining the correct spacer length by measuring the rotational drag of the bearings and seal. By the way, the bearing drag adjustment is a completely different process from the pinion depth shimming. dp
Posted on: 6/16 22:00
|
|||
|
||||
|
Re: Rear axle help (54-55)
|
||||
|---|---|---|---|---|
|
Home away from home
|
Thanks David.
As a side note, I have found that NO seal on the market today is a direct replacement for the front diff seal. So I am ordering one from MM. I know $45 isn't exactly breaking the bank, but it's expensive for a seal, so I wanted to check. Also not super fond of the "felt in front of a single lip seal" tech but oh well. The reason why is because Packard took a regular seal and shoved it in a formed metal case. So the OD is completely nonstandard. So unless you want to cut open the old one with a Dremel and reuse the case, you will get nowhere.
Posted on: 6/22 18:19
|
|||
|
1955 400 | Registry | Project Blog
1955 Clipper Deluxe | Registry | Project Blog 1955 Clipper Super Panama | Registry |
||||
|
||||
|
Re: Rear axle help (54-55)
|
||||
|---|---|---|---|---|
|
Home away from home
|
What's the point of the "sleeve" that gets jammed in between the two pinion bearings and then preloaded? I assume to transfer thrust from one to the other but it seems redundant.
Posted on: 9/7 22:20
|
|||
|
1955 400 | Registry | Project Blog
1955 Clipper Deluxe | Registry | Project Blog 1955 Clipper Super Panama | Registry |
||||
|
||||
|
Re: Rear axle help (54-55)
|
||||
|---|---|---|---|---|
|
Home away from home
|
HPH
That’s an excellent question! I have an idea/theory that would never be obvious if we are only looking at the cut-away drawings in the shop manual. First, other what part spins and what part is standing still, that design is similar to a modern front wheel spindle/hub design, which doesn’t use a sleeve. Second is the historic Brand X pinion bearing preload design that equally doesn’t use a sleeve. A common element between these two designs is a means to lock/safety the adjusting nut, which may otherwise be tightened to a torque that would be far too low to ensure non-loosening during operation. A modern front wheel bearing set is torqued to some low level intended to remove all looseness and apply some preload to the bearing set. Then the adjusting nut is ‘backed-off’ so many wrench flats and a cotter pin installed. The original VW beetle used a design that used a pinch bolt in lieu of a cotter pin. In the Brand X pinion there are two nuts separated with a tab washer. The first nut is used to adjust the bearing preload, and once that is achieved the second nut is used as a jam nut. The tab washer is ‘tabbed’ to hold both nuts relative to the shaft. I see the crush sleeve as a means to force the torque on the pinion nut high enough to be less susceptible to loosening. I still look at that design as driven by manufacturing simplicity. dp
Posted on: 9/8 15:18
|
|||
|
||||
|
Re: Rear axle help (54-55)
|
||||
|---|---|---|---|---|
|
Home away from home
|
Thanks David for the clarification. I was reassembling my diff today and found that no matter how tight I got the nut, I was not reaching even 10 in. lbs. of drag. I was able to tighten it to the point of really throwing my weight around on a 2ft breaker bar and it really would not budge. Probably 300 ft. lbs. Though I did notice a greater resistance before that point, after which the play in the bearings disappeared, indicating I was compressing the sleeve. (I reused the old sleeve.)
I was talking to Ross and Parker today and both indicated that this sounded OK. Kind of a go by feel type of thing unless you are using a new sleeve. I also replaced the carrier side bearings. Really not too bad. Pulled off with a center point puller pressing against a socket with a washer in it. As long as you don't need to reuse the bearing, you can pull on the roller cage to lift it off. Pressed the new ones on with a hydraulic press though the hammer and board method would also work. The bearings on both sides seat below flush and it is important to install them such so that the bearing preload does not loosen over time. To drive them down the rest of the way, I found a 1¾ socket to have the appropriate interior dimensions. Picture below of pulling it. A bit of a 3 handed operation, but especially so to also take a picture of it! Does anyone know how to seal around the case studs? The □-ring gasket is actually outside of the stud holes. Apparently the factory used plastic inserts or something. Copper washers sound OK? Attach file: 20240908_133938.jpg (2,088.32 KB)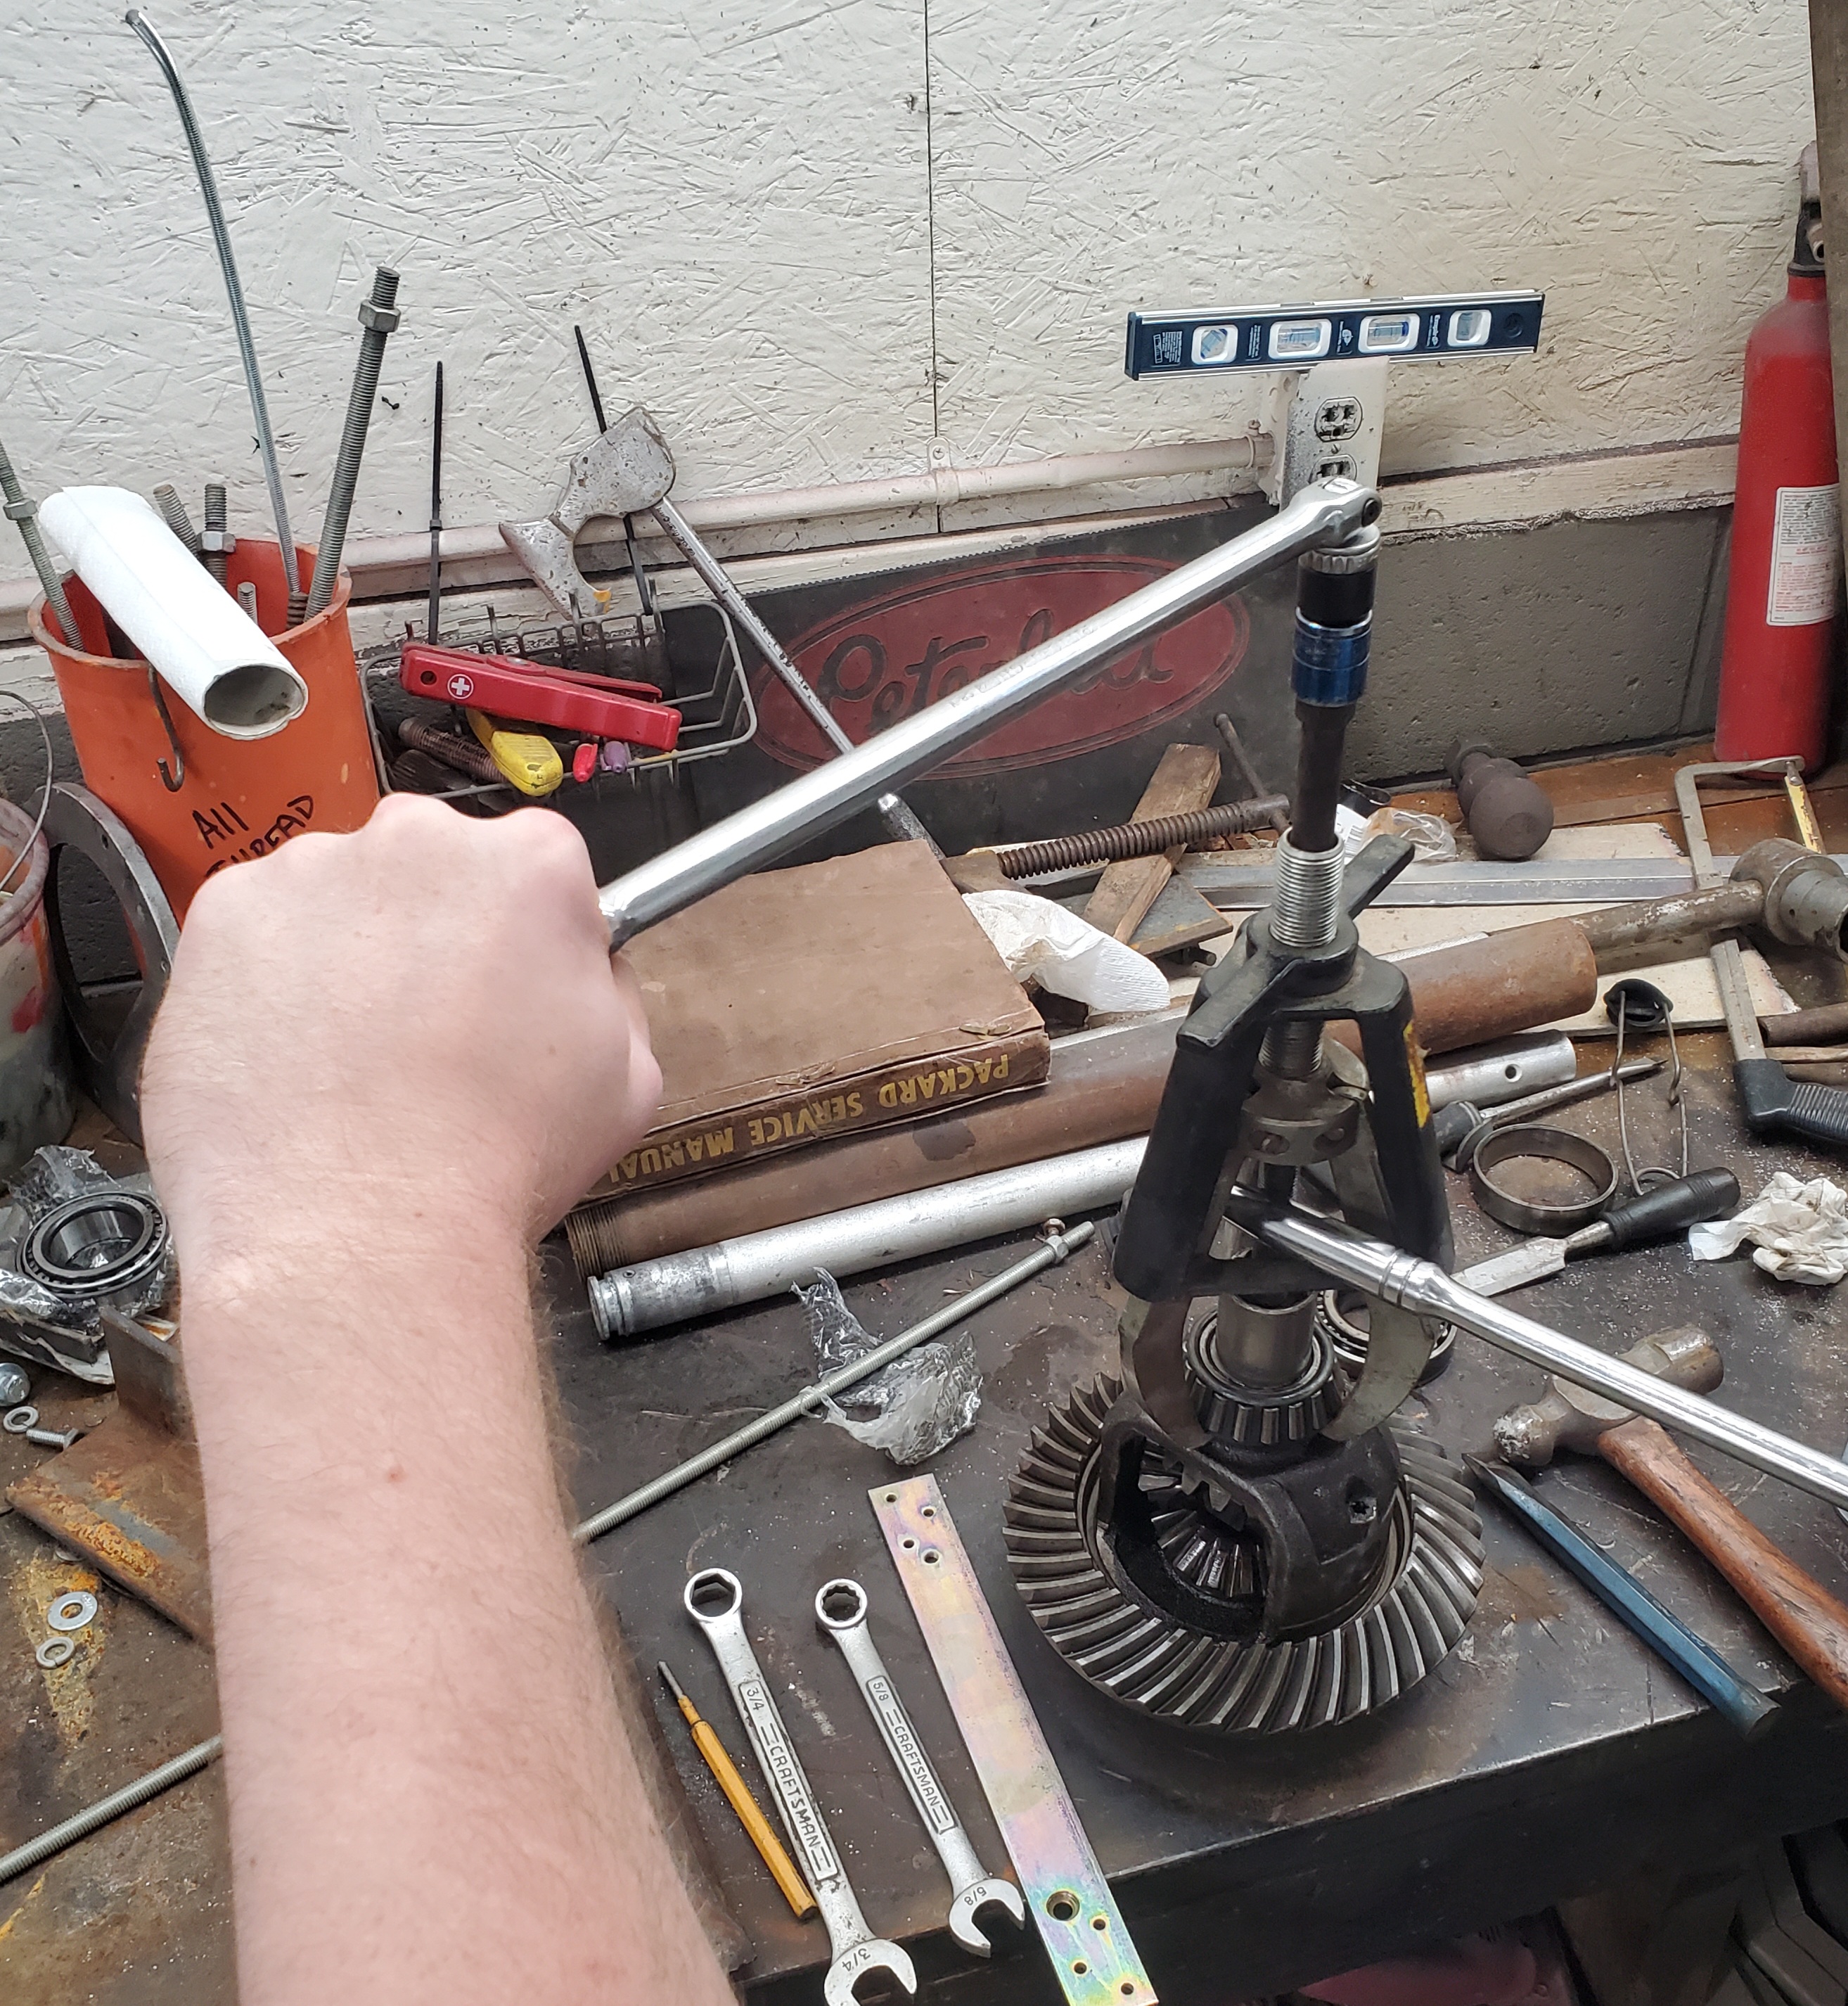
Posted on: 9/8 16:29
|
|||
|
1955 400 | Registry | Project Blog
1955 Clipper Deluxe | Registry | Project Blog 1955 Clipper Super Panama | Registry |
||||
|
||||
|
Re: Rear axle help (54-55)
|
||||
|---|---|---|---|---|
|
Home away from home
|
This sounds dumb to ask but is this how you are supposed to install the retaining cotter pins?
Also I know they are not the right size but I just lost the ones I got specifically for this despite keeping them handy for like the past 3 months 🙄 tbh kinda pissed at myself but at least they are cheap. Also turns into it that the O ring that Max Merritt sent me a couple months ago is the complete wrong size. Just great. I am getting increasingly dissatisfied with dealing with them as it’s hard to remember the last time I had an order from them not have something wrong with it. And I don’t order all that much. 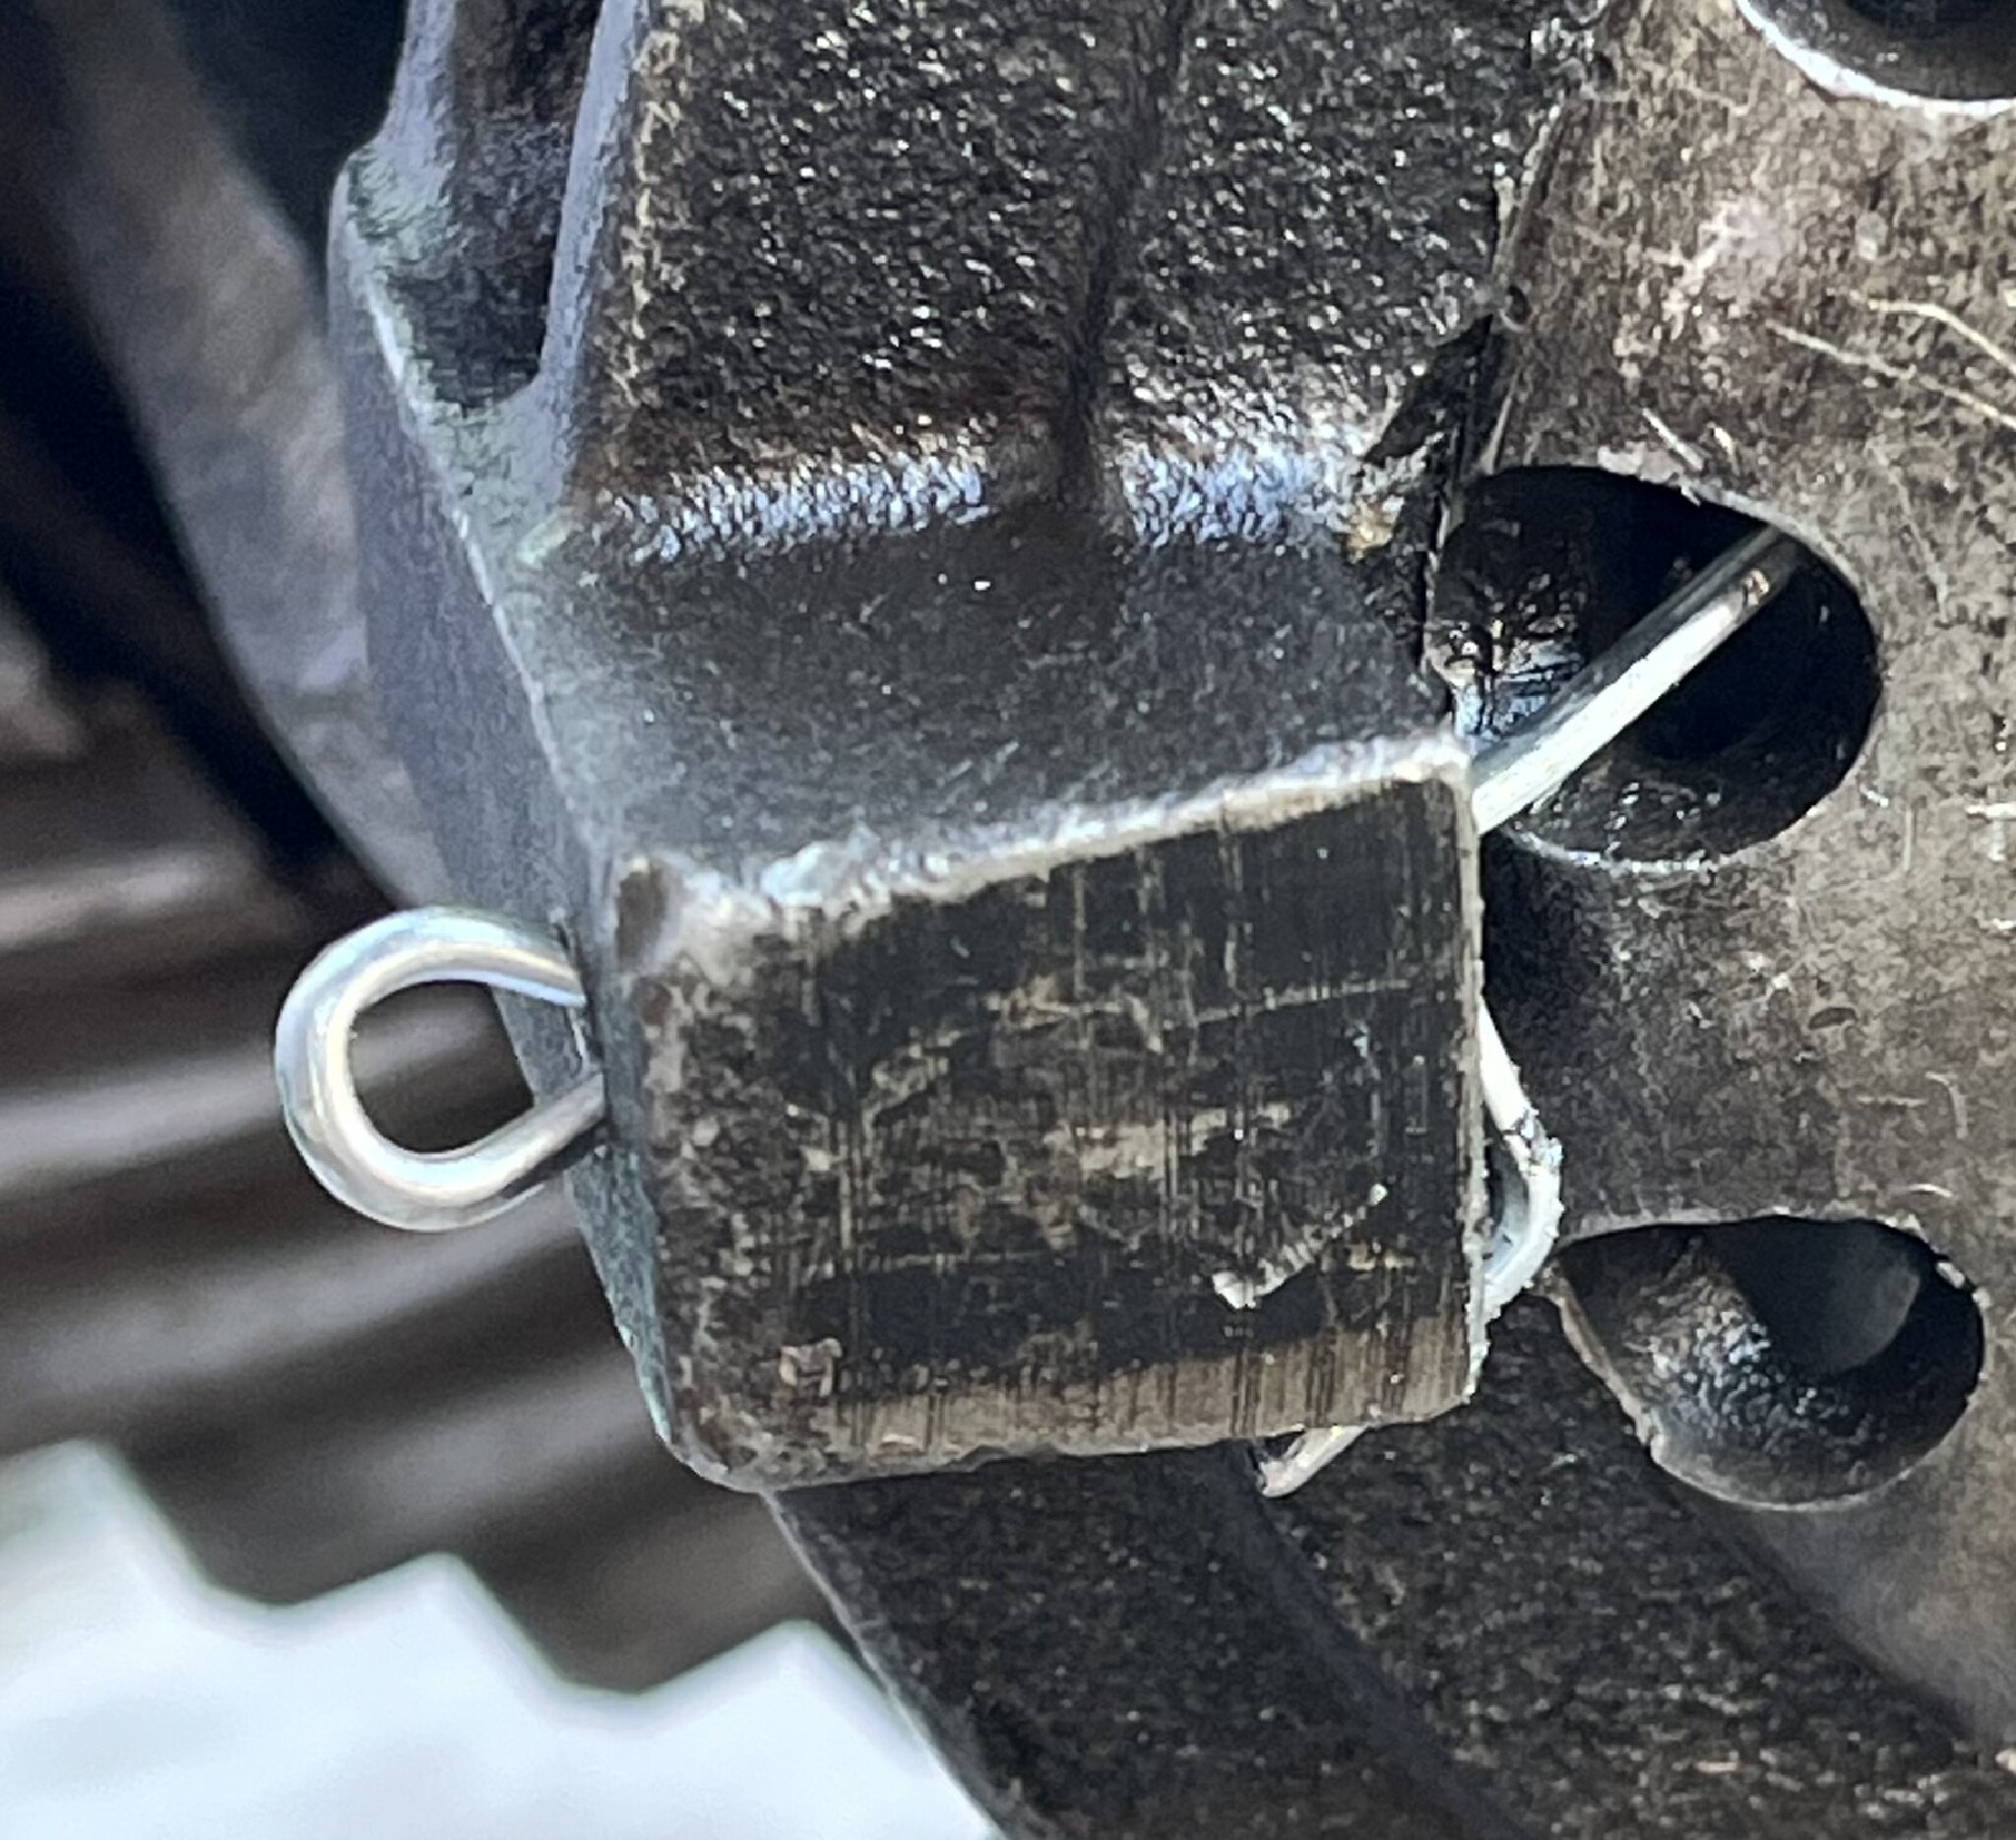 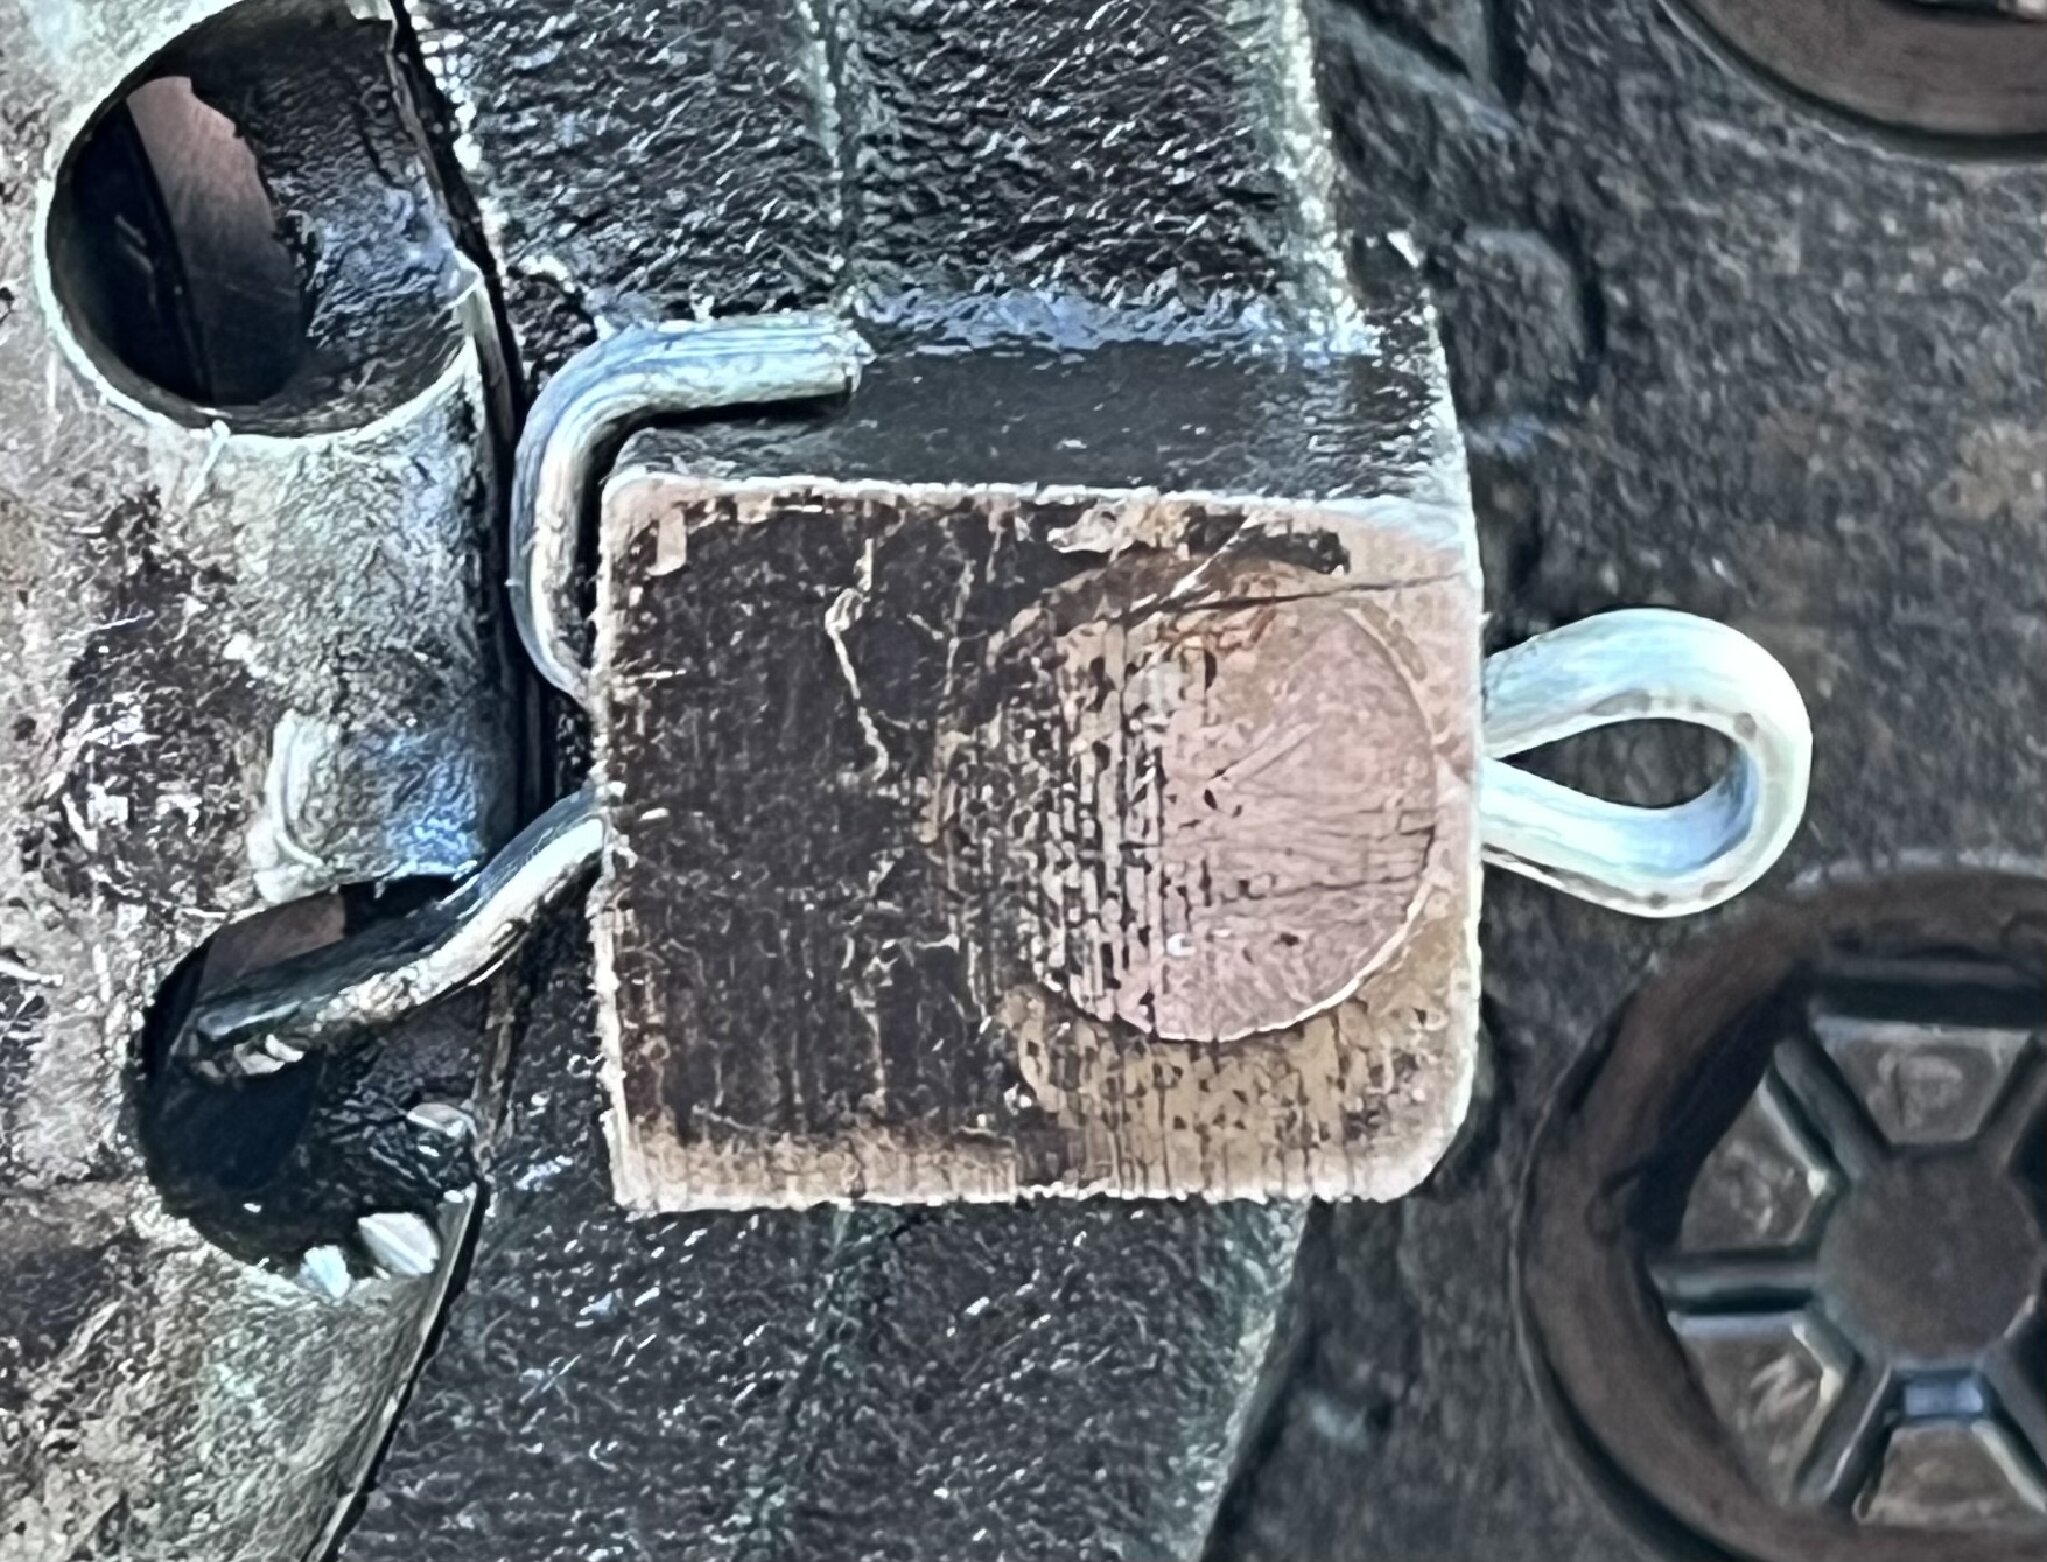 Attach file:  IMG_2824.jpeg (2,925.35 KB) IMG_2824.jpeg (2,925.35 KB)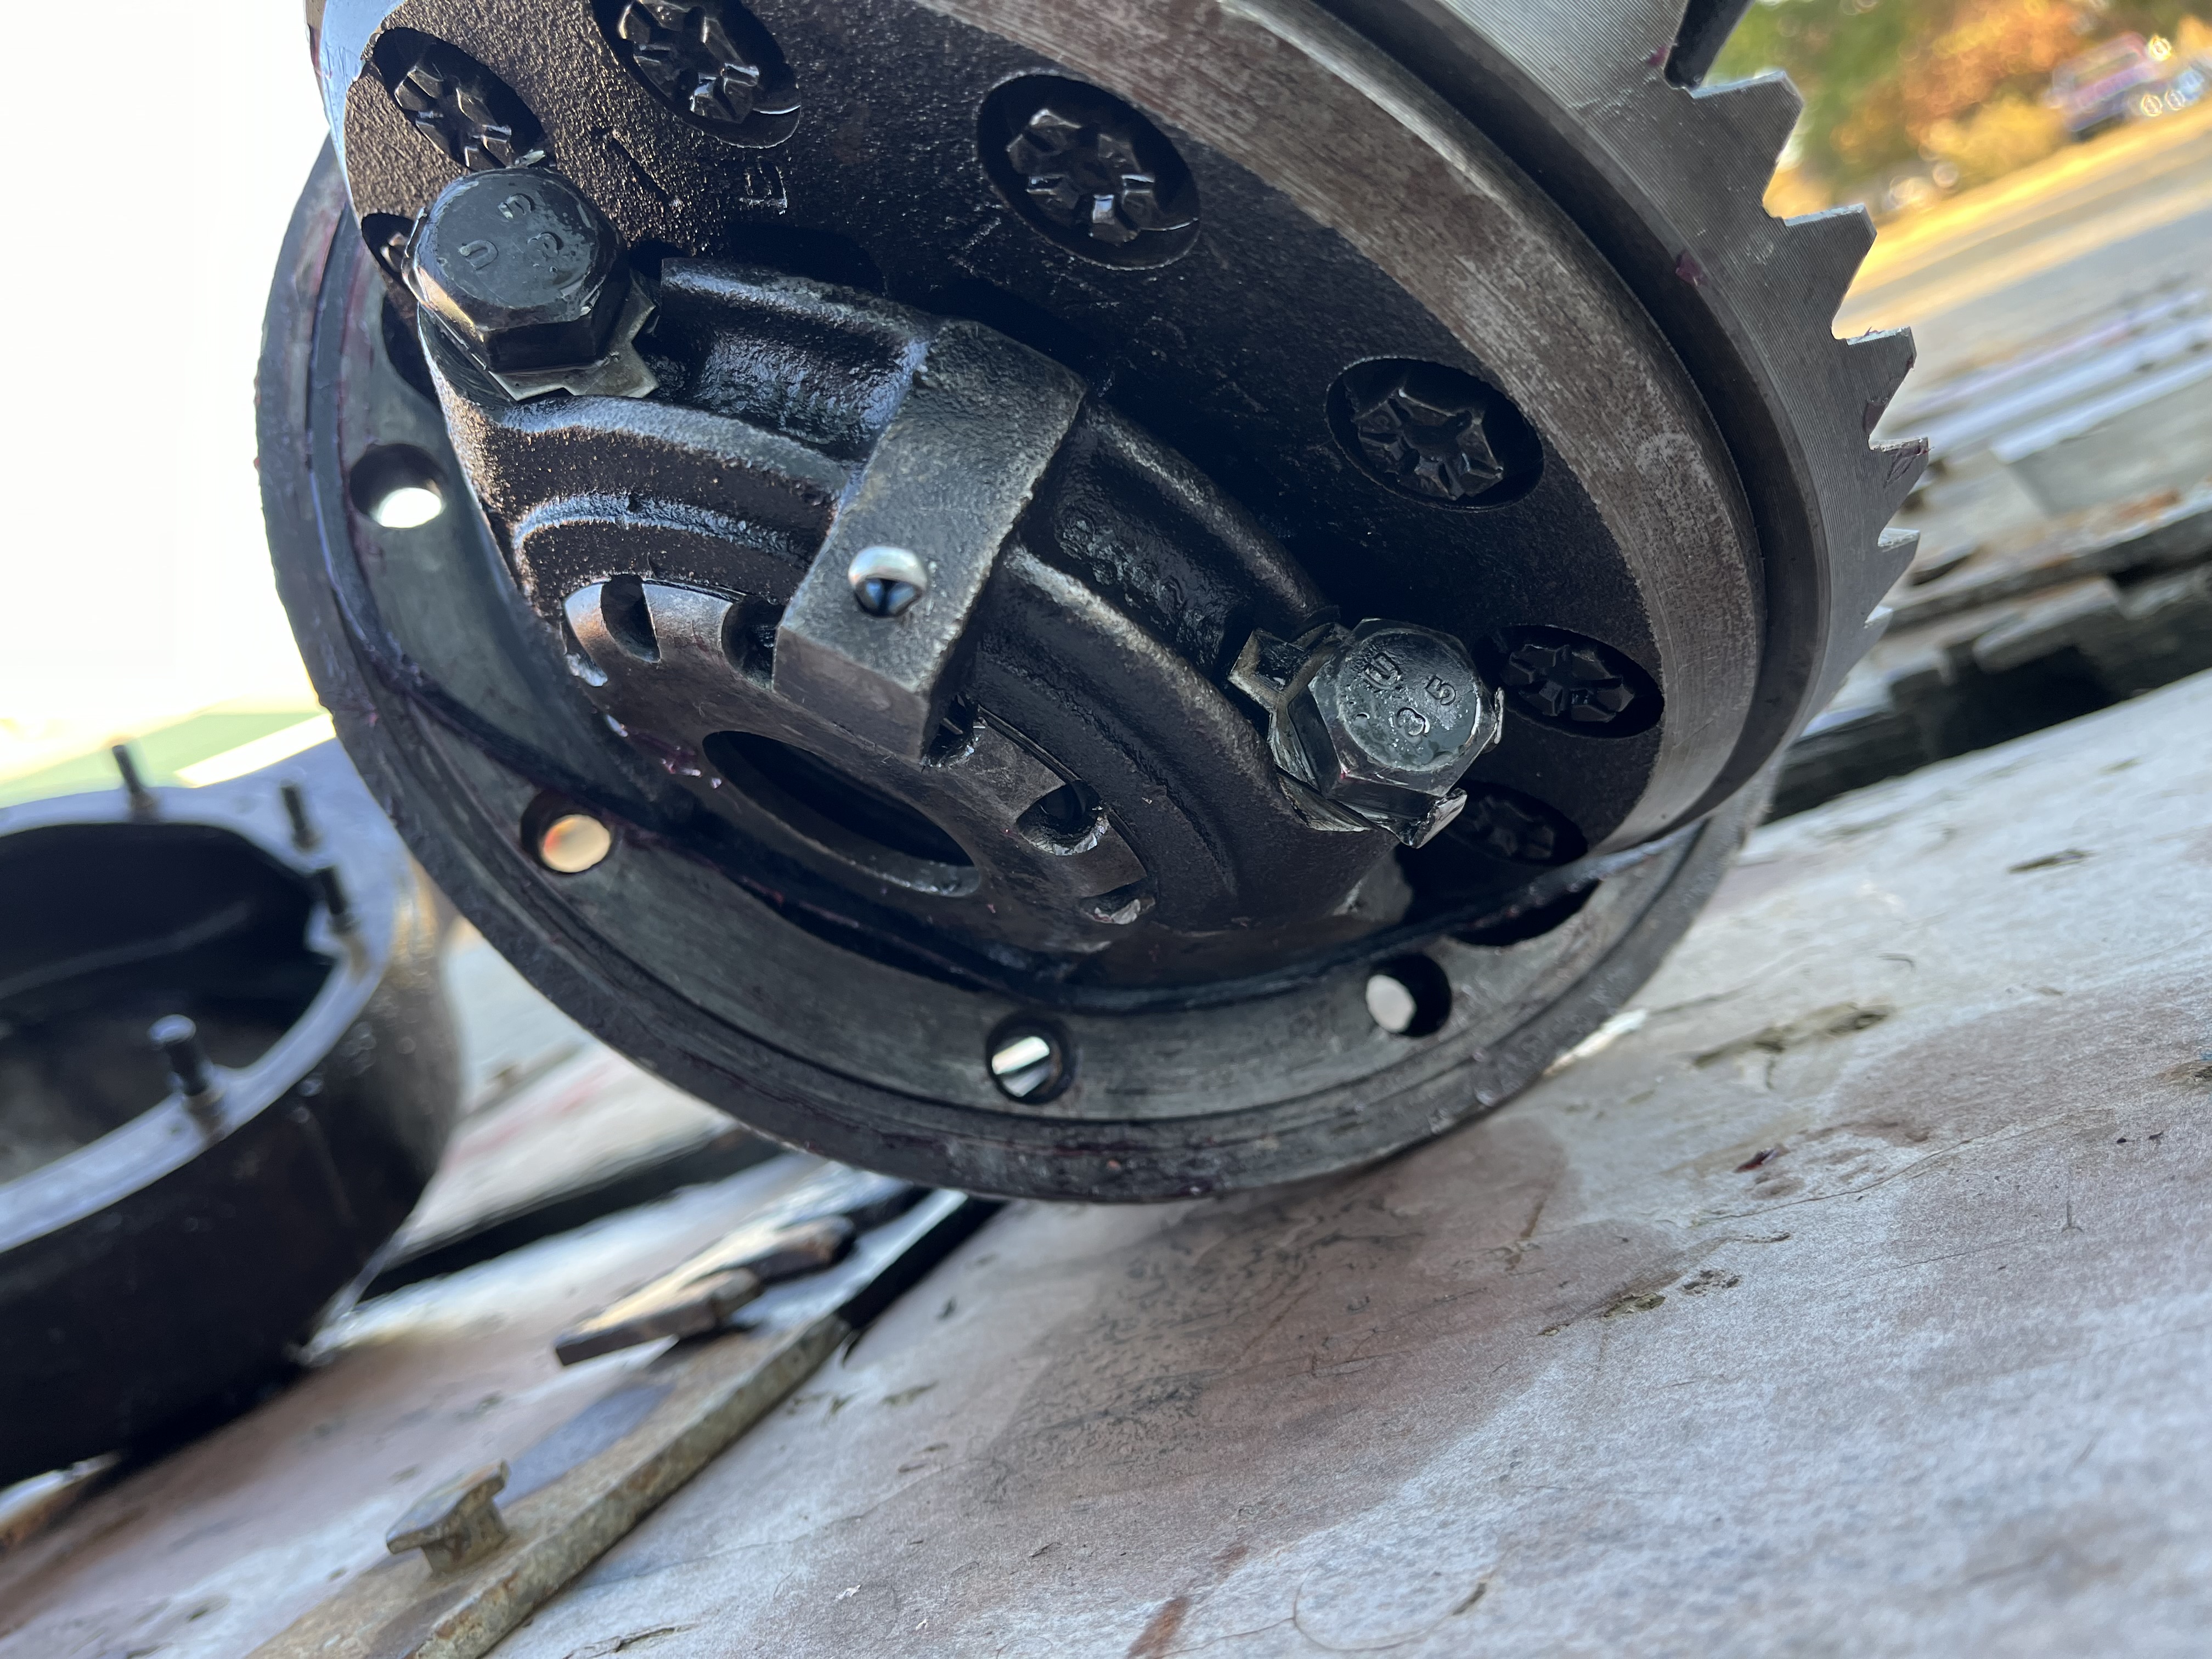
Posted on: 10/20 16:18
|
|||
|
1955 400 | Registry | Project Blog
1955 Clipper Deluxe | Registry | Project Blog 1955 Clipper Super Panama | Registry |
||||
|
||||


