|
Re: hph's 55 Clipper Project
|
||||
|---|---|---|---|---|
|
Home away from home

|
😁
Posted on: 2024/10/19 13:55
|
|||
|
1955 400 | Registry | Project Blog
1955 Clipper Deluxe | Registry | Project Blog 1955 Clipper Super Panama | Registry Email (Parts/service inquiries only, please. Post all questions on the forum.) service@ultramatic.info |
||||
|
||||
|
Re: hph's 55 Clipper Project
|
||||
|---|---|---|---|---|
|
Home away from home
|
Good progress this weekend. Got the steering wheel assembly put back together. It has split type washers as spacers, as I detail here.
I finally got ALL the lights working on my car. (The front fenders are off but they work.) The last one to do was the reverse lights which required splicing into the wire under the car which inexplicably was detached just forward of the fuel tank. In this process I also redid the headlight switch and reading light switch. I then got most of my rear axle put together. The axle shaft housing is cleaned out, the differential mated, and one axle shaft in. I used the old trick of gobbing some wheel bearing grease on the thrust block to keep it from rotating. Then I checked with a flashlight before inserting the axle shaft. The used side of the block has a distinct shiny appearance compared to the other two sides. I replaced the seals in the axle case. I didn't have puller so I used a crow to cock the seal in the bore and wedge it out. Once it lets go it goes flying! VERY IMPORTANT: if using this method you must not let the tool scrape against the axle case. It should contact only the seal. I installed the seal in the traditional way, meaning I dug through the drawer of 1" drive sockets and found the closest one (1-7/8 FYI) then pounded it in with a dead blow hammer. To replace the outer seals, I used the same trick to drive out the old seal. 28mm socket and the housing against the table. Then to drive in the new one, I found a huge socket large enough so the inside of the socket surrounded the outside of the seal housing, then hammered it in with the seal against the table. Obviously you should use wheel bearing grease or gear oil to prelube the seals. Attach file:  IMG_2825.jpg (208.03 KB) IMG_2825.jpg (208.03 KB)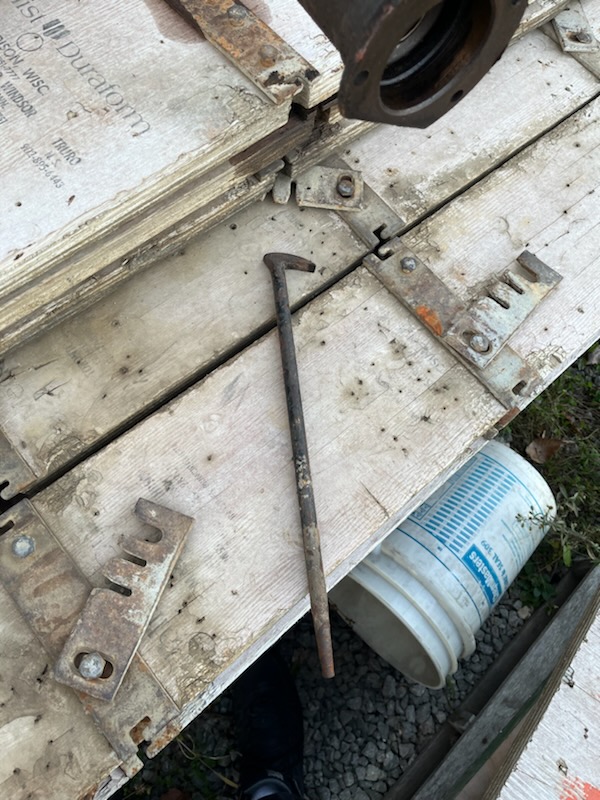 IMG_2826.jpg (220.08 KB) IMG_2826.jpg (220.08 KB)
Posted on: 2024/10/21 9:41
|
|||
|
1955 400 | Registry | Project Blog
1955 Clipper Deluxe | Registry | Project Blog 1955 Clipper Super Panama | Registry Email (Parts/service inquiries only, please. Post all questions on the forum.) service@ultramatic.info |
||||
|
||||
|
Re: hph's 55 Clipper Project
|
||||
|---|---|---|---|---|
|
Home away from home
|
This weekend I got the radio in and tested around 8pm. Unfortunately I was only able to get one station from where the car is. So probably the radio will have to come back out to install a Bluetooth receiver or something. Side note, my manual antenna doesn't have a cord long enough to reach unless the fender is attached to the car, so I hung it out the vent window for testing. 😁
The next day my mom (and brother on the phone) stopped by so I powered up the radio again. Turned it on, and... nothing, even though the dial setting was unchanged from just yesterday. A bit disappointing as a demonstration, but as the old saying goes, you learn more from your failures than from your successes. So I asked them, do you know why it's not working? Well, it's daytime! AM radio travels far farther during the night. But again unless I'm trying to join some rural Pennsylvania equivalent of the Midnight Club, then I'll need to find a solution for the radio. Even though I got the top half (e.g. horn contact) of my steering column reassembled and working recently, I did want to pull the gearbox to replace the Pitman arm seal. Ross informed me that the easiest way to work on these is to remove the whole column through the interior of the car. A post or article on that will be coming in due time. I also pulled the linkage to get it de-crusted so that I can get the wheels aligned at some point. The other steering box post:packardinfo.com/xoops/html/modules/newbb/viewtopic.php?post_id=277972
Posted on: 2024/10/29 7:51
|
|||
|
1955 400 | Registry | Project Blog
1955 Clipper Deluxe | Registry | Project Blog 1955 Clipper Super Panama | Registry Email (Parts/service inquiries only, please. Post all questions on the forum.) service@ultramatic.info |
||||
|
||||
|
Re: hph's 55 Clipper Project
|
||||
|---|---|---|---|---|
|
Home away from home

|
When it comes to the radio this is the company I told you I used in the past and was very happy with:
retroradio.biz/ He is in PA, not to far from Hershey. If you go to the services section you will see the componentry he uses.
Posted on: 2024/10/29 12:48
|
|||
|
||||
|
Re: hph's 55 Clipper Project
|
||||
|---|---|---|---|---|
|
Webmaster

|
Google Ralph the Radio guy. He is the one that did the conversion on my radio. AM/FM/Bluetooth all controlled with the stock radio controls. Even the wonder bar and mechanical presets work.
On the 37' it has no radio, nor do I want all the firewall hanging components that suck up leg room. So I found a setup that is used on ATVs, boats, etc. It a small module about the size of a pack of cards that is a Bluetooth receiver and amplifier. It also came with two 4" speakers that are each enclosed in their own water proof housings. I was able to mount everything up under the dash where nothing is seen. The speakers face downward and are plenty loud even when driving with top down at speed. Music is all streamed over Bluetooth from your smart phone, and also controls the volume. It was only about $50. It's a great (12v) option for those without or with dead radios.
Posted on: 2024/10/29 19:29
|
|||
|
-BigKev
1954 Packard Clipper Deluxe Touring Sedan -> Registry | Project Blog 1937 Packard 115-C Convertible Coupe -> Registry | Project Blog |
||||
|
||||
|
Re: hph's 55 Clipper Project
|
||||
|---|---|---|---|---|
|
Home away from home
|
Thanks guys I will check out those modules.
I got my steering shaft installed. For whatever reason, the transmission selector column seems to have a lot more friction than it did originally, as when I pull the lever forward it doesn't really spring back. I already checked and it's not the roll pin, and the shim I added to the needle is not contributing much. I lubricated it with wheel bearing grease; I wonder if that is too thick. This is the shim I made for the indicator needle mount. It needs to be in a "gravy boat" shape, as it slides back and forth. Made from an AriZona iced tea can (0.005 thk.). Attach file: 20241102_171108.jpg (435.96 KB)
Posted on: 2024/11/4 15:40
|
|||
|
1955 400 | Registry | Project Blog
1955 Clipper Deluxe | Registry | Project Blog 1955 Clipper Super Panama | Registry Email (Parts/service inquiries only, please. Post all questions on the forum.) service@ultramatic.info |
||||
|
||||


|
Re: hph's 55 Clipper Project
|
||||
|---|---|---|---|---|
|
Home away from home
|
Yes, all of that was disassembled, wiped clean, and greased. That's what's so odd.
I did notice that these parts were, as an assembly, installed upside down originally. And missing the thrust washer 3.32985. Attach file: Screenshot_20241102_130922.jpg (227.52 KB)
Posted on: 2024/11/4 18:10
|
|||
|
1955 400 | Registry | Project Blog
1955 Clipper Deluxe | Registry | Project Blog 1955 Clipper Super Panama | Registry Email (Parts/service inquiries only, please. Post all questions on the forum.) service@ultramatic.info |
||||
|
||||
|
Re: hph's 55 Clipper Project
|
||||
|---|---|---|---|---|
|
Home away from home
|
Steering linkage thoroughly disassembled, de-rusted, de-grimed, then reassembled.
Attach file: 20241108_235648.jpg (474.32 KB) 20241109_005449.jpg (394.90 KB) 20241109_005449.jpg (394.90 KB)
Posted on: 2024/11/9 1:31
|
|||
|
1955 400 | Registry | Project Blog
1955 Clipper Deluxe | Registry | Project Blog 1955 Clipper Super Panama | Registry Email (Parts/service inquiries only, please. Post all questions on the forum.) service@ultramatic.info |
||||
|
||||
|
Re: hph's 55 Clipper Project
|
||||
|---|---|---|---|---|
|
Home away from home

|
You are going to want a new idler arm bushing. The originals were rubber cored and I have never been a big fan. There were several universal aftermarket replacements using angular ball bearings which I greatly prefer. Might want to search on ebay a little and see what you come up with. I will check the magic basement.
Posted on: 2024/11/9 7:47
|
|||
|
||||


