|
Re: Torsion Level System
|
||||
|---|---|---|---|---|
|
Forum Ambassador
|
There is a difference between 55 and 56 links and they are not interchangeable. In 55 the receiving end or cup part of the link was facing upward. While it did have a protective boot it still collected water so was prone to washing out the lubricant and rusting. The contour was also slightly different and when under heavy load was prone to an intermittent sudden slipping in the cup resulting in a snapping sound.
In late 55 and for the 56 models the contour of the link ends was ground differently to eliminate the slip and snap sound.packardinfo.com/xoops/html/downloads/STB/55T-37.pdf What makes them year specific is for 56 the cup was repositioned to be facing downward so water could not collect. That also eliminated the need for the rubber boot so it was dropped. You can see the placement of the cup differences by comparing the 55 rear assembly in the referenced tech bulletin to the 56 assembly in the front suspension layout in the parts manual.packardinfo.com/xoops/html/modules/parts ... PlateNumber=31G&partslist=1955-1956 The grooves to visually determine length of the front links were added later so if your car is early production it probably will not have them and you will need to measure. If you have the grooves, 1 groove is link #1 and 4 grooves is #4 so you can count the grooves per 55T-1 to see what is there now. There was a reproduction adjustable link made for the 56 models but not for 55. The link rods or bars are ordinary steel so for 55 several have made new longer links by drilling a hole in the ends of a steel rod matching the diameter of the original link. The hardened link ends are knocked out of the original link and pressed into the holes in the new rod. I believe there is a limit before the load arm and link is positioned rather precariously so IIRC, it is not recommended to go more than approx 1/2 in longer than the longest stock link.
Posted on: 2021/10/1 13:46
|
|||
|
Howard
|
||||
|
||||
|
Re: Torsion Level System
|
||||
|---|---|---|---|---|
|
Forum Ambassador
|
Somewhere I have a picture. Hh56. Might have them. In this vast. Collection.
I wish I did. I have a photo of the repro 56 adjustable links that was on the defunct Packard Library site but not those Craig made for his 55. Someone somewhere found a lot of Craigs info in some internet archive place and maybe it is still available somewhere. While I have run across bits and pieces of Craig's info have so far not found anything comprehensive or close to what he had available on his Panther site. I sure hope BigKev has plans for the info on this site and has entrusted someone with the passwords and authority should anything happen. It was bad enough to lose many of the early posted photos during the last software upgrade. The loss of the entire site is too painful to think about.
Posted on: 2021/10/1 13:58
|
|||
|
Howard
|
||||
|
||||
|
Re: Torsion Level System
|
||||
|---|---|---|---|---|
|
Home away from home

|
On the modifications blog.
There is a few posts on tl.. This where I got the picture I think. Page 10.. Looks like top photo is 55 Bottom. 56 Attach file:  1551_4b7a21b4e7685.jpg (11.71 KB) 1551_4b7a21b4e7685.jpg (11.71 KB)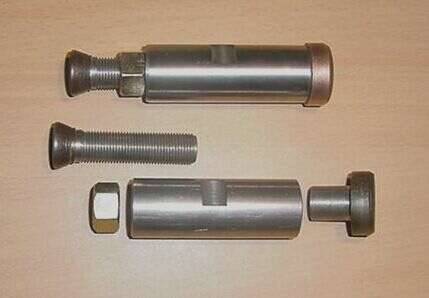
Posted on: 2021/10/1 22:54
|
|||
|
Riki
|
||||
|
||||
|
Re: Torsion Level System
|
||||
|---|---|---|---|---|
|
Home away from home

|
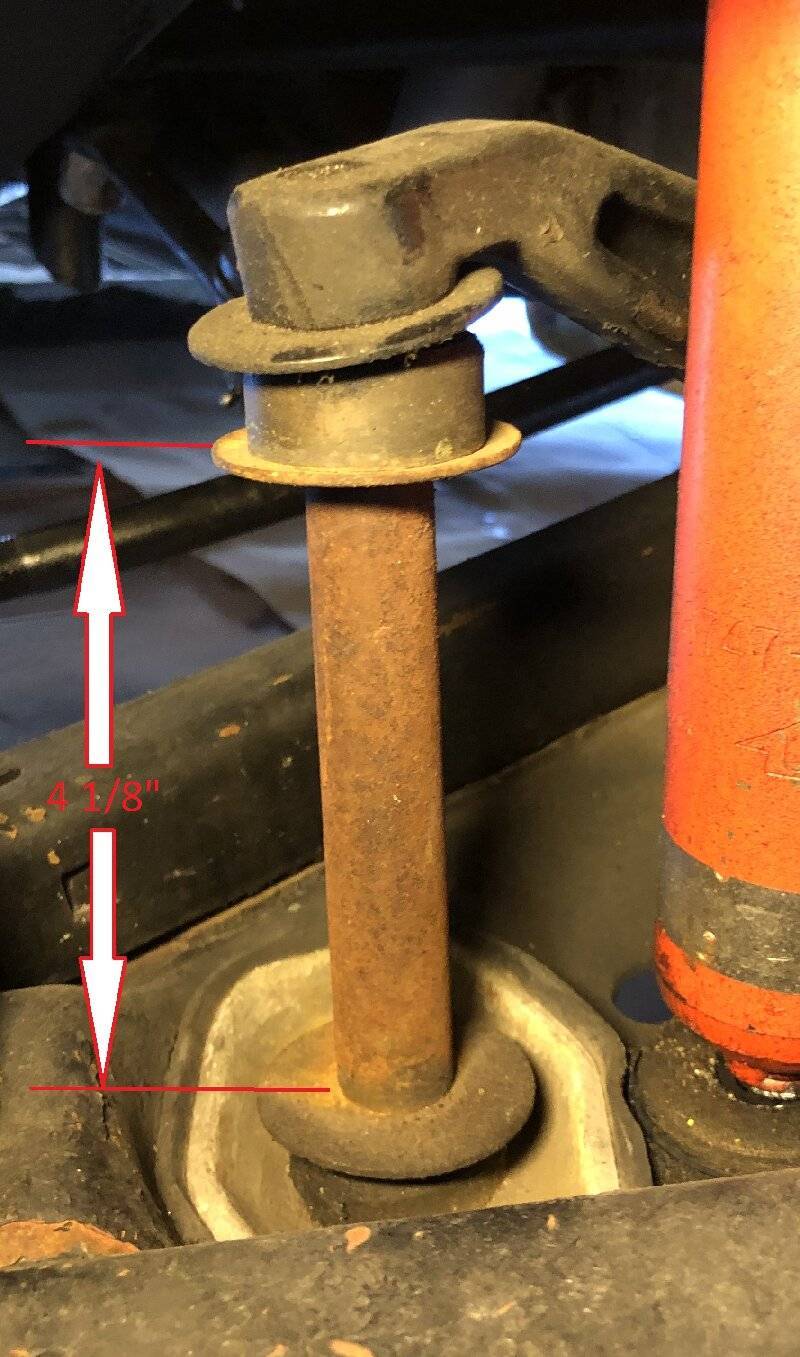
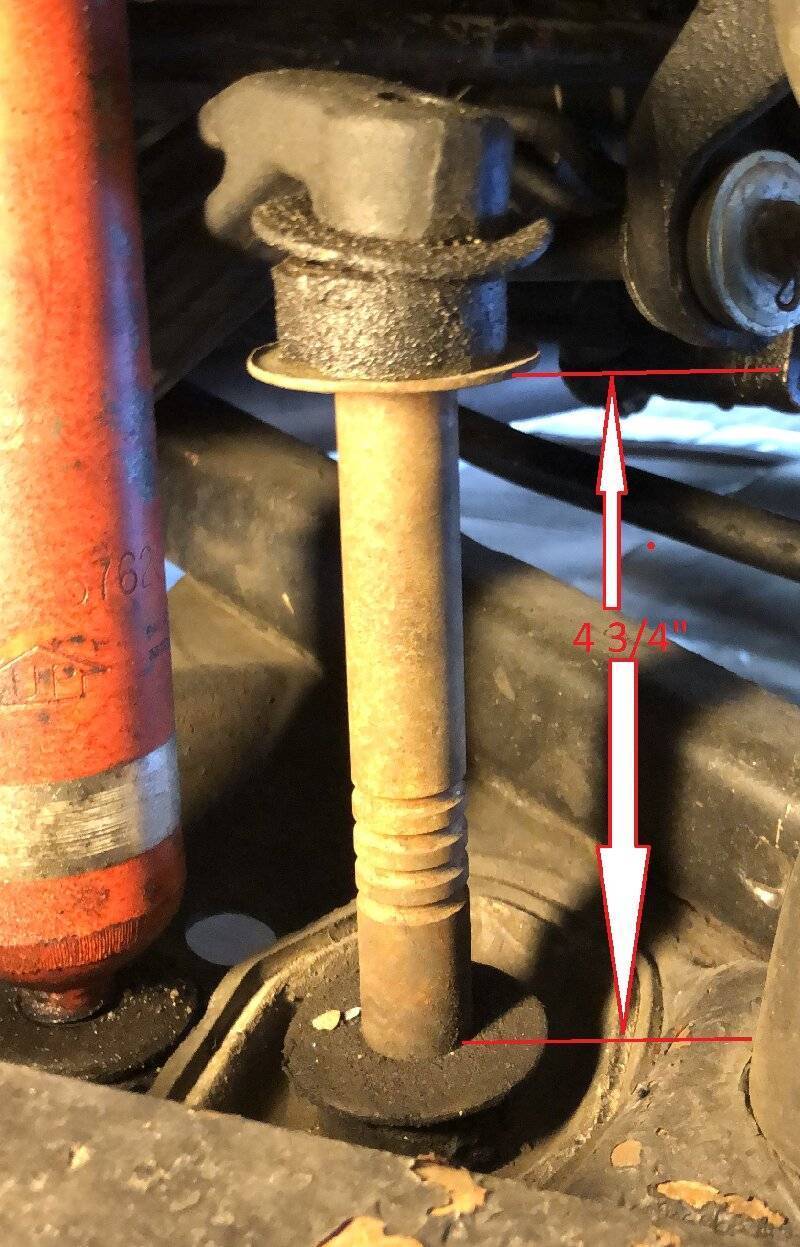
I jacked up the car to determine the current links in the front end. The right side (the low side) was about 4 1/8" while the left side was about 4 3/4".
It would seem that I should increase the right side in order for it to increase the right side clearance. Going to the next size should raise it about 3/8". If I shorten the left side link that would also increase the clearance for the right side and at the same time decrease the clearance on the left side. Is this correct? What do others feel my best options are?
Posted on: 2021/10/2 17:56
|
|||
|
||||
|
Re: Torsion Level System
|
||||
|---|---|---|---|---|
|
Home away from home
|
So we can see you have a #4 pin on the left and a #3 on the right.
I usually try to set the cars up so that when dead level the fender skirt it right at or slightly below the center of the wheel. I find this gives the best ride and minimizes bottoming. It is very easy to make a new pin: take a suitable length of 3/4" stock and drill a 7/16 hole 3/4" deep in each end. Pound the ends out of the old pin and press them into the new. Done. Of course you will have to use the suspension holding tool to change the pins. An increase in pin length of 5/8 provides roughly a 1" increase in ride height. A #3 pin is 5/8 longer than a #2 etc. The longest pins Packard supplied were #4s, I have made #5s but that is about as far as you can go so that the load arm does not hit the frame on a bump. If the car is still sitting too low, be sure to check the rubber bushings on the rear load arms where the axle attaches. If those have collapsed you can loose a good 3/4" of ride height.
Posted on: 2021/10/2 18:58
|
|||
|
||||
|
Re: Torsion Level System
|
||||
|---|---|---|---|---|
|
Home away from home

|
Ross - Thanks for input. Changing a pin doesn’t look all that difficult with the tool and making a pin seems like an easy job on a lathe. I’m not sure my mini lathe is up to making the pin, but I’ll see if one of my friends has a larger one.
I checked the rubber bushings on the load arms and they appear to be OK (see pics). With the car level on the left side, both the front and rear of the bottom of the chrome strip were 10 + ¼” from the ground. On the right side of the car, the front was about 8” while the rear was 9”. My current thought is to make and install a #4 pin. Attach file:  Left.JPG (174.77 KB) Left.JPG (174.77 KB)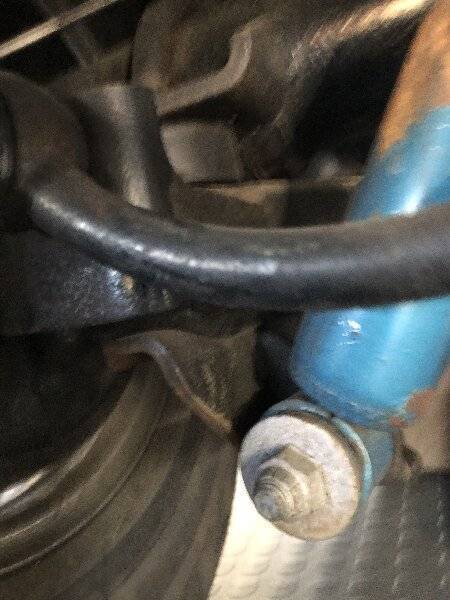  Right.JPG (182.92 KB) Right.JPG (182.92 KB)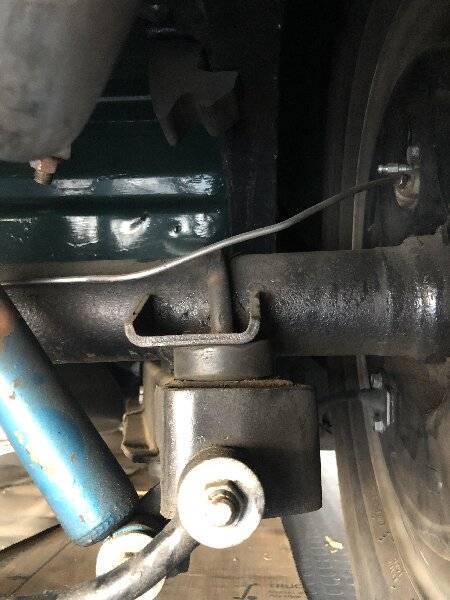  Left Lower.JPG (186.45 KB) Left Lower.JPG (186.45 KB)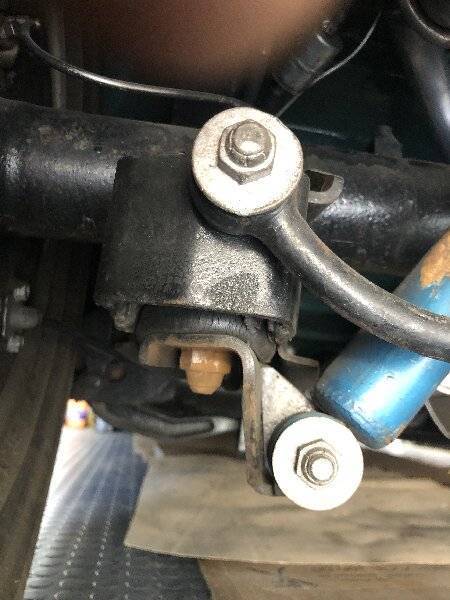  Right Lower.JPG (216.33 KB) Right Lower.JPG (216.33 KB)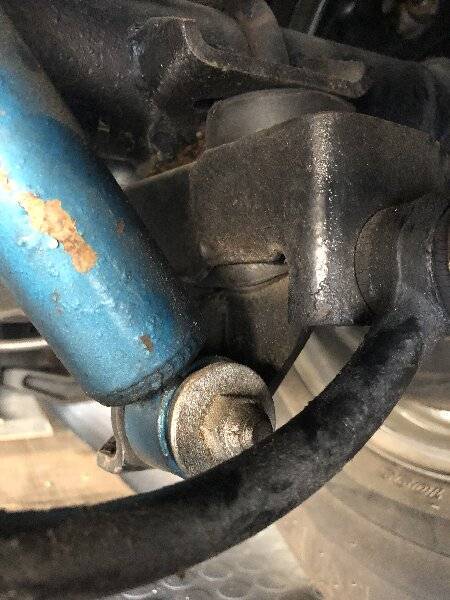  Left Wheel.JPG (222.76 KB) Left Wheel.JPG (222.76 KB)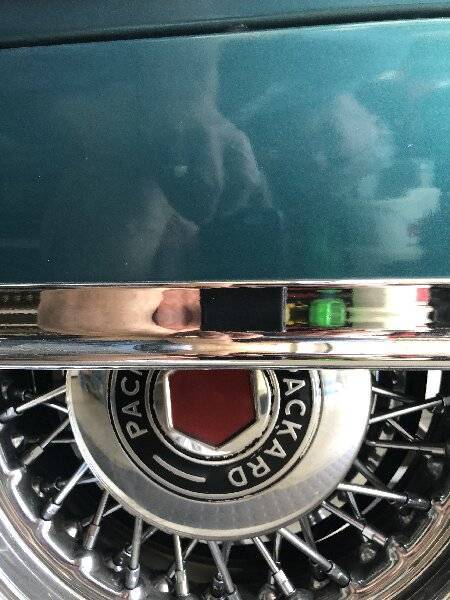  Right Wheel.JPG (226.76 KB) Right Wheel.JPG (226.76 KB)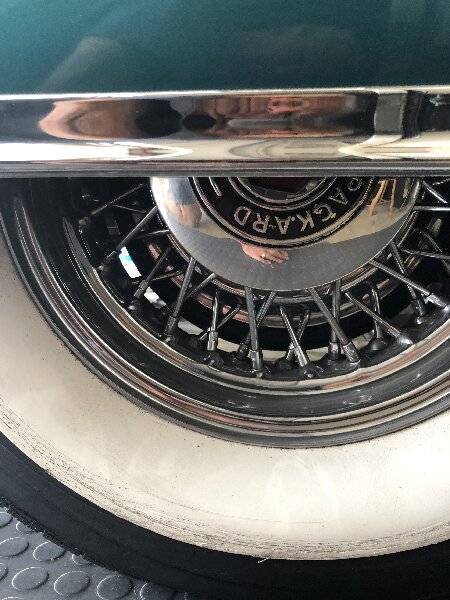
Posted on: 2021/10/3 16:15
|
|||
|
||||
|
Re: Torsion Level System
|
||||
|---|---|---|---|---|
|
Forum Ambassador
|
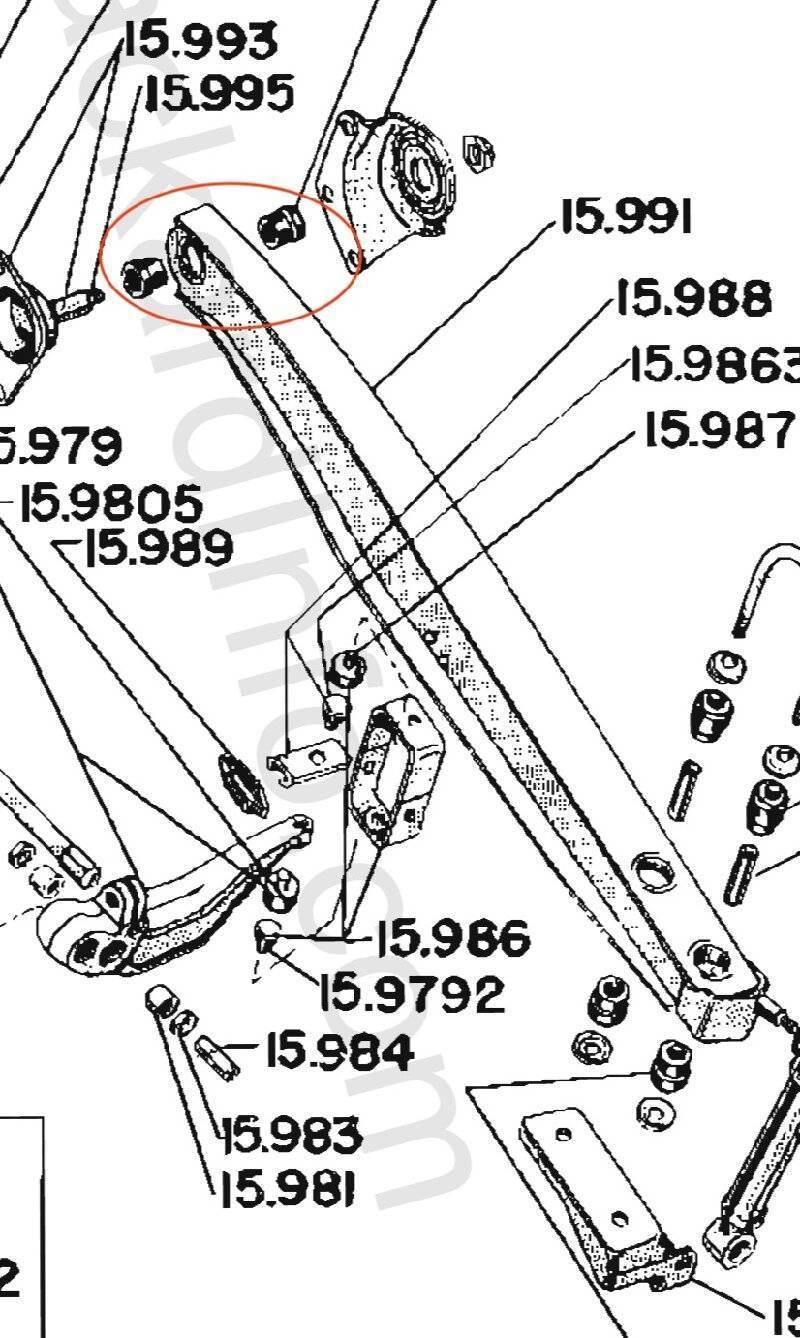
Hard to see but next time you are under check that the bushings at the front of the torque arms to frame rails are in good condition too.
Posted on: 2021/10/3 16:48
|
|||
|
Howard
|
||||
|
||||
|
Re: Torsion Level System
|
||||
|---|---|---|---|---|
|
Home away from home

|
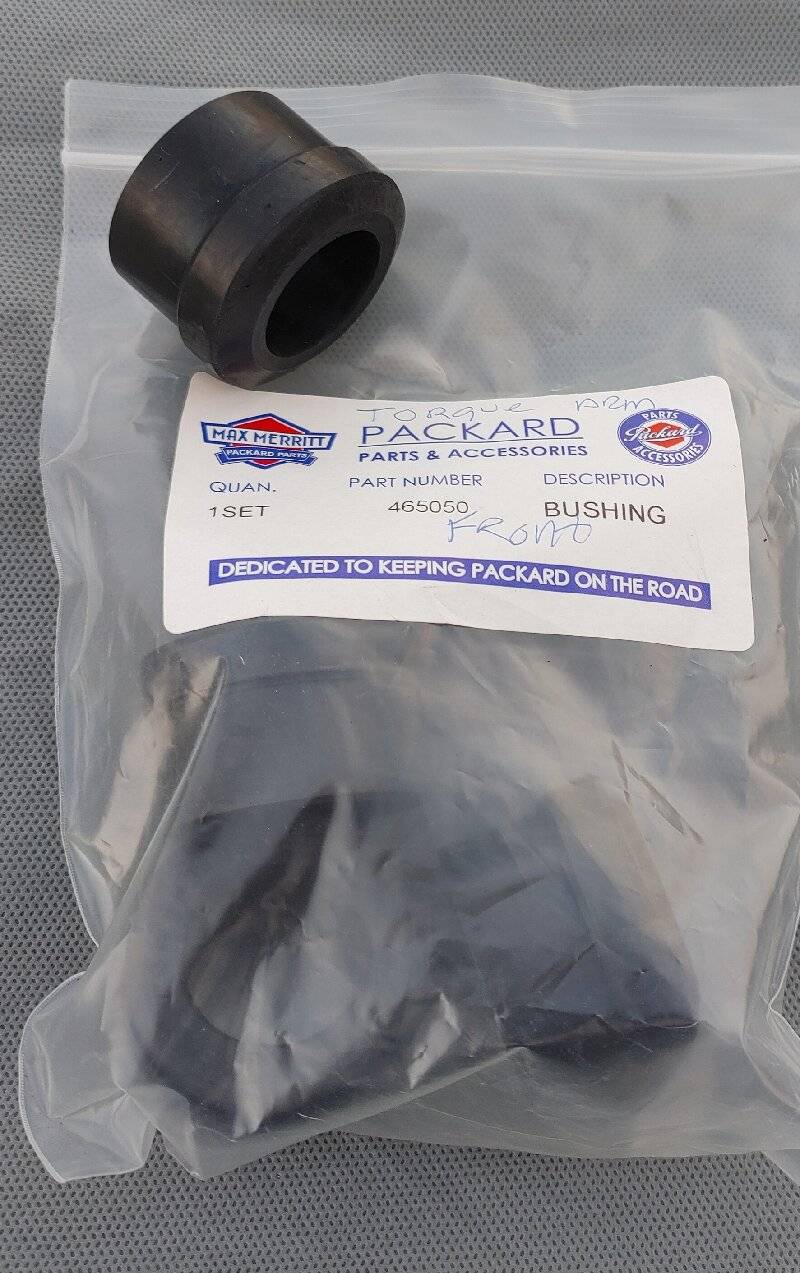
These are the circled part.
Haven't got around. To putting them on. And they say. These don't give you trouble.
Posted on: 2021/10/3 20:15
|
|||
|
Riki
|
||||
|
||||
|
Re: Torsion Level System
|
||||
|---|---|---|---|---|
|
Home away from home

|
Just looking at the rear lower you cant tell if they are ok.
They will break at the posts.(spacer).
Posted on: 2021/10/3 20:19
|
|||
|
Riki
|
||||
|
||||

