 Switch Knob Assembly.PDF
|
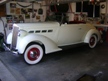
Re: 1937 120 Conv. Sedan - Blanche
|
||||
|---|---|---|---|---|
|
Home away from home
|
ok. Thanks Bob. Very helpful. Will tackle it tomorrow. Now I understand BK's reference to be VERY CAREFUL when unscrewing.
Posted on: 3/18 17:21
|
|||
|
||||
|
Re: 1937 120 Conv. Sedan - Blanche
|
||||
|---|---|---|---|---|
|
Home away from home
|
I have seen reference to a set screw in the knob, but mine does not have one. Should the Light Knob come off? I was on a roll, but this Light knob removal is proving me out to be a true novice. I've tried snap ring pliers, but the tips are not strong enough. I am going to try to place some penetrating oil carefully, but not sure there is a gap to get to the threads.
Additional thoughts appreciated, before I go to the wrench!
Posted on: 3/19 9:21
|
|||
|
||||
|
Re: 1937 120 Conv. Sedan - Blanche
|
||||
|---|---|---|---|---|
|
Forum Ambassador

|
There is no set screw in the knob. its the brass skin over the captive "nut" bezel that is the problem. Snap ring pliers are about as close to the proper tool as your gonna get. its those two access points where you are targeting magic potions. and the backside of the dash if you can see/get to the backside.
Not easy, often stuck, which is why bobJ even drafted remaking the knob/bezel/shaft. Wish he did. He'd sell about 2 a year, no doubt making millions$$$. I'm asked for replacement knobs ALL the time....Once I had a tool made better than snap ring pliers, crude, but it worked, just cut a slice in a piece of cheap steel, ground it and bent two tips. Used it a couple times, lent it out and never saw it again... DAF
Posted on: 3/19 10:04
|
|||
|
||||
|
Re: 1937 120 Conv. Sedan - Blanche
|
||||
|---|---|---|---|---|
|
Home away from home
|
Thanks Dave! ok....Can i be next in line to ask, just planning ahead.....do you have any "extra" replacement knobs looking for a good home?
Agree, Bob's proposal would save a lot of headaches and backaches!! Going back at it. Next update will have a picture of knob removed!
Posted on: 3/19 10:17
|
|||
|
||||
|
Re: 1937 120 Conv. Sedan - Blanche
|
||||
|---|---|---|---|---|
|
Home away from home
|
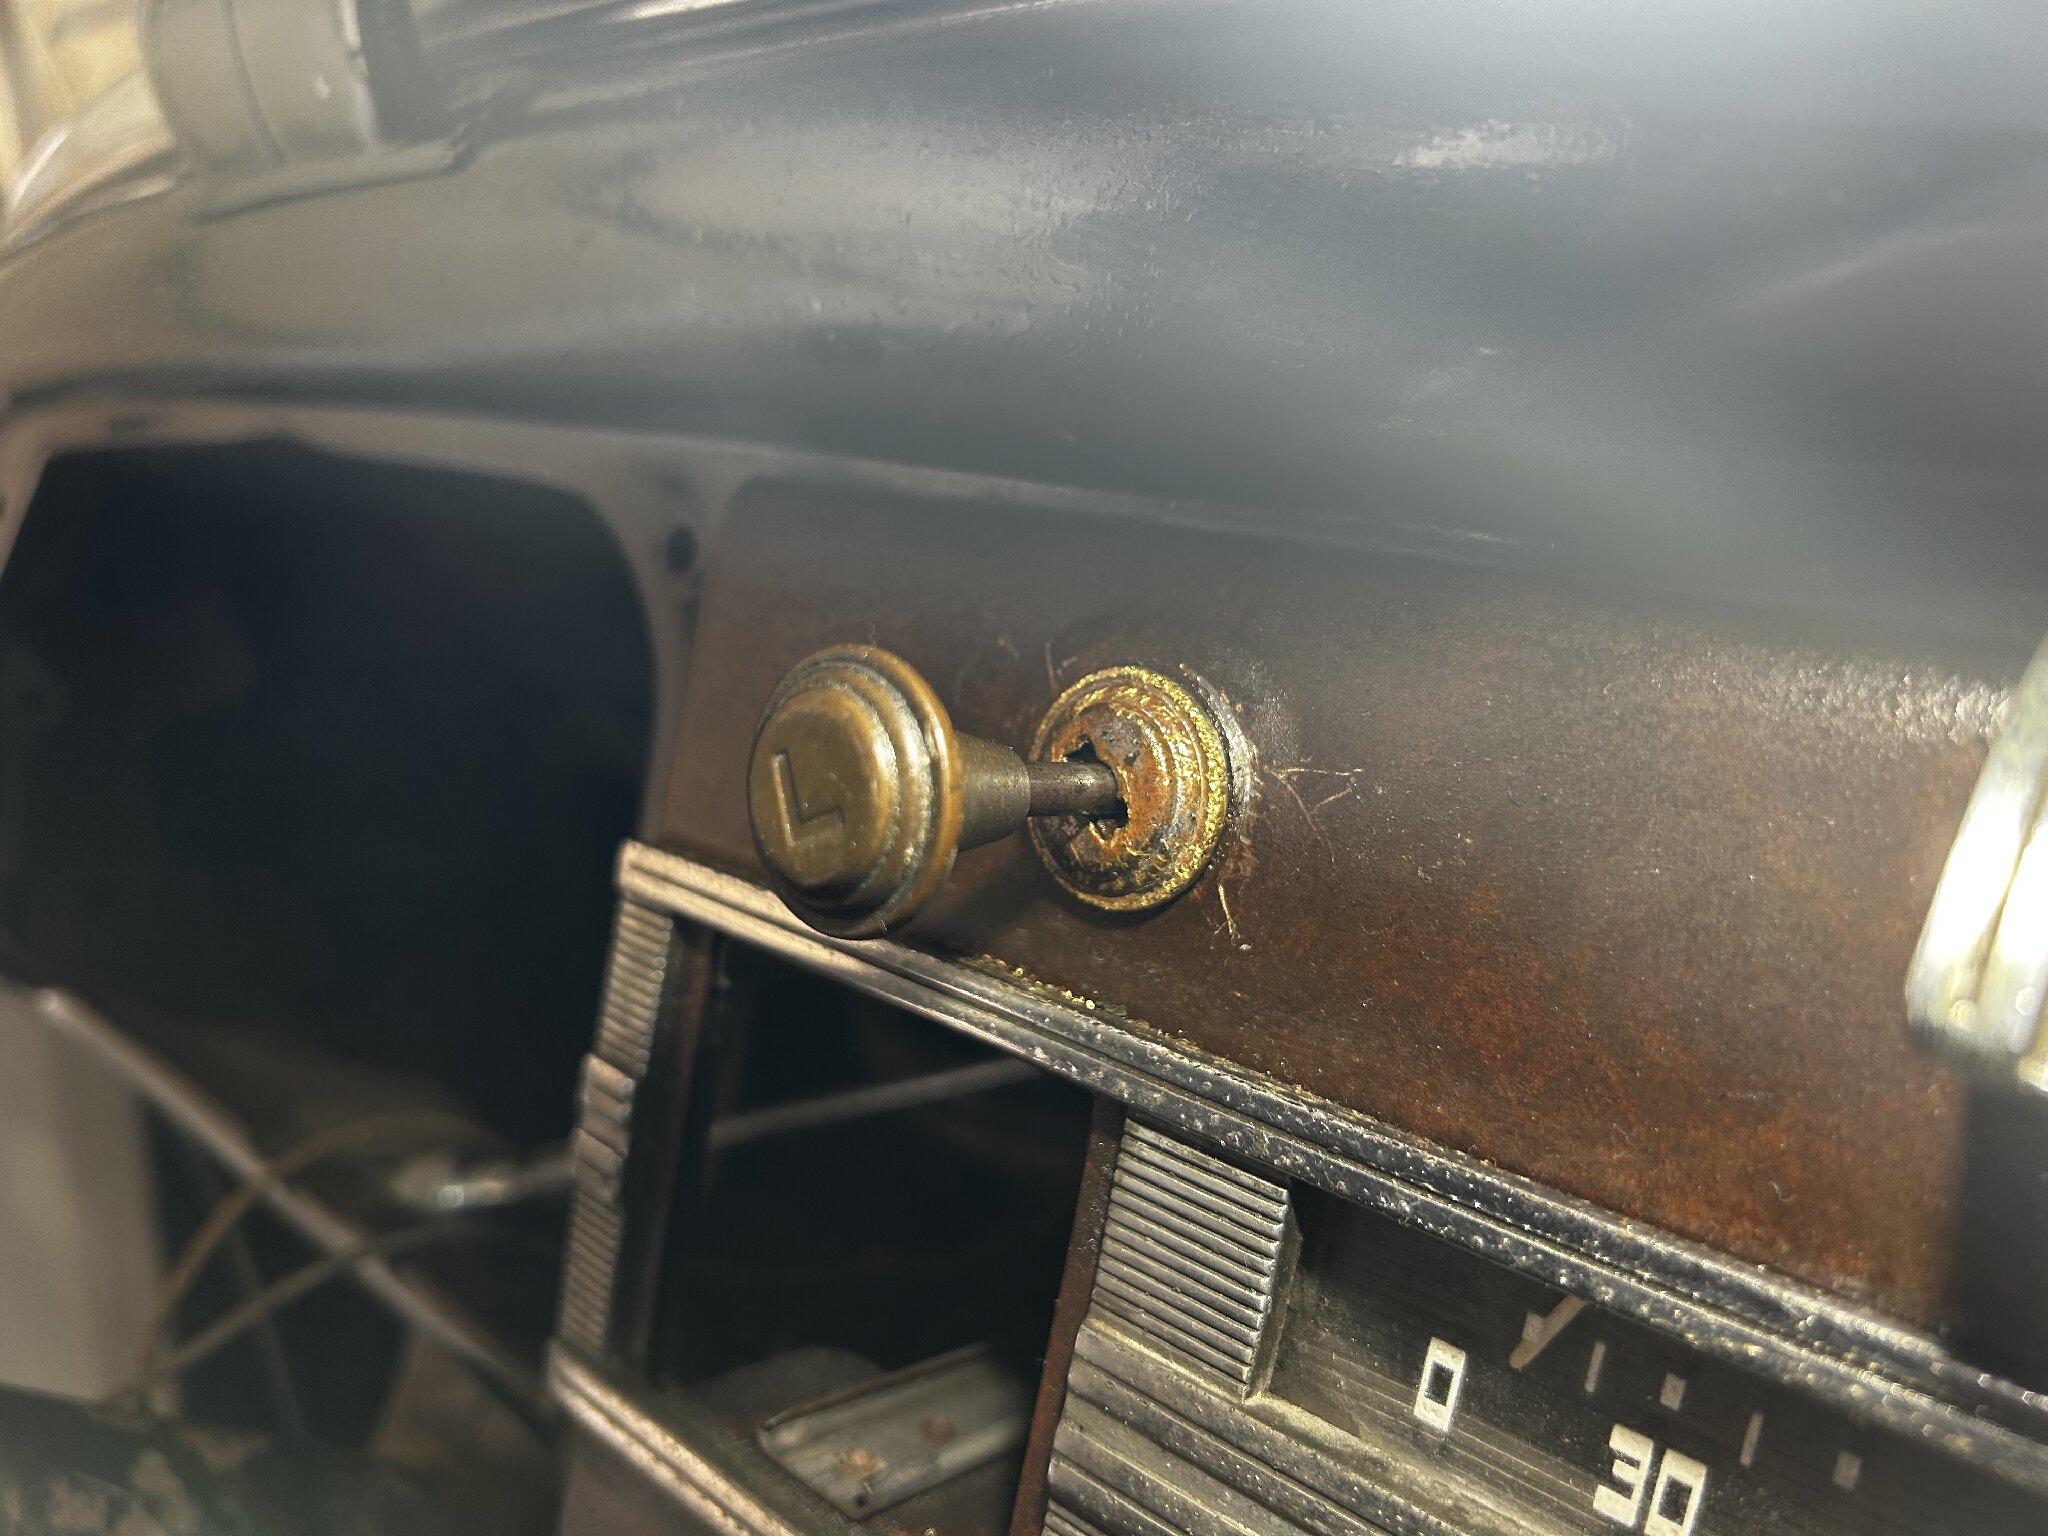
Ok. Had to resort to the good ole pliars….unfortunately. So as you can see I have started the butcher process. I got several turns in but it does not feel like it is unscrewing. Is the top part that I am destroying just a cap? Or should that turn the threads as I turn it? It does not have anymore play on the backside either?
Posted on: 3/19 11:42
|
|||
|
||||
|
Re: 1937 120 Conv. Sedan - Blanche
|
||||
|---|---|---|---|---|
|
Forum Ambassador

|
I see an L on the knob so presuming that is the headlight switch. You are probably turning a stamped chrome cover cap that is crimped over a pot metal bezel with cast screw threads. The slots in the bezel next to the shaft require a pronged tool that can turn the whole bezel under the cover to unscrew the threads from the switch frame.
The bezel, knob and shaft is made into a one piece assy and once unthreaded and bent end of shaft released from the slide tongue which operates the switch pulling that part out from the front will release the headlight switch from the back of the dash. You can use thin bent end needle nose pliers or others have made a tool by cutting a slot slightly over the width of the shaft in a piece of steel just wide enough to fit the bezel openings. Once the slot is made then bend the end of the steel down so the two prongs are available. Along with the switch, here is a photo of a tool that I believe was made by Chris for use on his 39 light switch. Attach file:  Prewar headlight switch mount.jpg (73.88 KB) Prewar headlight switch mount.jpg (73.88 KB)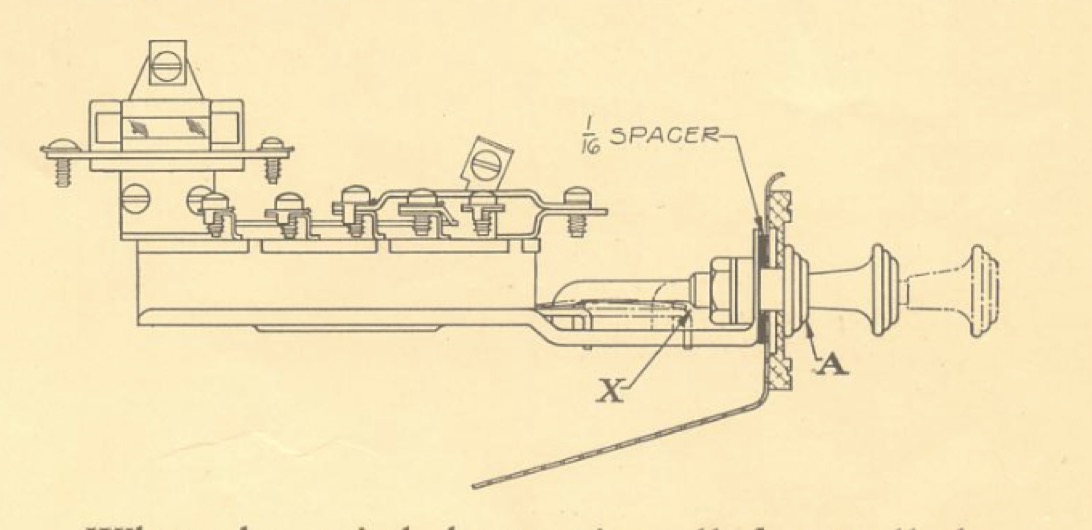 prewar headlight1.jpg (228.96 KB) prewar headlight1.jpg (228.96 KB)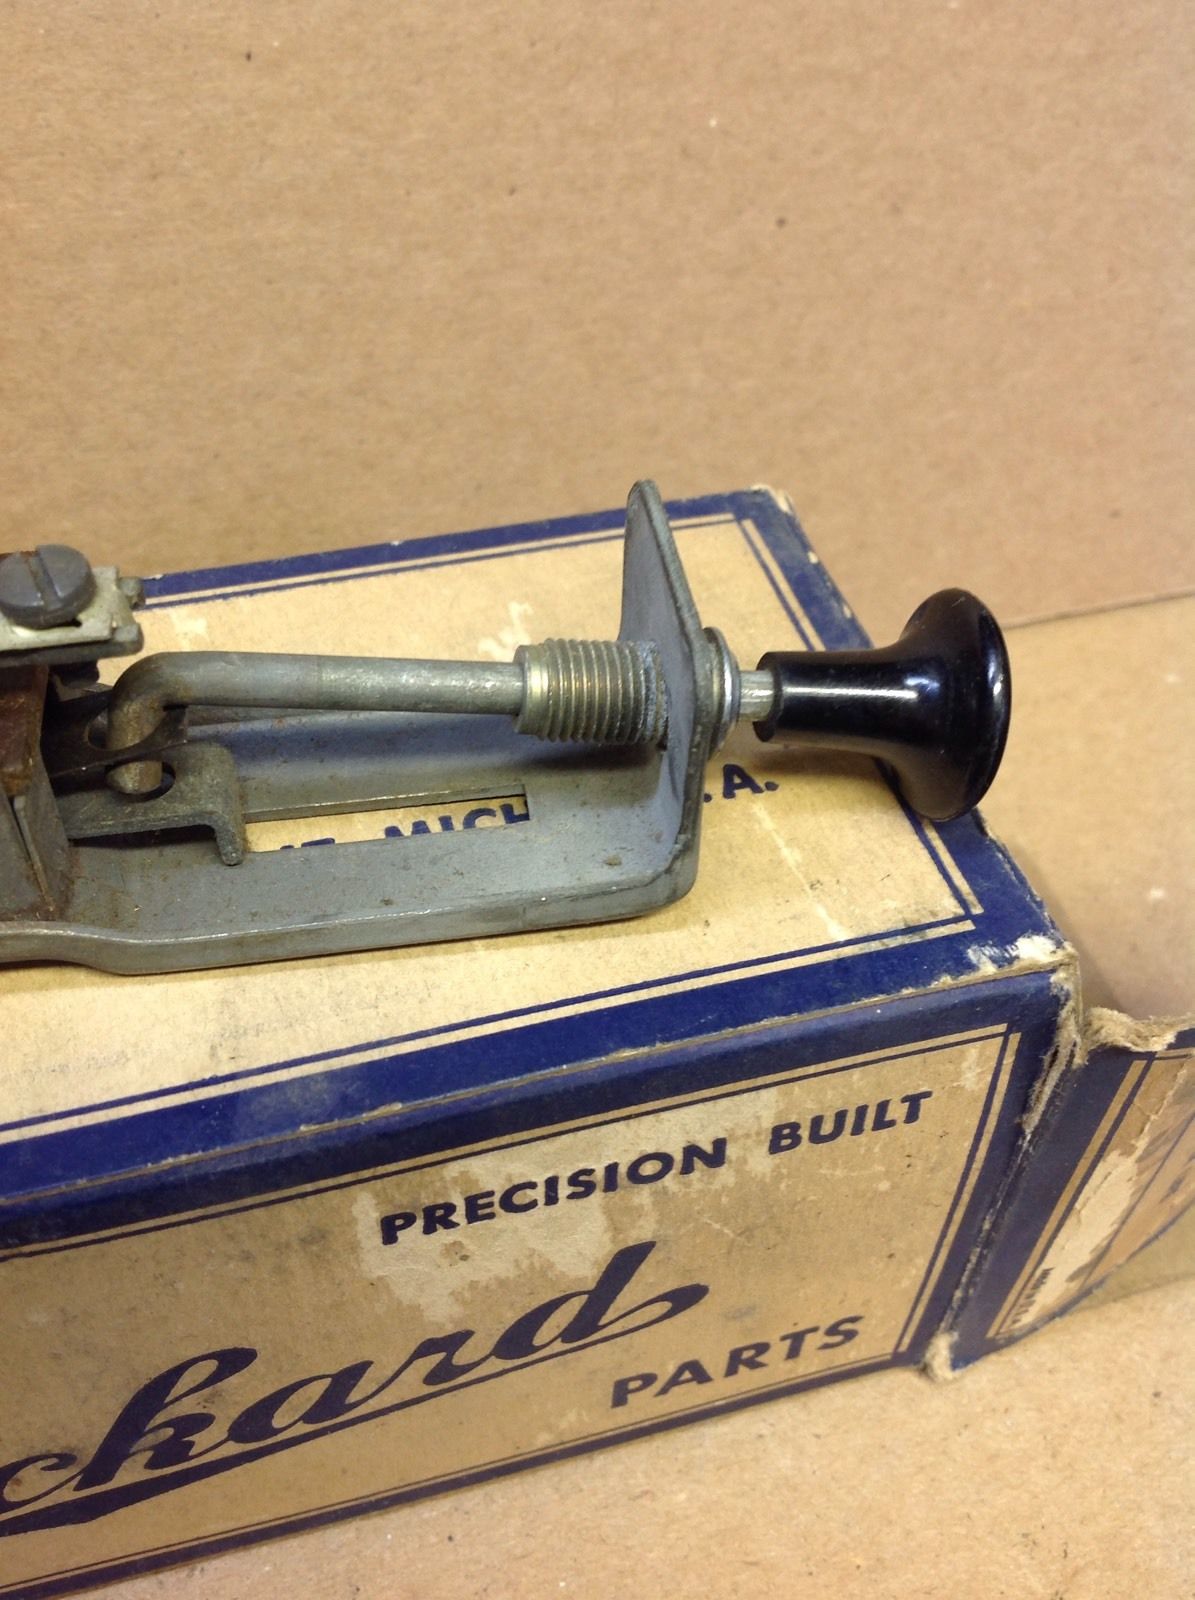 Bezel removal tool.jpg (23.23 KB) Bezel removal tool.jpg (23.23 KB)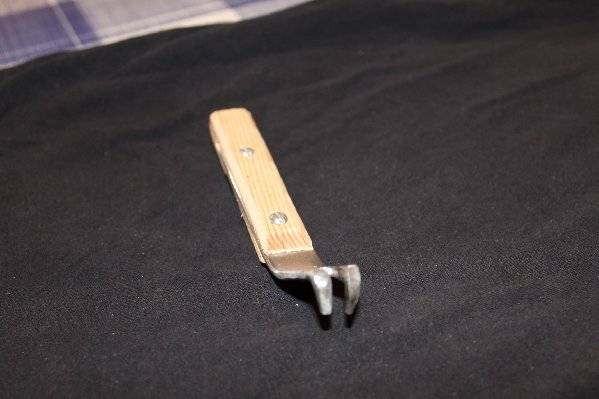
Posted on: 3/19 11:57
|
|||
|
Howard
|
||||
|
||||
|
Re: 1937 120 Conv. Sedan - Blanche
|
||||
|---|---|---|---|---|
|
Webmaster

|
If needed, spray some penetrator on the exposed threads on the backside of the dash. I could turn mine by hand, but mine had been apart at least once in the last ten years. You are essentially turning the bezel to unthread it from the female receiver on the other side of the dash. If the threads there are rusty, then that is what you are fighting. I often find a shot of penetrator, and then a quick wire brushing and another shot of penetrator helps to clean off fasteners that have threads exposed out the backside like that. Otherwise, you are trying to force all the rust and dirt back through the threaded female portion. If it jams, then it's the thin chrome bezel shell that suffers first.
This wasn't one of Packard's best designs, and hence, why so many folks have mangled switch bezels.
Posted on: 3/19 13:41
|
|||
|
-BigKev
1954 Packard Clipper Deluxe Touring Sedan -> Registry | Project Blog 1937 Packard 115-C Convertible Coupe -> Registry | Project Blog |
||||
|
||||
|
Re: 1937 120 Conv. Sedan - Blanche
|
||||
|---|---|---|---|---|
|
Forum Ambassador
|
you are probably turning the brass cover over the fastener. the tool pictured is about what I made, which is necessary to turn the "bolt" under the cover. small snap ring pliers just distort. This is one of those jobs...
I've had some occasional luck turning the switch from the backside A LITTLE BIT to break the threads loose, then with a homemade tool. Maybe. Consider this part of your 37-120 initiation ritual. DAF
Posted on: 3/19 13:43
|
|||
|
||||
|
Re: 1937 120 Conv. Sedan - Blanche
|
||||
|---|---|---|---|---|
|
Home away from home
|
Ok. Well I am one of “those guys” that used all means necessary. But I got the job done!! Will need another brass cover though.
My Grandmother is rolling in her grave either from belly laughing at me or wondering where I learned such language!!! Flackmaster. Let me know if you have a knob and cover set. Think I need a replacement. Initiation complete. On to next step. Cheers! Ben 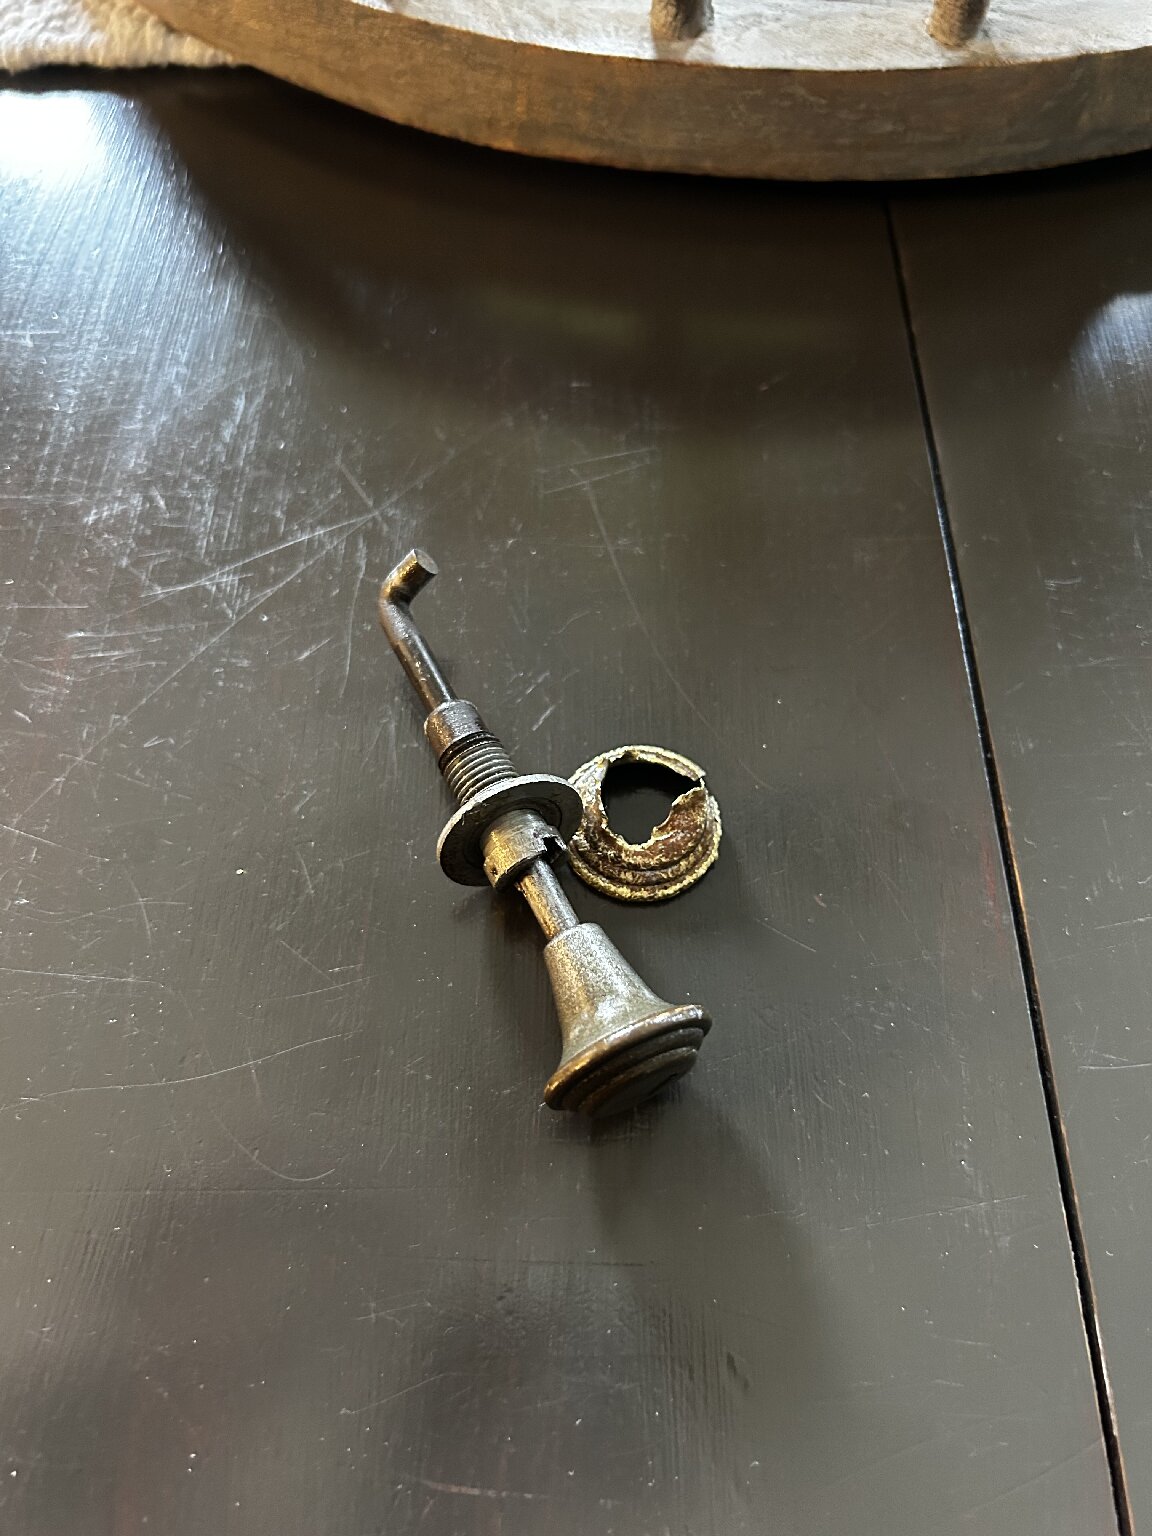 
Posted on: 3/19 15:34
|
|||
|
||||


