|
Re: Stewart's 1955 Packard 400
|
||||
|---|---|---|---|---|
|
Home away from home

|
It seems like it would be a lot of work to pull the body off and gain access to that area.
Cutting and welding in a new patch can certainly be done. Three concerns about that would be: 1.) how would it look under the carpet afterwards, 2.) welding sheet metal is no fun, and 3.) would you want to do any sort of protection on the underside of that patch afterwards....it will be hard to access. Either way it's going to be some work. But it sounds like you may have found the problem, and that's good. -Kevin
Posted on: 2021/9/21 17:54
|
|||
|
||||
|
Re: Stewart's 1955 Packard 400
|
||||
|---|---|---|---|---|
|
Home away from home
|
I have been working on this car for nearly 10 years. I am not afraid to weld on sheet metal anymore. Besides I probably would not weld it. That black coating on the underside of that area will burn. Ask me how I know that.
I really don't have a choice but to try cutting it. I am guessing the opening does not need to be any larger then about 2" x 2". I can maybe use fiberglass or something similar to re-close the hole. From looking at the images I posted earlier from the inside of the fender. I can probably bump the radiator support back a little and get about a 1/4 ". There is plenty of room for the fan on the other side of it.
Posted on: 2021/9/21 19:49
|
|||
|
Stewart Ballard
|
||||
|
||||
|
Re: Stewart
|
||||
|---|---|---|---|---|
|
Quite a regular

|
Stewart, We put a 700r4 in our '55 Clipper. Body wise, I do not believe there is that much of a difference between the two. Let me find our photos of the swap and I'll post them. We didn't have this problem rather a problem with the single exhaust.
But I do have a question about the shift linkage. Did you use a rod linkage or did you go with a cable. And who made the linkage for the 700r4?
Posted on: 2021/9/21 20:06
|
|||
|
||||
|
Re: Stewart's 1955 Packard 400
|
||||
|---|---|---|---|---|
|
Home away from home
|
1SG, I don't have the the steering column in the car yet so have not had the need to figure out the linkage yet.
However, I will say that there were a lot of different linkages used on 700R4s in the years they were used on various cars and trucks. I robbed several different parts off multiple 700R4s while I was parts shopping at the local pull-a-part. I am hoping I can piece something together from those.
Posted on: 2021/9/21 20:47
|
|||
|
Stewart Ballard
|
||||
|
||||
|
Re: Stewart
|
||||
|---|---|---|---|---|
|
Home away from home
|
I made a little progress this afternoon on getting all the fender bolt holes to align.
I loosened up the radiator support and shifted it toward the engine. That got me maybe 3/8 “ and cut about half the distance needed. Pictures 1 and 2 below are before and after shots of where the fender bolts to the firewall. I crawled inside with a right angle cutter and cut through the transmission hump to expose top of the trans as I discussed yesterday (see picture 3). I underestimated the size of the hole needed. 2” will be wide enough but it will not be long enough. The body is laying on the entire length of bell housing (not just the top of it). I am going to have to cut it all the way down to where it levels off, probably 6 to 8” total. I’ll finish that tomorrow. I crawled under and loosened up all the body mount but there is no way little ole me is going to push the body forward the last ½” or so that I need. I guess when the rain stops this week I will take the whole car off the blocks and put it on the ground and chock the tires real good. Then I will pull my truck in the door and connect the two of them with chains & come-along and try to drag the body forward as far as needed. This will be fun. Attach file:  RearBoltHole_Before.jpg (129.54 KB) RearBoltHole_Before.jpg (129.54 KB)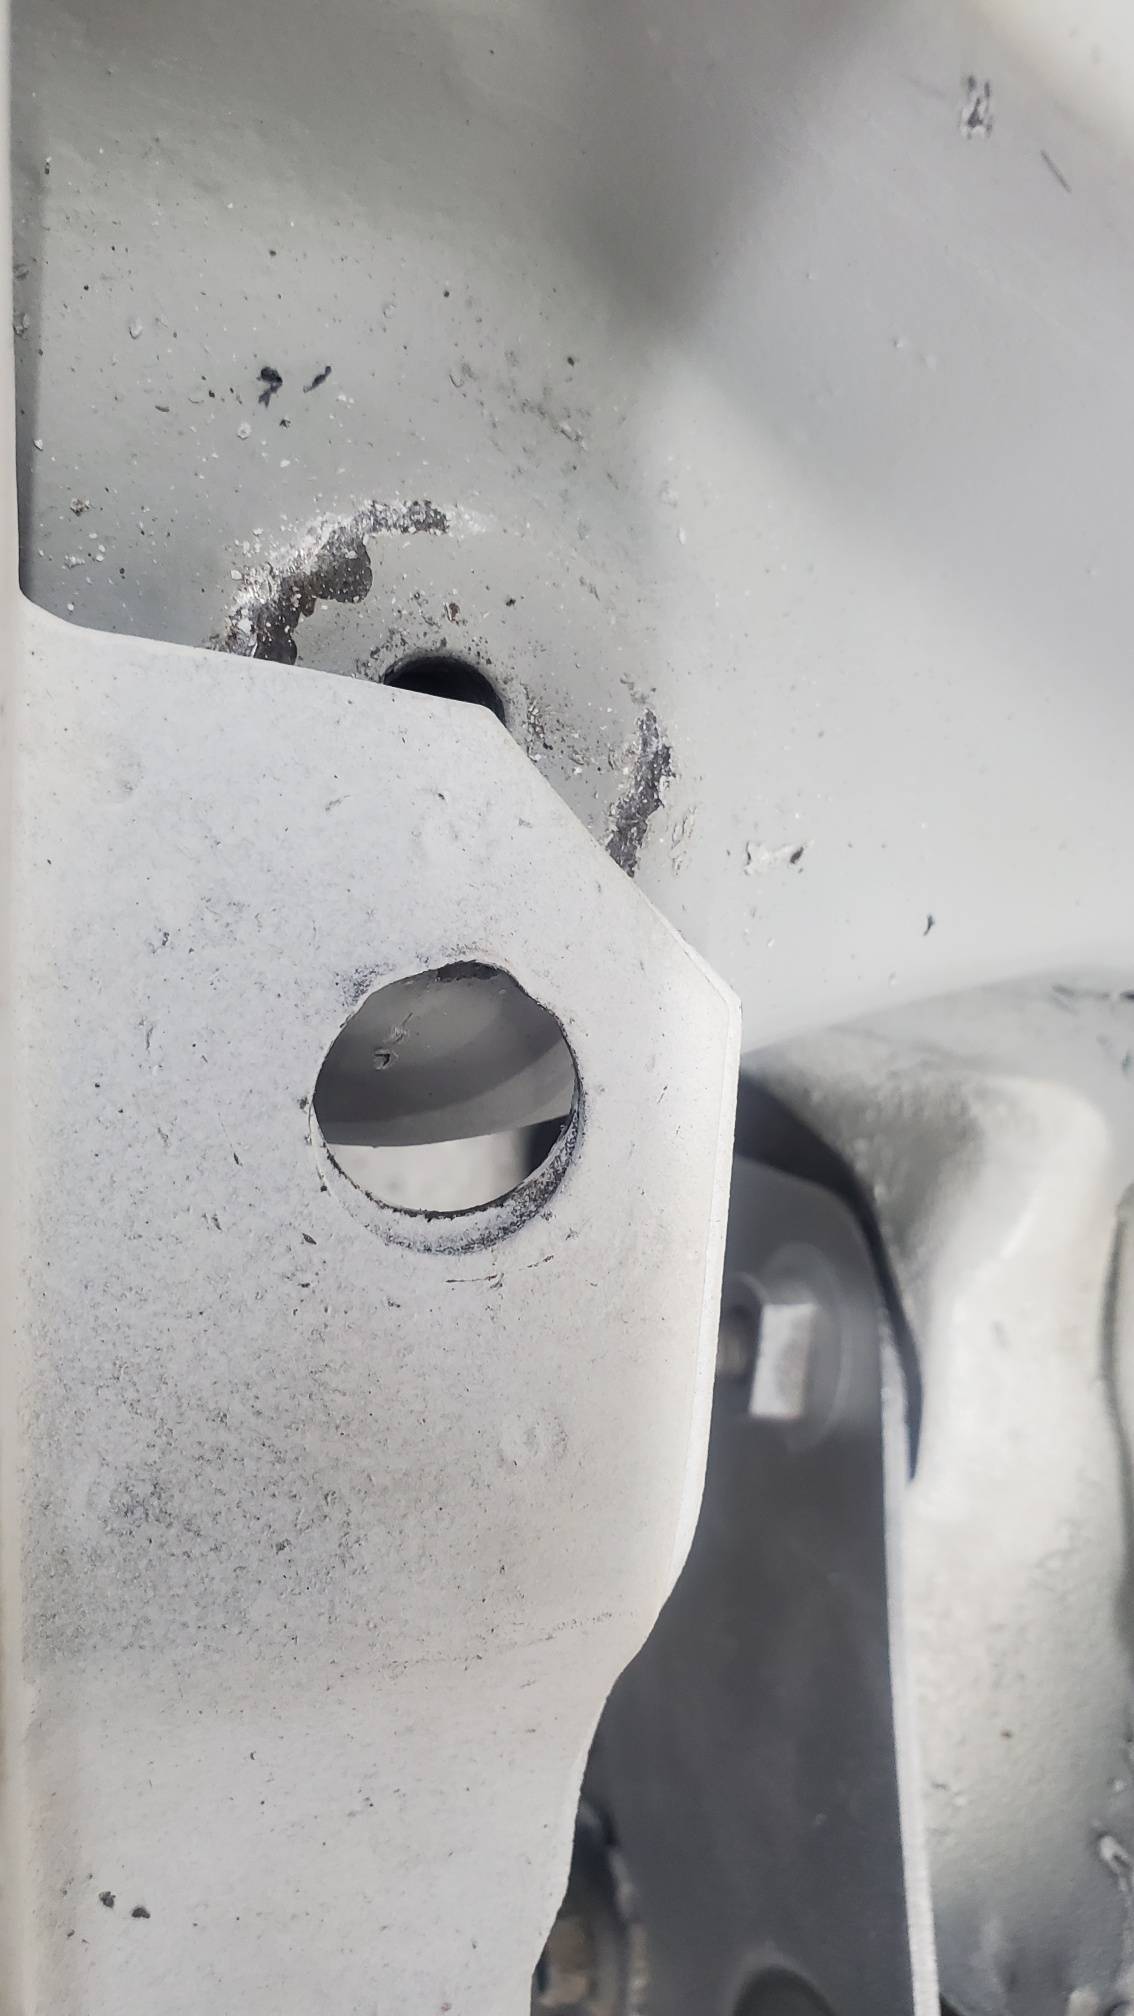 RearBoltHole_After.jpg (127.46 KB) RearBoltHole_After.jpg (127.46 KB)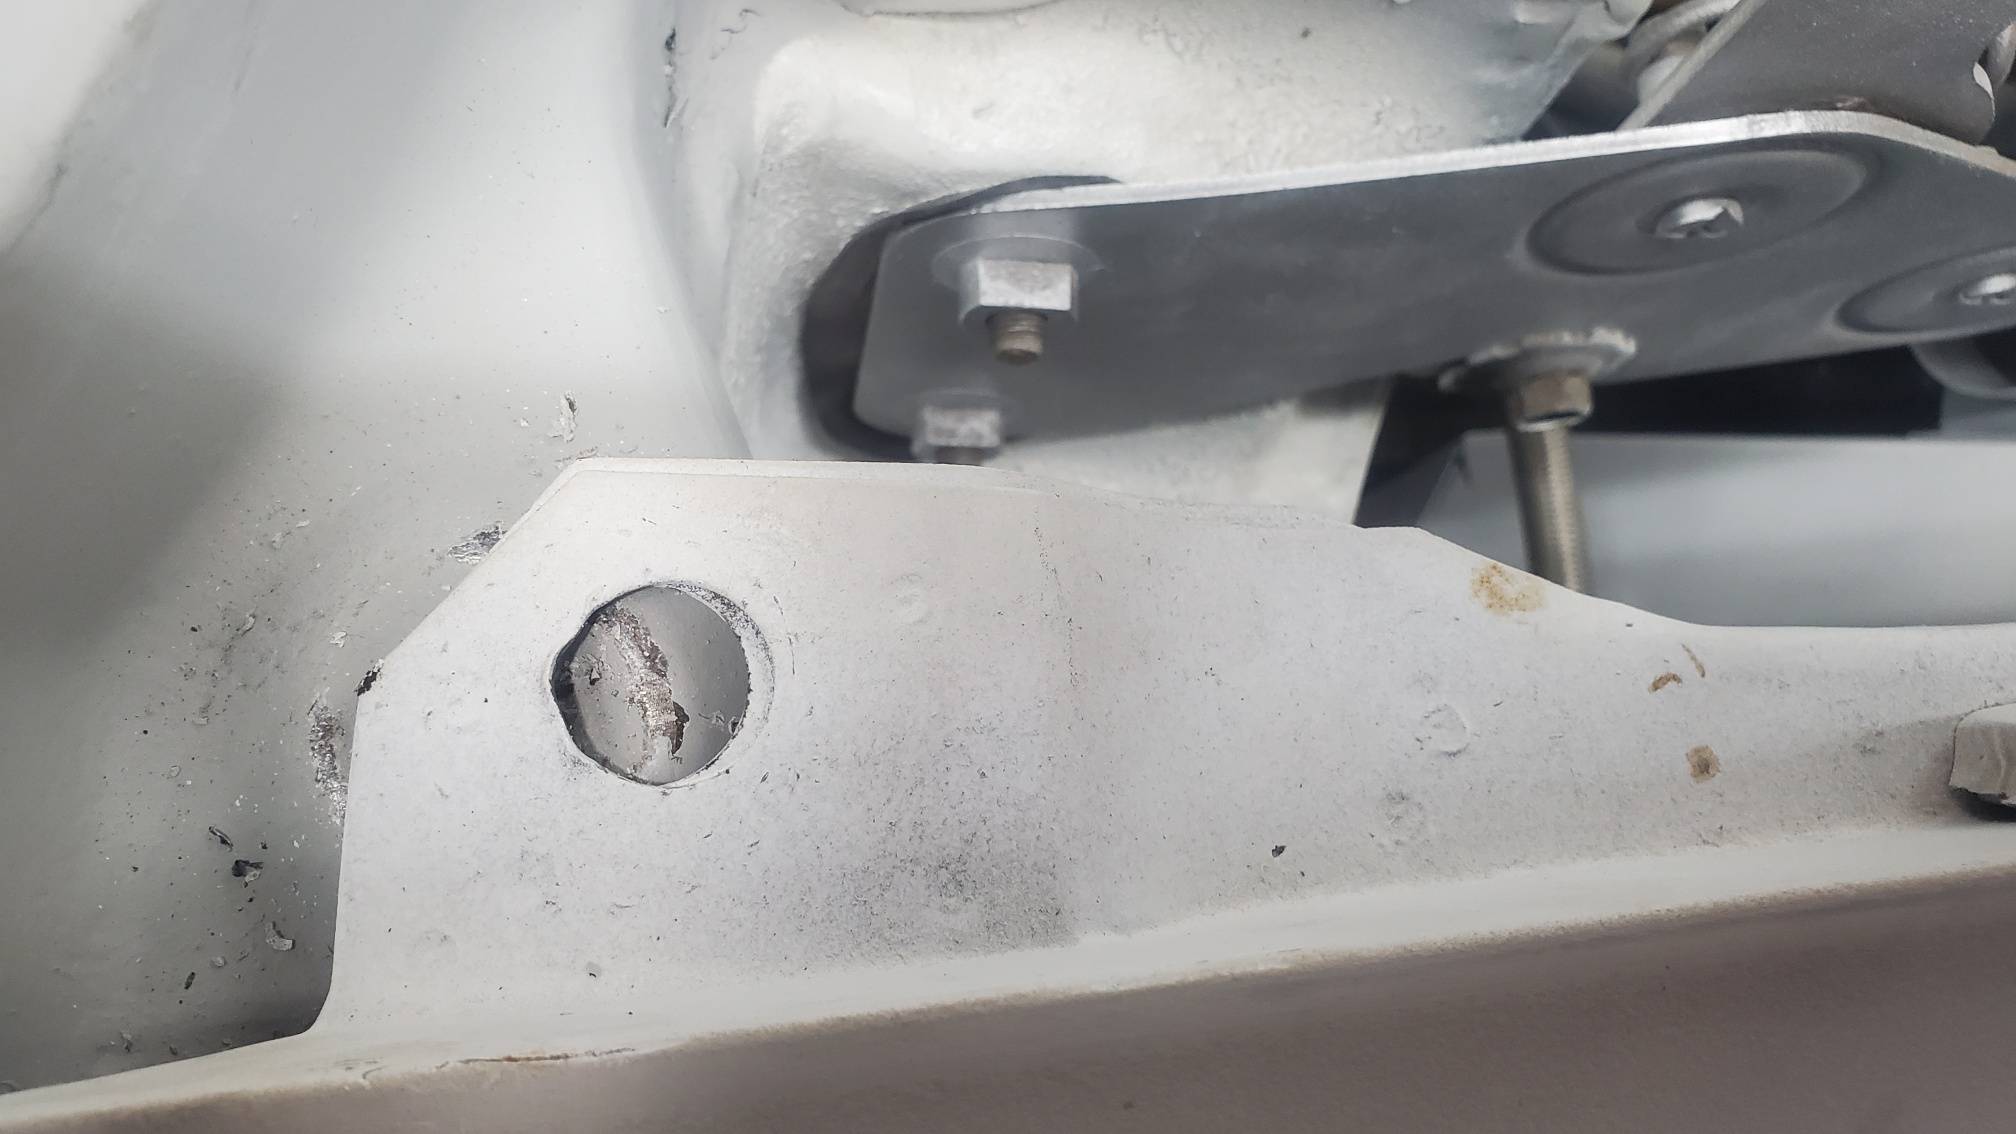 CuttingTheHump.jpg (163.27 KB) CuttingTheHump.jpg (163.27 KB)
Posted on: 2021/9/22 18:42
|
|||
|
Stewart Ballard
|
||||
|
||||
|
Re: Stewart
|
||||
|---|---|---|---|---|
|
Forum Ambassador

|
How much of the adapter is sticking up thru the hole? Am just curious as to how much difference there might be in your installation compared to the prototype when Bendtsen designed the kit.
I kind of thought not much was needed to make things fit if it could be done by a hammer and don't remember anyone else that has done the conversion saying any extra work was done. Did any drawings or instructions come with the kit mentioning dimensions or even show where an installer might need to modify the body?
Posted on: 2021/9/22 19:05
|
|||
|
Howard
|
||||
|
||||
|
Re: Stewart's 1955 Packard 400
|
||||
|---|---|---|---|---|
|
Home away from home
|
I found the updated instructions on there site and it does say "There should not be any cutting or welding required, but some areas may need slightly enlarged with a rubber mallet, or equivalent."
Unfortunately I installed it all differently. The engine and trans were already on the frame when I dropped the body in place. When all the body mount holes aligned I assumed all was good to go...until this week when I tried to mount the fender. The trans is not sticking up thru the hole right now. If I get the body to move forward it may stick out then.
Posted on: 2021/9/22 19:24
|
|||
|
Stewart Ballard
|
||||
|
||||
|
Re: Stewart
|
||||
|---|---|---|---|---|
|
Quite a regular
|
Stewart, I am curious, how did you mount the trans crossmember that comes with the kit. We spent a lot of time fitting the crossmember so that everything fit without any holes being cut. We did slightly modify the bracket on the crossmember so that the original 700r4 mount fit perfectly. I will send better fotos tomorrow.
Attach file: DSCN0190.jpg (241.03 KB)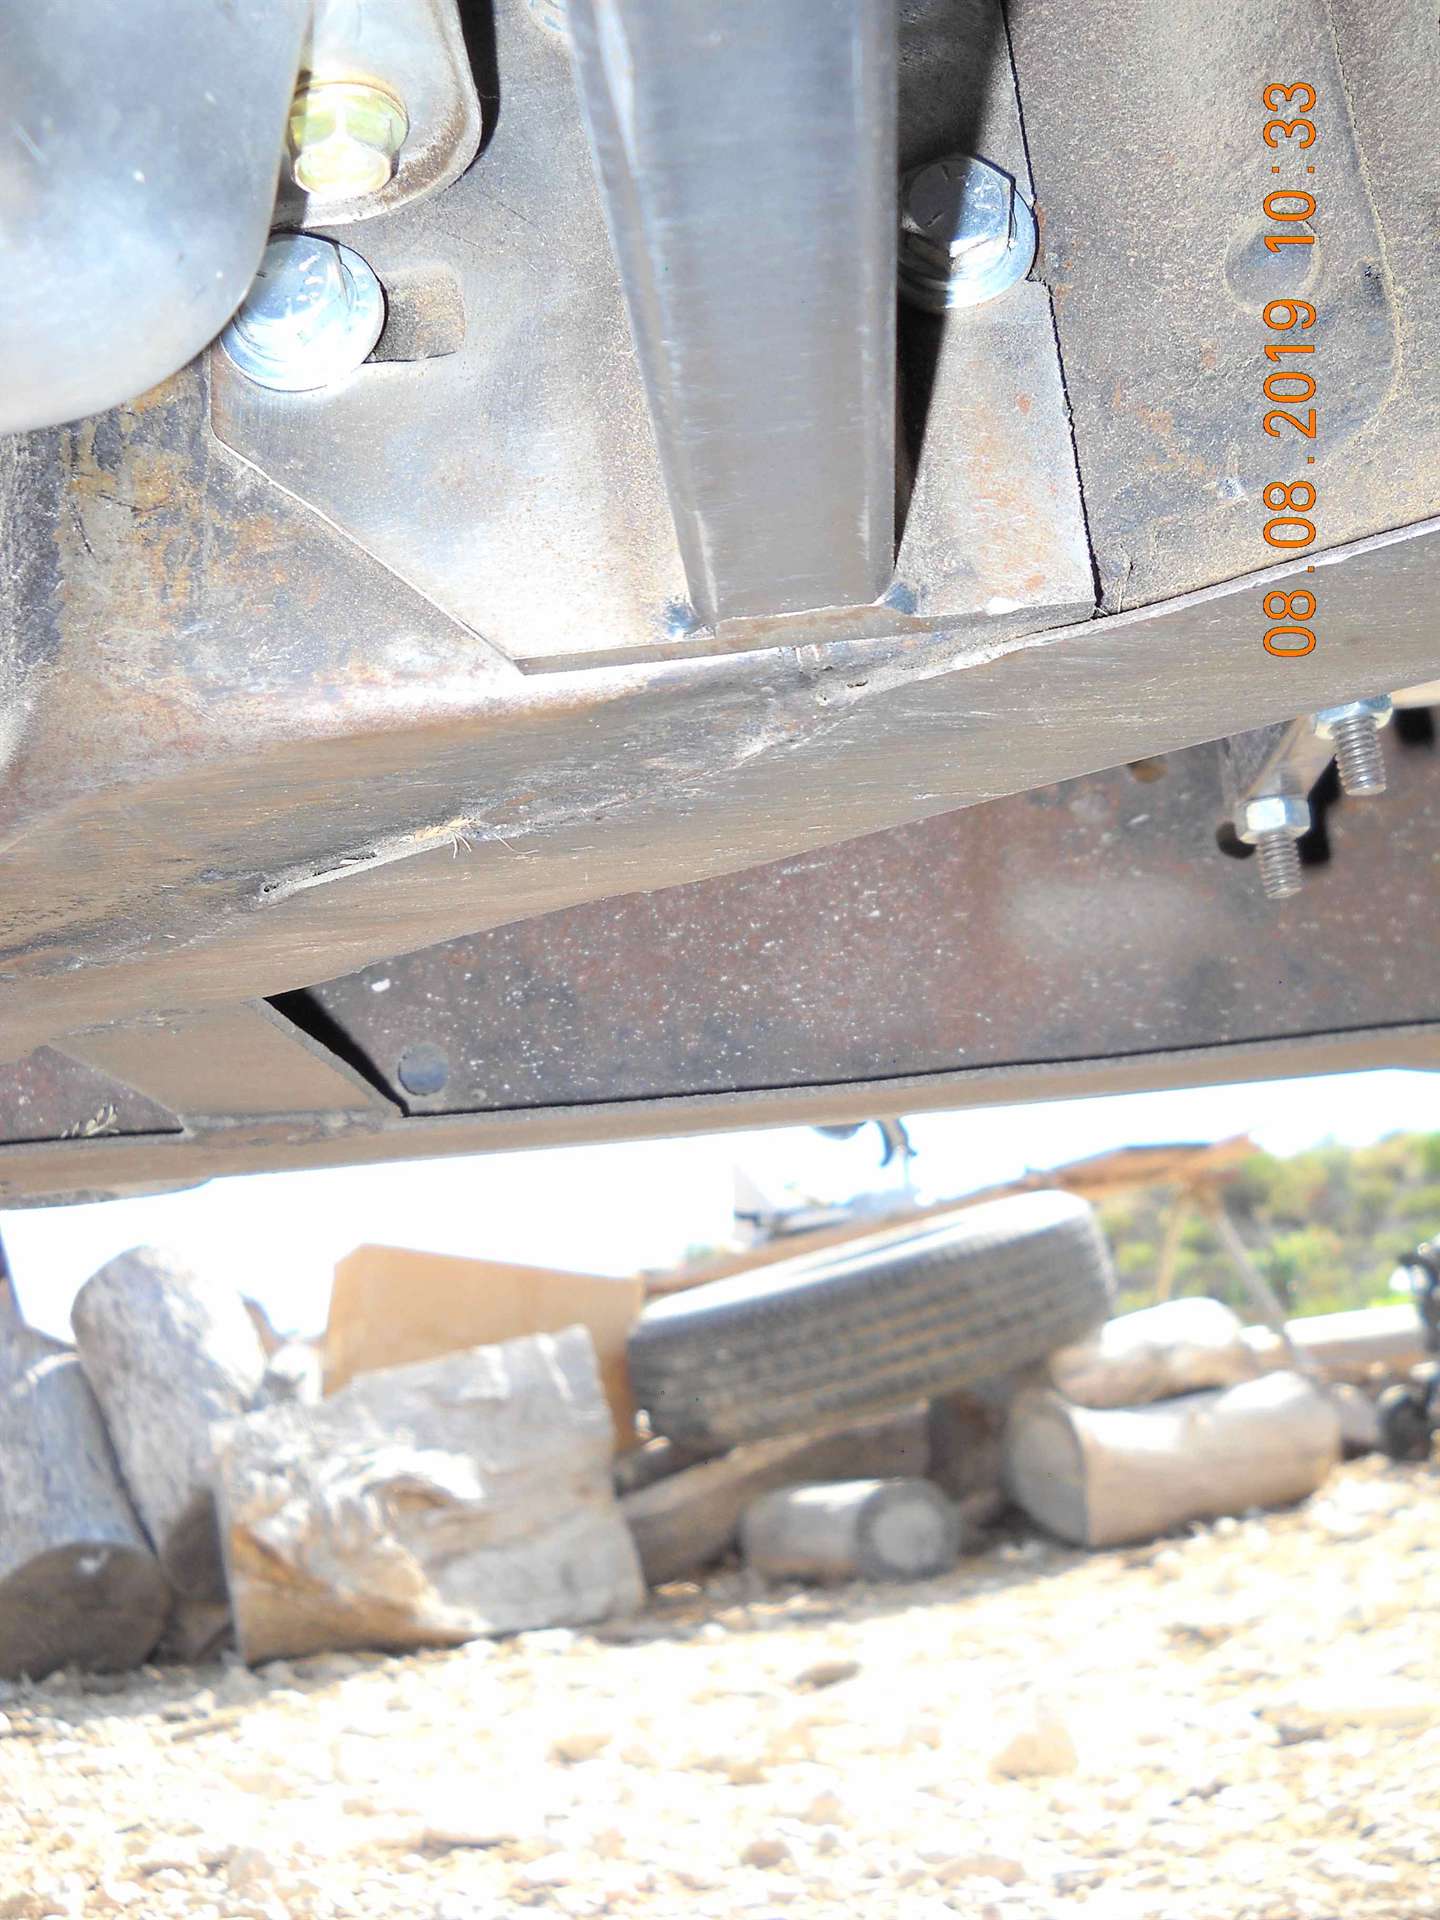 DSCN0188.jpg (135.94 KB) DSCN0188.jpg (135.94 KB)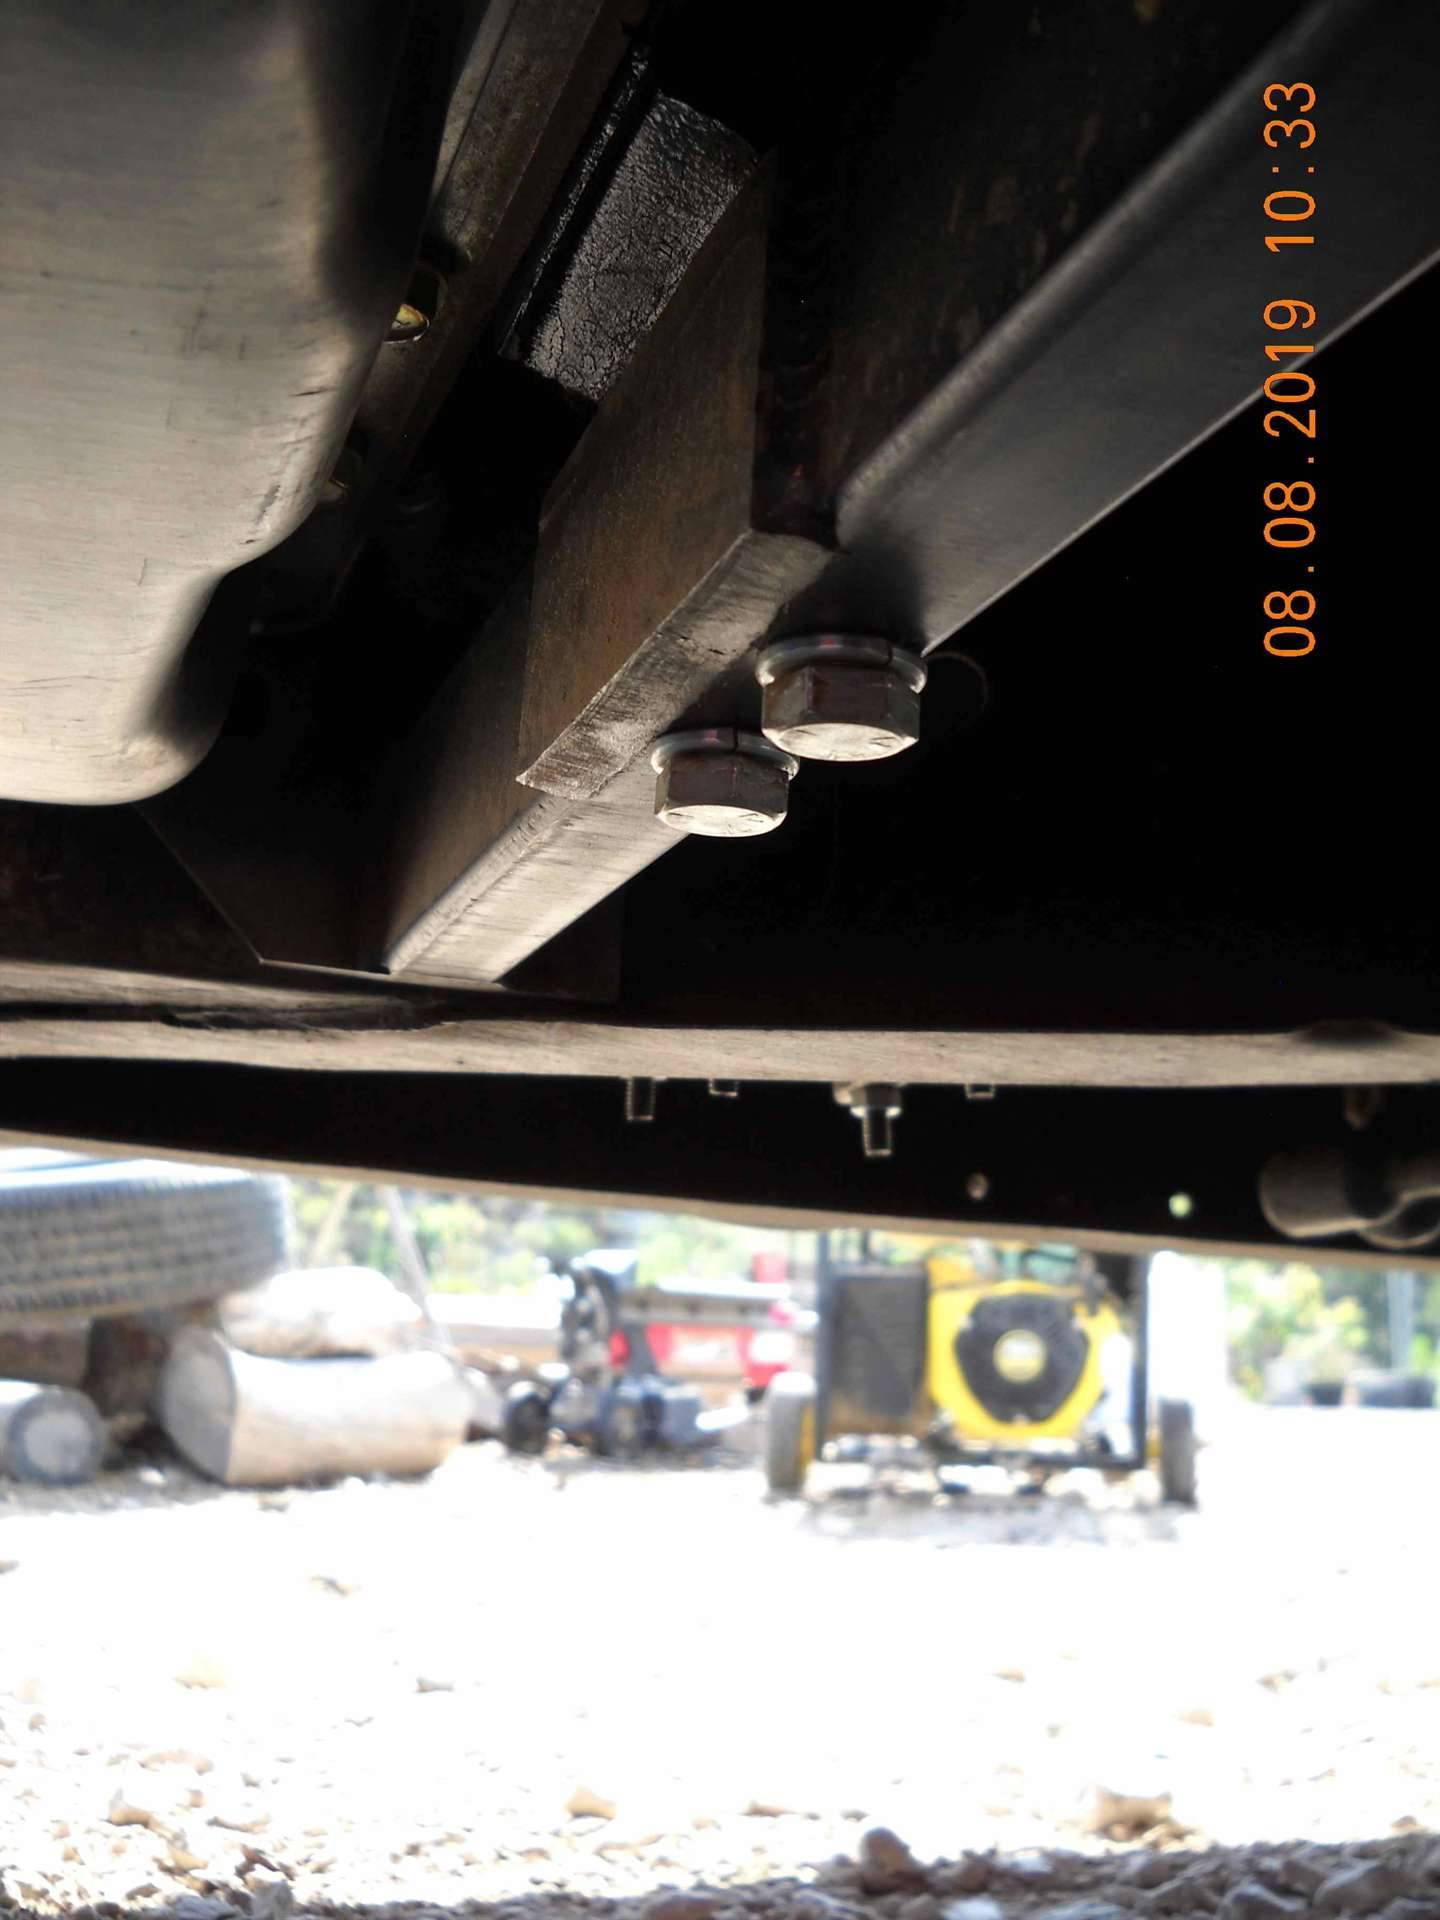 DSCN0189.jpg (164.46 KB) DSCN0189.jpg (164.46 KB)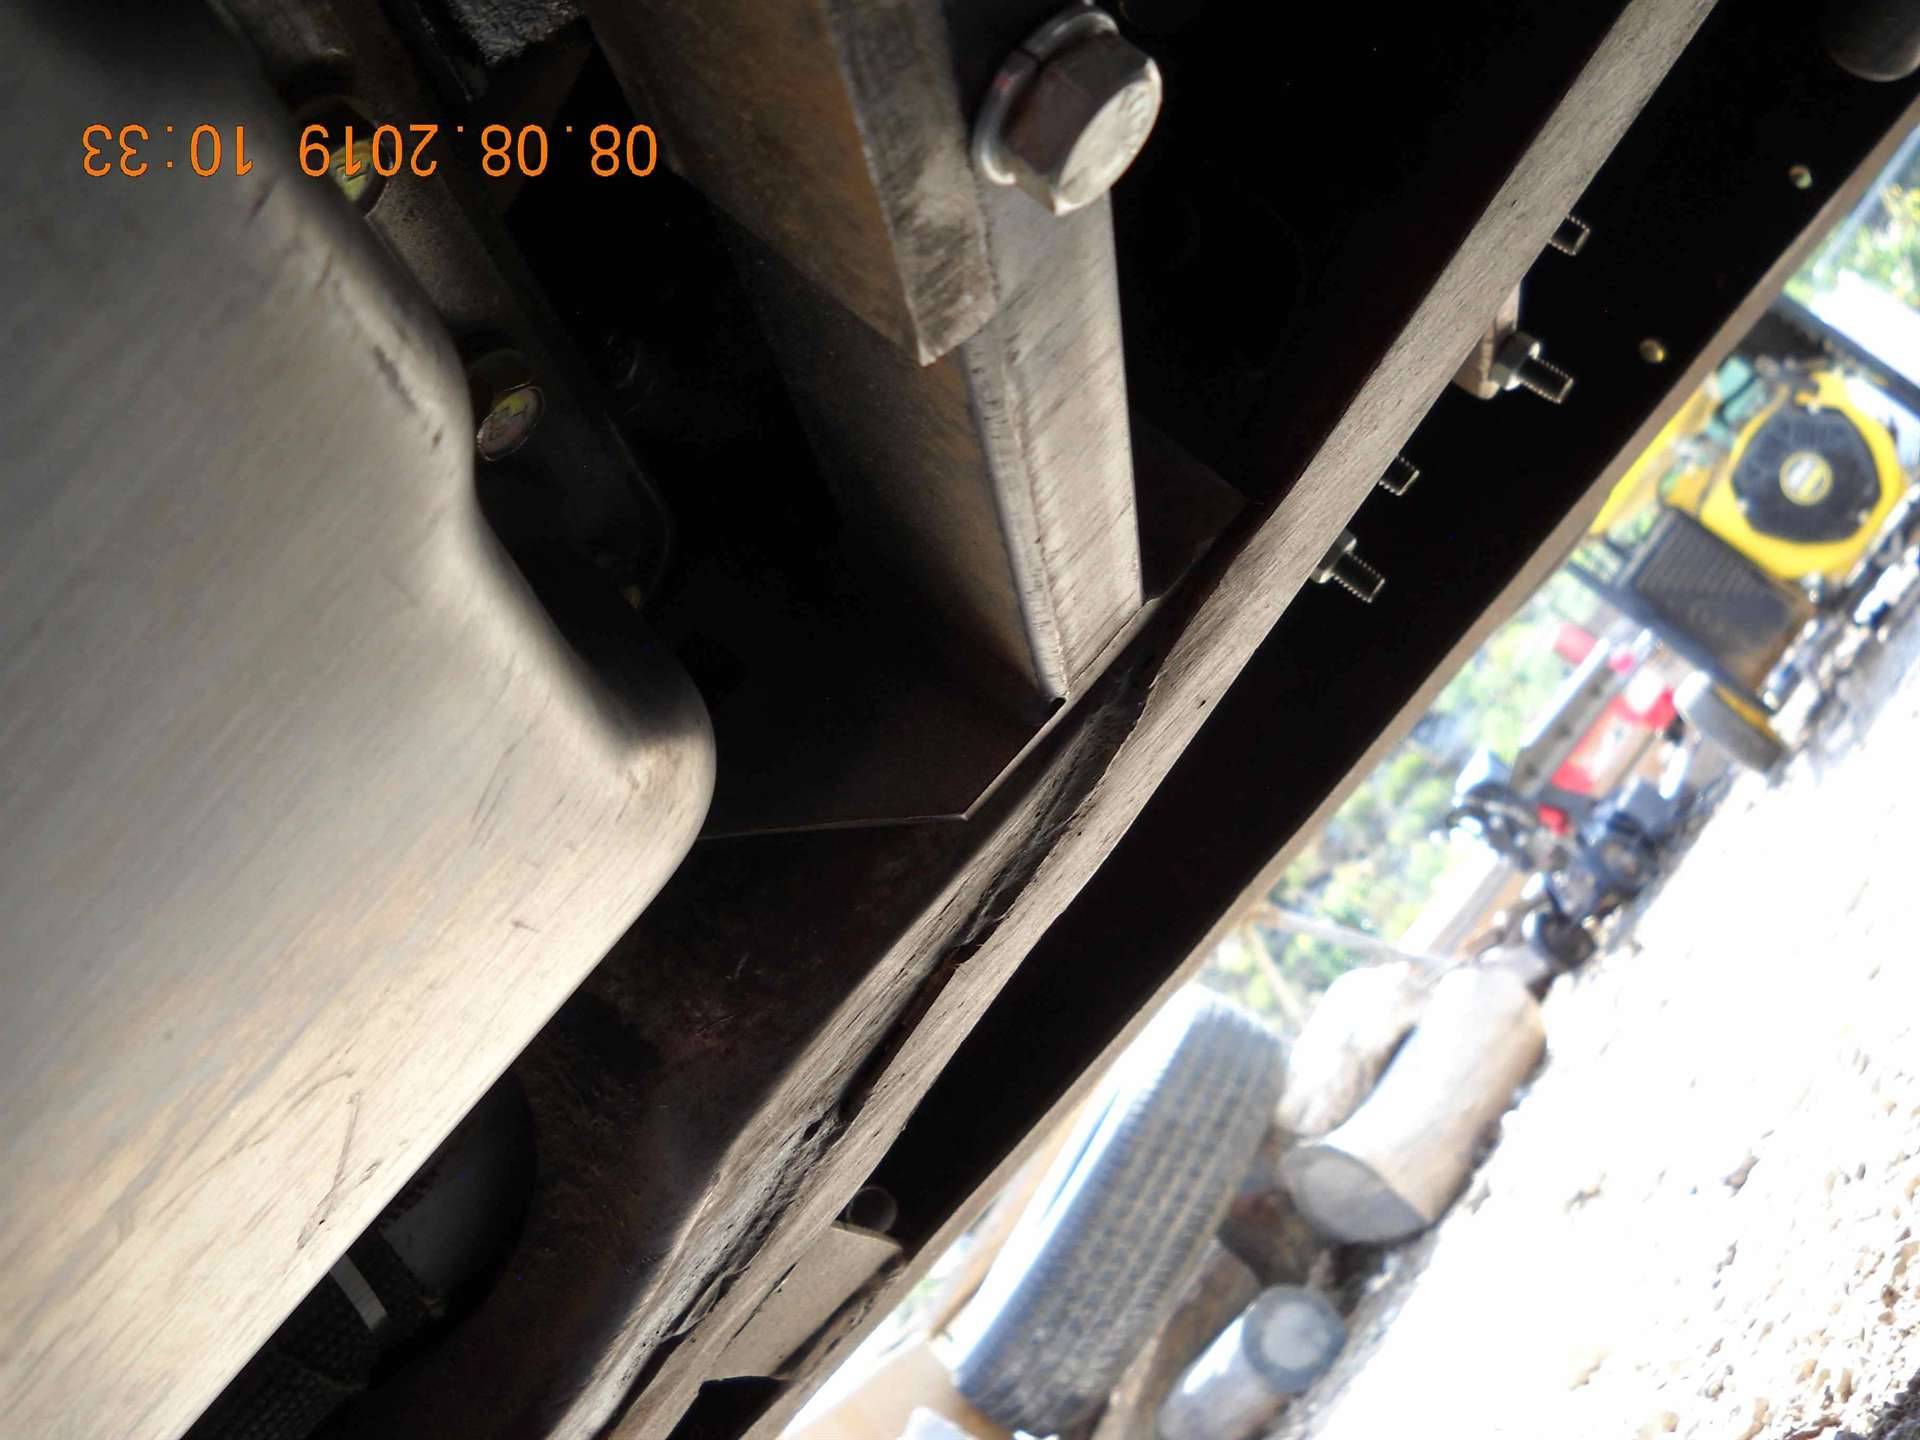
Posted on: 2021/9/22 20:14
|
|||
|
||||
|
Re: Stewart's 1955 Packard 400
|
||||
|---|---|---|---|---|
|
Home away from home
|
1SG
Believe it or not, I did all that work 5 years ago. If you look at page 48 of this blog you will see what I posted about that cross member. I had to get it modified by a local guy because it was too high. You bringing that up gives me a plan c. If all else fails I can pull that cross member out and make modifications that will let the trans sit a little lower. That should give me more clearance to move the body forward.
Posted on: 2021/9/22 20:48
|
|||
|
Stewart Ballard
|
||||
|
||||


