|
Re: BigKev's 1954 Packard Clipper Deluxe Sedan
|
||||
|---|---|---|---|---|
|
Home away from home

|
Sounds like you’re getting good help but in case you need to see an old, tired seal on another 1954, I can take a look at my two 1954 Patricians when I’m next at my shop in December. One has the fenders removed so may reveal something.
Posted on: 2021/10/22 17:10
|
|||
|
||||
|
Re: BigKev's 1954 Packard Clipper Deluxe Sedan
|
||||
|---|---|---|---|---|
|
Webmaster

|
I got the driver's side weatherstip seal put in today. Currently curing overnight. Then that fender will go back on and I'll start on the passenger side. Doing one fender at a time as it helps with lining all the sheet metal back up.
So in the process of rehanging that fender, I'll see how it sits with the new seal, and know if any alteration is needed..I glued that little flat over the screw.
Posted on: 2021/10/22 19:27
|
|||
|
-BigKev
1954 Packard Clipper Deluxe Touring Sedan -> Registry | Project Blog 1937 Packard 115-C Convertible Coupe -> Registry | Project Blog |
||||
|
||||
|
Re: BigKev's 1954 Packard Clipper Deluxe Sedan
|
||||
|---|---|---|---|---|
|
Webmaster
|
A tip I discovered, if you wipe the mating surface of the rubber with a rag sprayed with a little non-chlorinated brake cleaner, this strips the surface oils off the rubber and the adhesive pretty much instantly adheres to it. I noticed before that when something didn't stick, it was always the adhesive fails on rubber side, but always stuck to the paint side. This appears to solve that issue. I don't saturate the rag, just enough to make it damp. I think the natural oils on the surface prevent it from really bonding well and stripping that surface oil allows the surface to absorb some of adhesive and bond extremely well. Also, applying a thin coat to both sides and letting them tack up first works 1000% better than a single thick bead. When I was trying to apply the thin coat to the rubber side and spread it, it wouldnt stick and spread like the paint side would. But after wiping with brake cleaner, it worked great.
Posted on: 2021/10/23 10:36
|
|||
|
-BigKev
1954 Packard Clipper Deluxe Touring Sedan -> Registry | Project Blog 1937 Packard 115-C Convertible Coupe -> Registry | Project Blog |
||||
|
||||
|
Re: BigKev's 1954 Packard Clipper Deluxe Sedan
|
||||
|---|---|---|---|---|
|
Webmaster
|
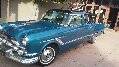
Fender back on and mostly aligned. I remember from last time that not to fully tighten all the fenderwell and core support bolts down firmly until the grill shell's bolt are also loosely back in. Weatherstripping seal was snug for the fender, but no grinding or trimming was required. Just a little brute weight and firm tightening of the rear fender bolts. Im sure the seal will relax over time.
Attach file:  20211023_134110.jpg (177.15 KB) 20211023_134110.jpg (177.15 KB)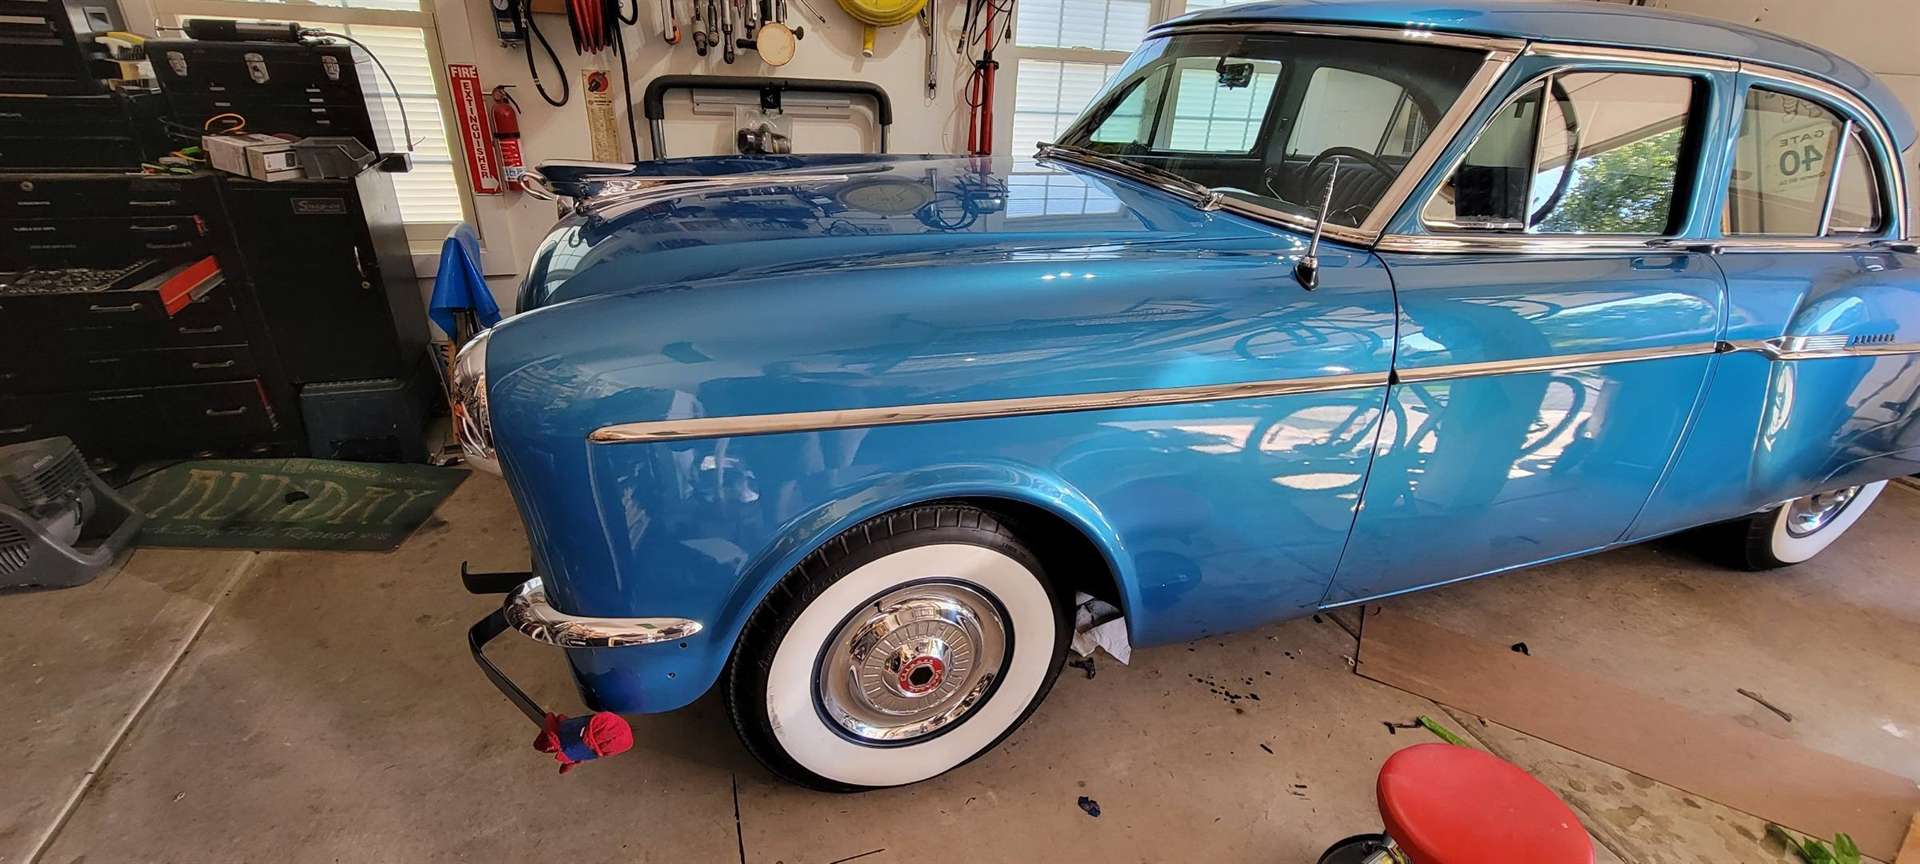
Posted on: 2021/10/23 16:42
|
|||
|
-BigKev
1954 Packard Clipper Deluxe Touring Sedan -> Registry | Project Blog 1937 Packard 115-C Convertible Coupe -> Registry | Project Blog |
||||
|
||||
|
Re: BigKev
|
||||
|---|---|---|---|---|
|
Home away from home

|
I do apologize . . . my ’54 was off-site, and I couldn’t photograph until today. Seems like you’ve completed the driver’s side already, so this is pretty much academic at this point.
With respect to the door weather strip ‘flap’, I believe you’re correct in placing the rubber ‘on top’ of the screw. Based on your photo in post #2467 versus my attached photo, along with Jerome’s, the OEM seal may have started with a slightly different cross section in that area, but then again I’m looking at a seal that has had a good number of years of ‘forming’ pressure. Attach file: WeatherSeal002.jpg (217.13 KB)
Posted on: 2021/10/23 18:11
|
|||
|
||||
|
Re: BigKev
|
||||
|---|---|---|---|---|
|
Webmaster
|
Thanks for the confirmation!
Posted on: 2021/10/23 21:00
|
|||
|
-BigKev
1954 Packard Clipper Deluxe Touring Sedan -> Registry | Project Blog 1937 Packard 115-C Convertible Coupe -> Registry | Project Blog |
||||
|
||||
|
Re: BigKev
|
||||
|---|---|---|---|---|
|
Webmaster
|
With the driver's side wrapped up, moved onto the passenger side. Fender off, and started to replace the door seal. Also side access is easy with the fender off, I lubed all the grease fittings.
I also think I was able to solve my perpetual squeak/groan issue when going over a bump that has been there ever since putting the car back together years ago. It appears to have been the polyurethane sway bar bushings. After disconnecting them from the frame, the squeak/groan disappeared. So I took them apart greased them. Also, I had one retainer clip with a broken tab, so I replaced both clips with new ones I got from Joel awhile back. Last on the list for the day was installing the aux Trans cooler. Since there is a plan forming for a long distance drive in the spring, and after consulting with Ross, this was cheap insurance to help extend the life my tired GearStart. It's in series with the stock cooler. So goes from the top output on the tranny to the stock cooler, then from the output on the stock cooler to the aux cooler, then from the aux cooler back to the tranny. Simple to install, just needed to disconnect one hard line at the stock cooler and install a hose nipple and the new hoses attach there. So if I ever wanted to remove the aux cooler, I just need to remove the hose nipple and reattach the hardline to the stock cooler. No holes drilled or anything cut to install. Attach file: 20211030_101725.jpg (197.51 KB)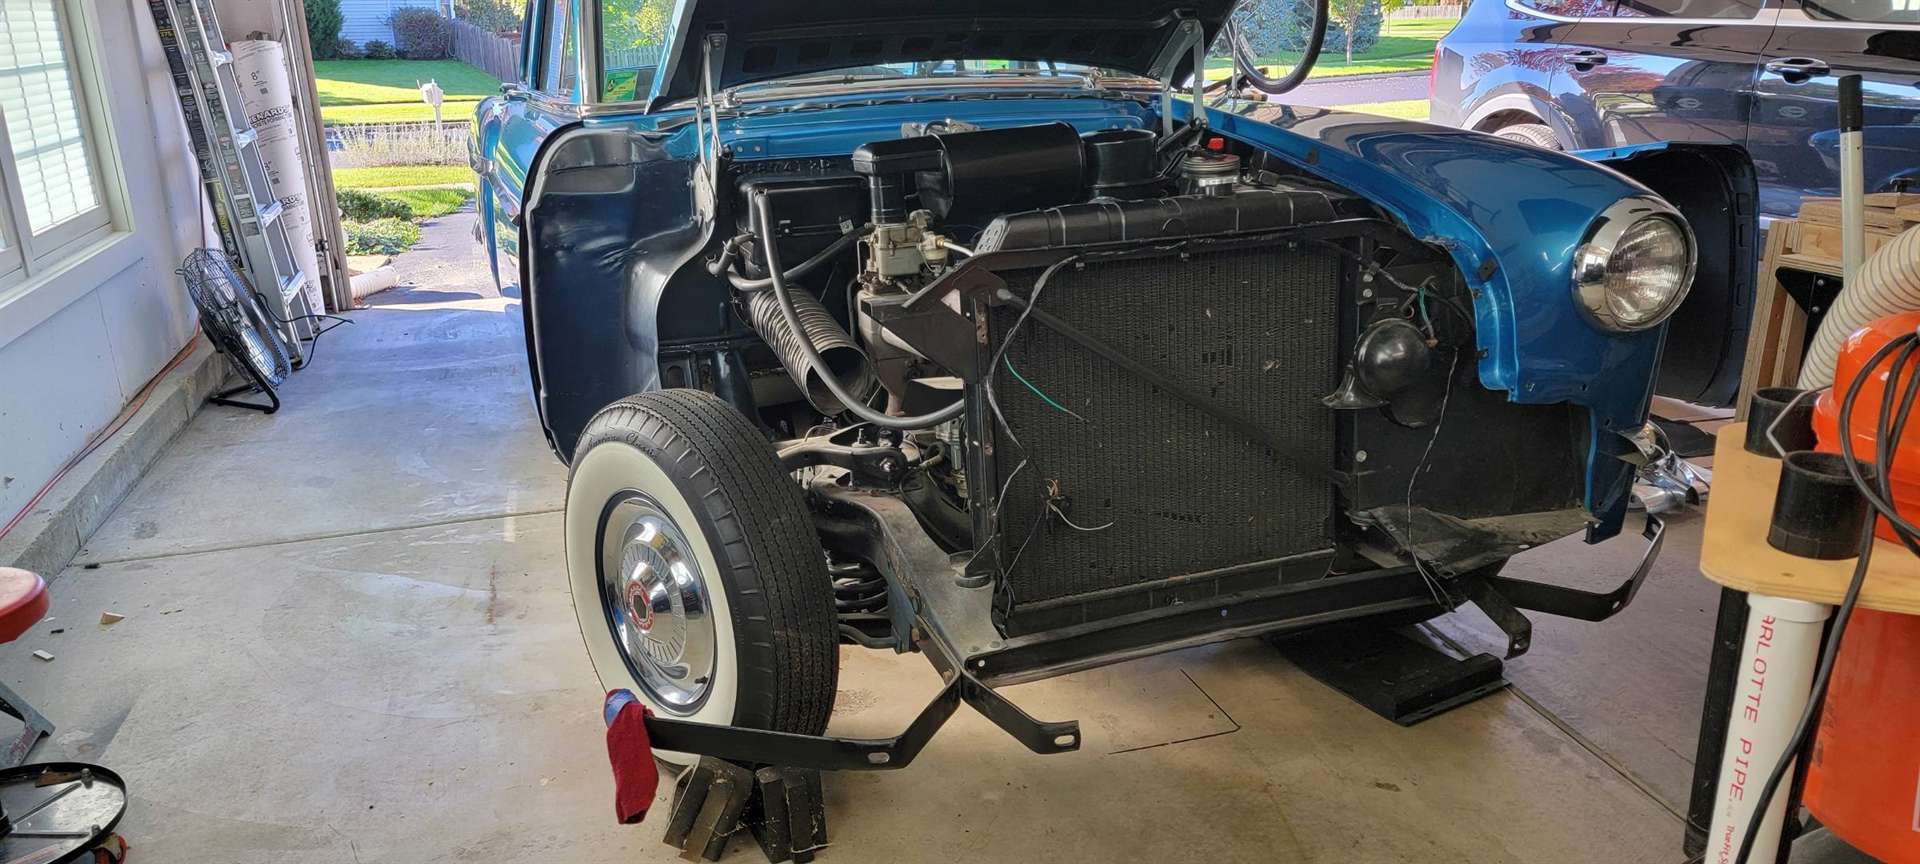 20211030_160715.jpg (223.60 KB) 20211030_160715.jpg (223.60 KB)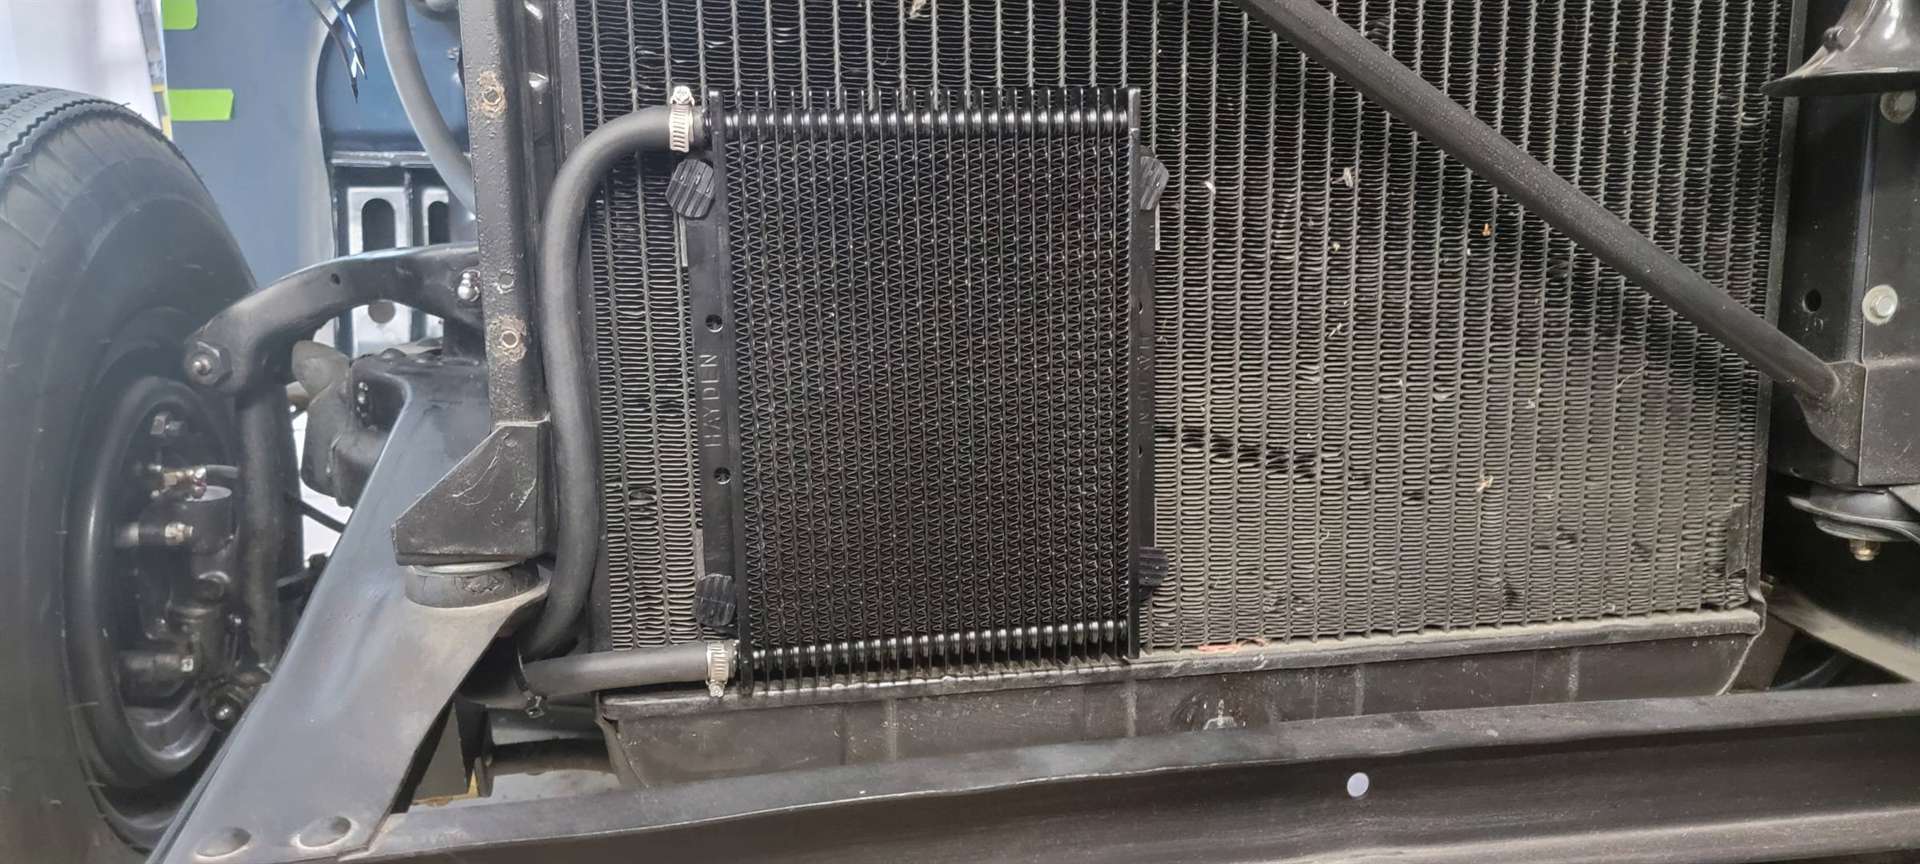
Posted on: 2021/10/31 8:01
|
|||
|
-BigKev
1954 Packard Clipper Deluxe Touring Sedan -> Registry | Project Blog 1937 Packard 115-C Convertible Coupe -> Registry | Project Blog |
||||
|
||||
|
Re: BigKev
|
||||
|---|---|---|---|---|
|
Webmaster
|
Last item of the day, I've needed to drill put a broken bolt in the where the fender attaches to the cowl in the lower corner ever since I originally had the car apart.
So starting with a small bit and working up, drilling out the bolt was moving along just fine. As I was move through what should have been the last bit, the bit caught, and broke the blind nut free of the sheet metal. Crap. Now the hole where the blind nut was crimped in the sheet metal was nearly as large as the as a nut that would fit the bolt. Also pretty much would have been impossible to hold a nut in place given the location, and the reason there was a blind nut installed there. So I had to MacGyver a solution. So I welded a 5/16-18 nut to a thick washer, pushed that into the channel over the hole and welded that washer to the sheet metal. Not the prettiest welds due to the confined/awkward space, but it will hold. Hit it with some chassis black to ward off rust. It will do just nicely as a replacement. First time I've use the MIG welder in years. Here's what the original blind nut looked like, I was almost there with the drilling out. Attach file: 20211031_104406.jpg (163.22 KB)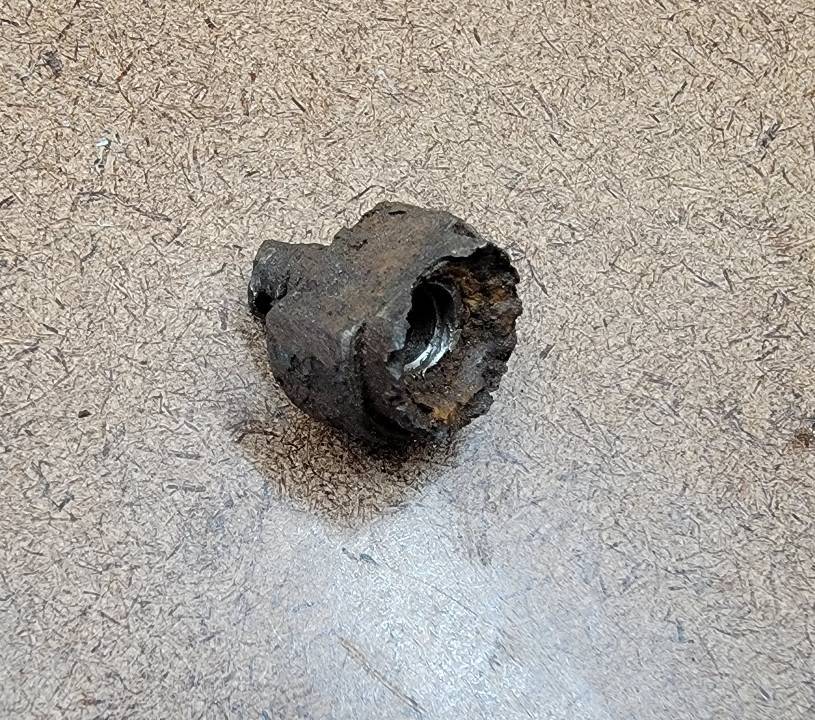
Posted on: 2021/10/31 14:36
|
|||
|
-BigKev
1954 Packard Clipper Deluxe Touring Sedan -> Registry | Project Blog 1937 Packard 115-C Convertible Coupe -> Registry | Project Blog |
||||
|
||||
|
Re: BigKev
|
||||
|---|---|---|---|---|
|
Home away from home
|
Those nuts are a real pain. I don’t remember if the bolts came out intact on the 1954 Patrician that I am disassembling or not but seeing what happened to yours, I will definitely be supporting it from the top side should it need to be drilled!
Posted on: 2021/10/31 15:09
|
|||
|
||||


