|
Re: The Duchess Project: 1940 Super 8 Convertible Sedan
|
||||
|---|---|---|---|---|
|
Home away from home
|
Quote:
Your speedometer is in good hands with Pat. !!!! 39SixSedanMan on the forum
Posted on: 2023/1/5 9:14
|
|||
|
West Peterson
1930 Packard Speedster Eight boattail (SOLD) 1940 Packard 1808 w/Factory Air (SOLD) 1947 Chrysler Town and Country sedan 1970 Camaro RS 1936 Cord phaeton packardinfo.com/xoops/html/modules/newbb/viewtopic.php?topic_id=4307&forum=10 aaca.org/ |
||||
|
||||

|
Re: The Duchess Project: 1940 Super 8 Convertible Sedan
|
||||
|---|---|---|---|---|
|
Webmaster

|
When wiring relays, I always use these. It makes it so much cleaner and no need to tape wrap the bejesus out of the relay connections then.
They probably make a 6v version (aka heavier wires) Relay Plugs
Posted on: 2023/1/5 16:06
|
|||
|
-BigKev
1954 Packard Clipper Deluxe Touring Sedan -> Registry | Project Blog 1937 Packard 115-C Convertible Coupe -> Registry | Project Blog |
||||
|
||||
|
Re: The Duchess Project: 1940 Super 8 Convertible Sedan
|
||||
|---|---|---|---|---|
|
Forum Ambassador

|
I agree with Kev on the use of sockets but the problem I have with prewired sockets is wires are often too small a gauge for the load I want and the colors are usually not what will match already existing wiring. There are some bare unwired sockets available where you can add your own size and color wire but not that easily found and for a novice, not all that easy to wire with larger gauge wire and not having proper crimping tools. For that reason, I did not show using a socket.
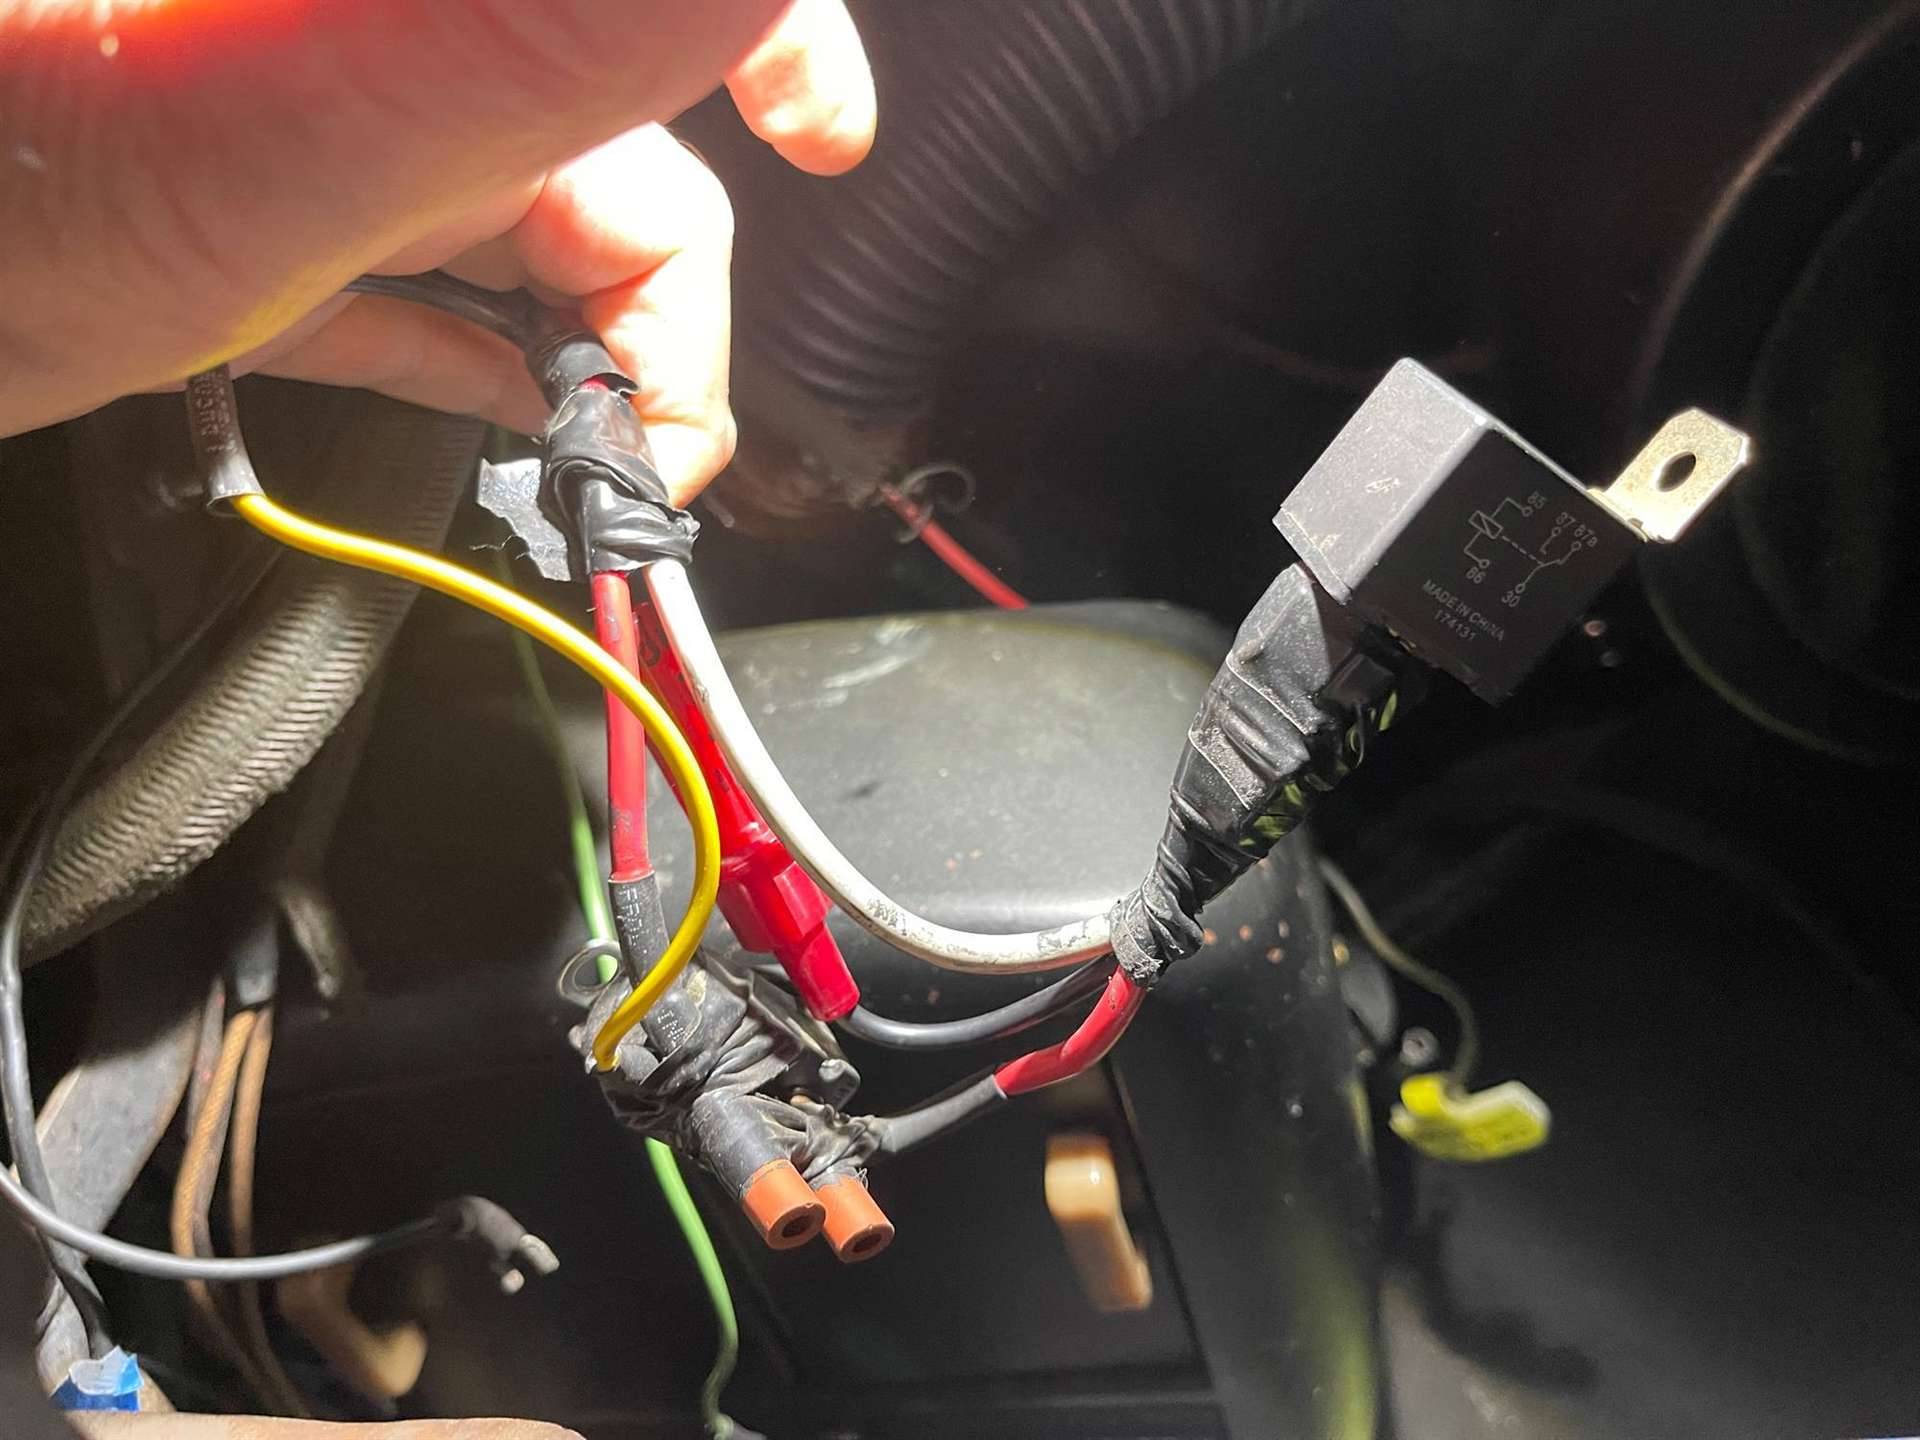
I often use quick disconnect terminals instead of sockets but some of the terminals are bulky and hard to fit in a confined space. Depending on space available, I alway either use a fully insulated terminal or a regular terminal but if a regular, add a piece of heat shrink over the terminal to cover the bare portion of the terminal and some of the insulation. Regarding the addition of a relay to take some load off the ign switch here is a way to do it using one 6v relay and a distribution block that will accommodate accessories tha are already fused or those that have no fuse at all. This is a modern block not sized for the SFE type fuses Packard used. It will need modern AGC or 3AG type fuses for any size other than 20 amps. You can get wire, terminals and probably heat shrink tubing at almost any parts store. The quick disconnects will need to be .250 in size and for the ring terminals, those sized for a #10 stud should work on any place I can think of that would have the needed power. In addition to stud size considerations, note that in the drawing I only show one color terminal which would be the yellow used with 12ga wire. I would suggest using that wire gauge for the power into the relay and out to the distribution block as it matches what Packard used for supply to the ign switch. On the ground and wire to activate the relay coil 16 ga is more than adequate and that gauge would need red or blue terminals. You can make a small neat loom by cutting the wires to the length needed between where you mount the relay and distribution block and the points where you pick up the power and switching terminals. Note that switched terminals on Packard ign switches are labeled GA, on most others, ACC. You can look at a wire diagram to see what other terminals than the ign sw might have a more easy to reach location. As I said, I use heat shrink over the bare portion of the terminals but if you do not have any you can just wrap tape around as was done on your other relay. Just make sure you use something. Attach file:  Power relay and distribution block.jpg (117.52 KB) Power relay and distribution block.jpg (117.52 KB)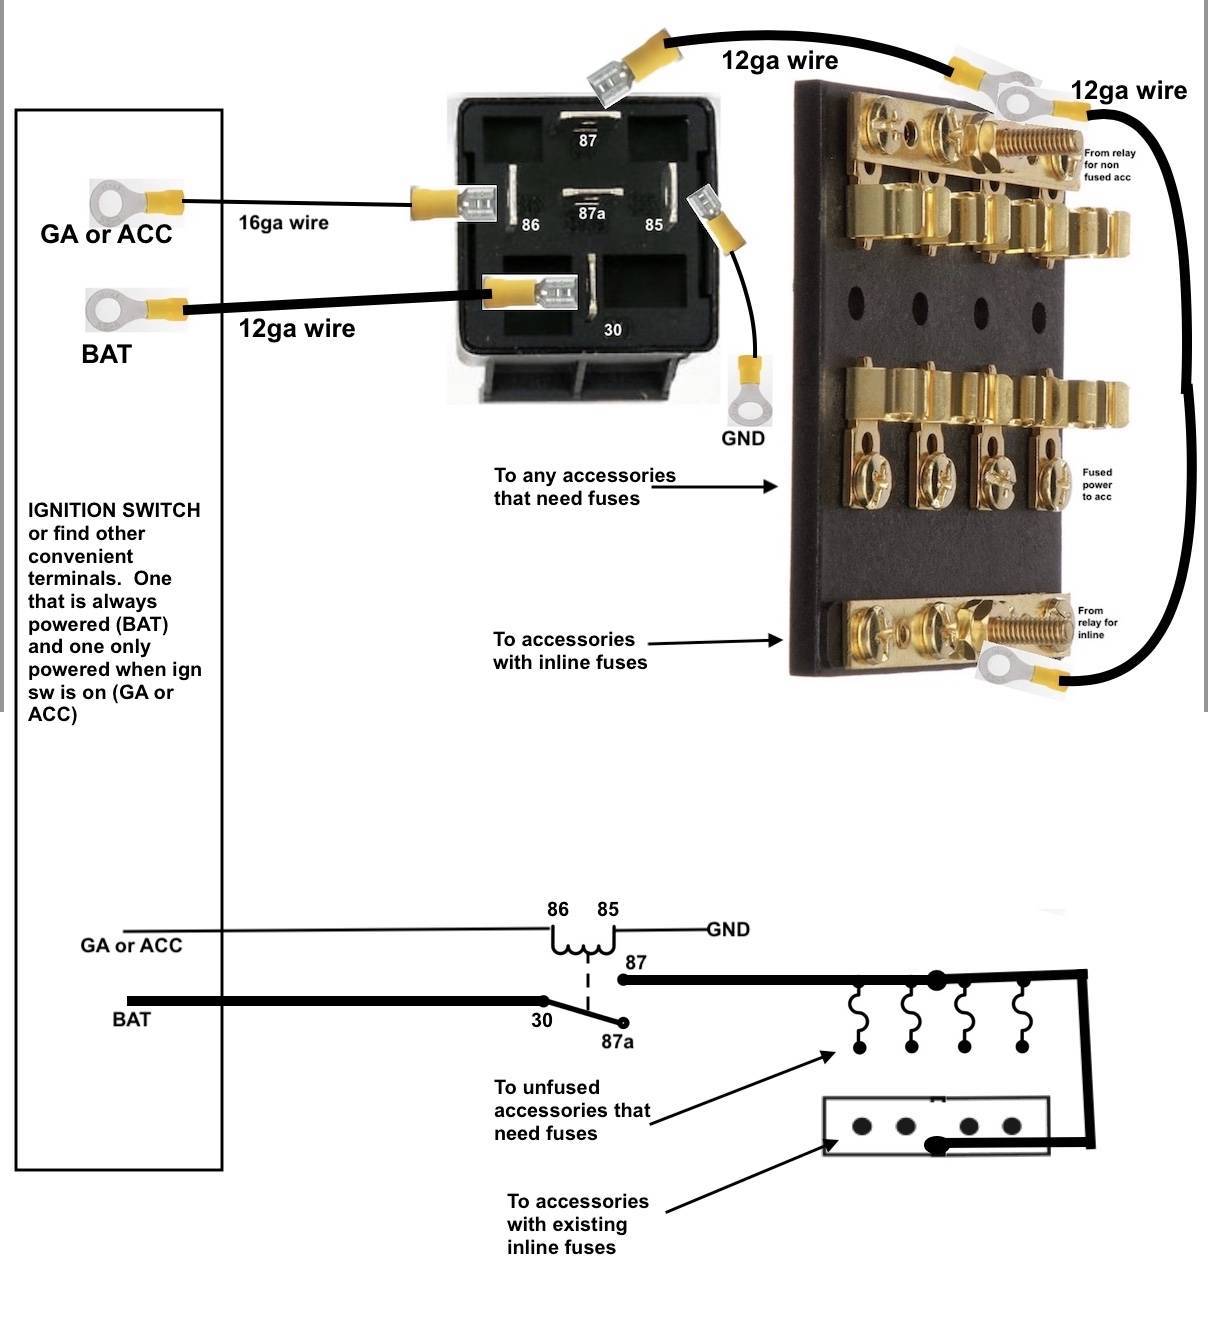
Posted on: 2023/1/5 16:54
|
|||
|
Howard
|
||||
|
||||
|
Re: The Duchess Project: 1940 Super 8 Convertible Sedan
|
||||
|---|---|---|---|---|
|
Home away from home

|
WIRING: Kev, Howard, tsherry, thanks for all the info. I'm printing it all out so my old man eyes and brain can read and highlight a hard copy. I know I'll get it, eventually.
Once I think I understand it, I'll try to make a wiring diagram of the actual components and a plan for where and how to mount these new items under the dash where I can access them after everything is back together. I'm excited about this project because I think it will make a MAJOR improvement in reliability, which is a key attribute for someone whose only car is his Packard.
Posted on: 2023/1/6 12:08
|
|||
|
||||
|
Re: The Duchess Project: 1940 Super 8 Convertible Sedan
|
||||
|---|---|---|---|---|
|
Home away from home
|
Here are some pix of my dash project. A narrative will follow in a couple days.
Attach file: Dashboard2023-1.jpg (300.14 KB) DashShellRefinish.jpg (257.35 KB) DashShellRefinish.jpg (257.35 KB) dashweb.jpg (180.15 KB) dashweb.jpg (180.15 KB)
Posted on: 2023/2/9 9:31
|
|||
|
||||
|
Re: The Duchess Project: 1940 Super 8 Convertible Sedan
|
||||
|---|---|---|---|---|
|
Home away from home
|
More dash project pix
Attach file: IMG_2868.JPG (71.85 KB)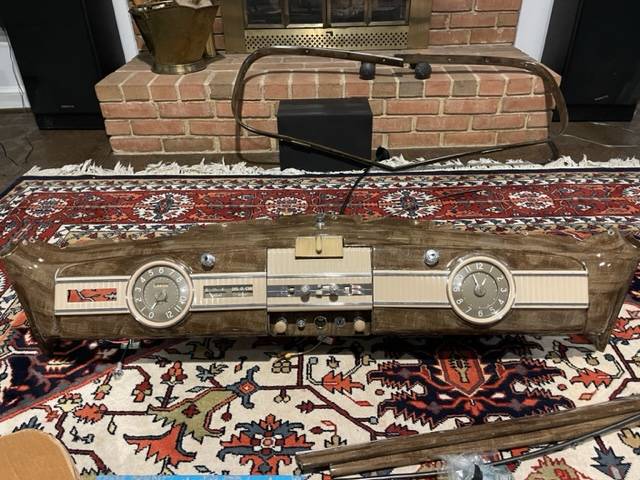 IMG_2867.JPG (32.29 KB) IMG_2867.JPG (32.29 KB)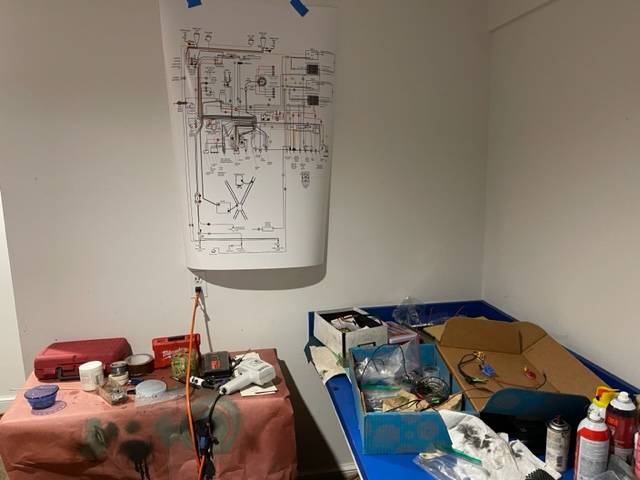 IMG_2865.JPG (43.41 KB) IMG_2865.JPG (43.41 KB)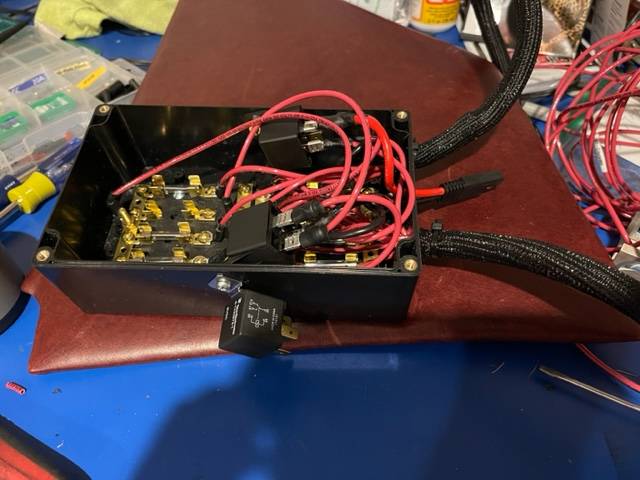 IMG_2856.jpg (59.53 KB) IMG_2856.jpg (59.53 KB)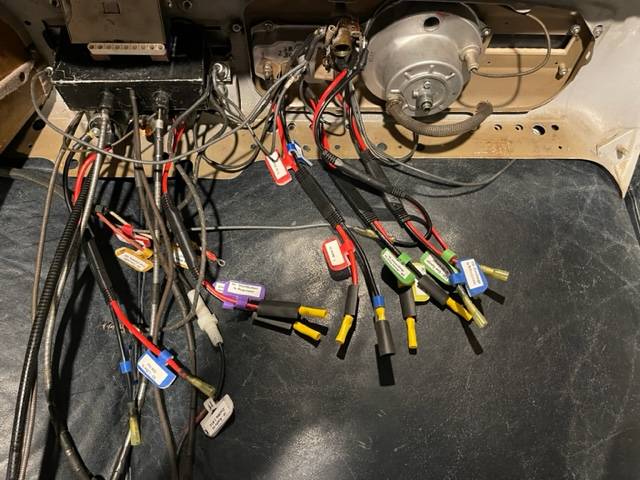 IMG_2834.JPG (265.89 KB) IMG_2834.JPG (265.89 KB)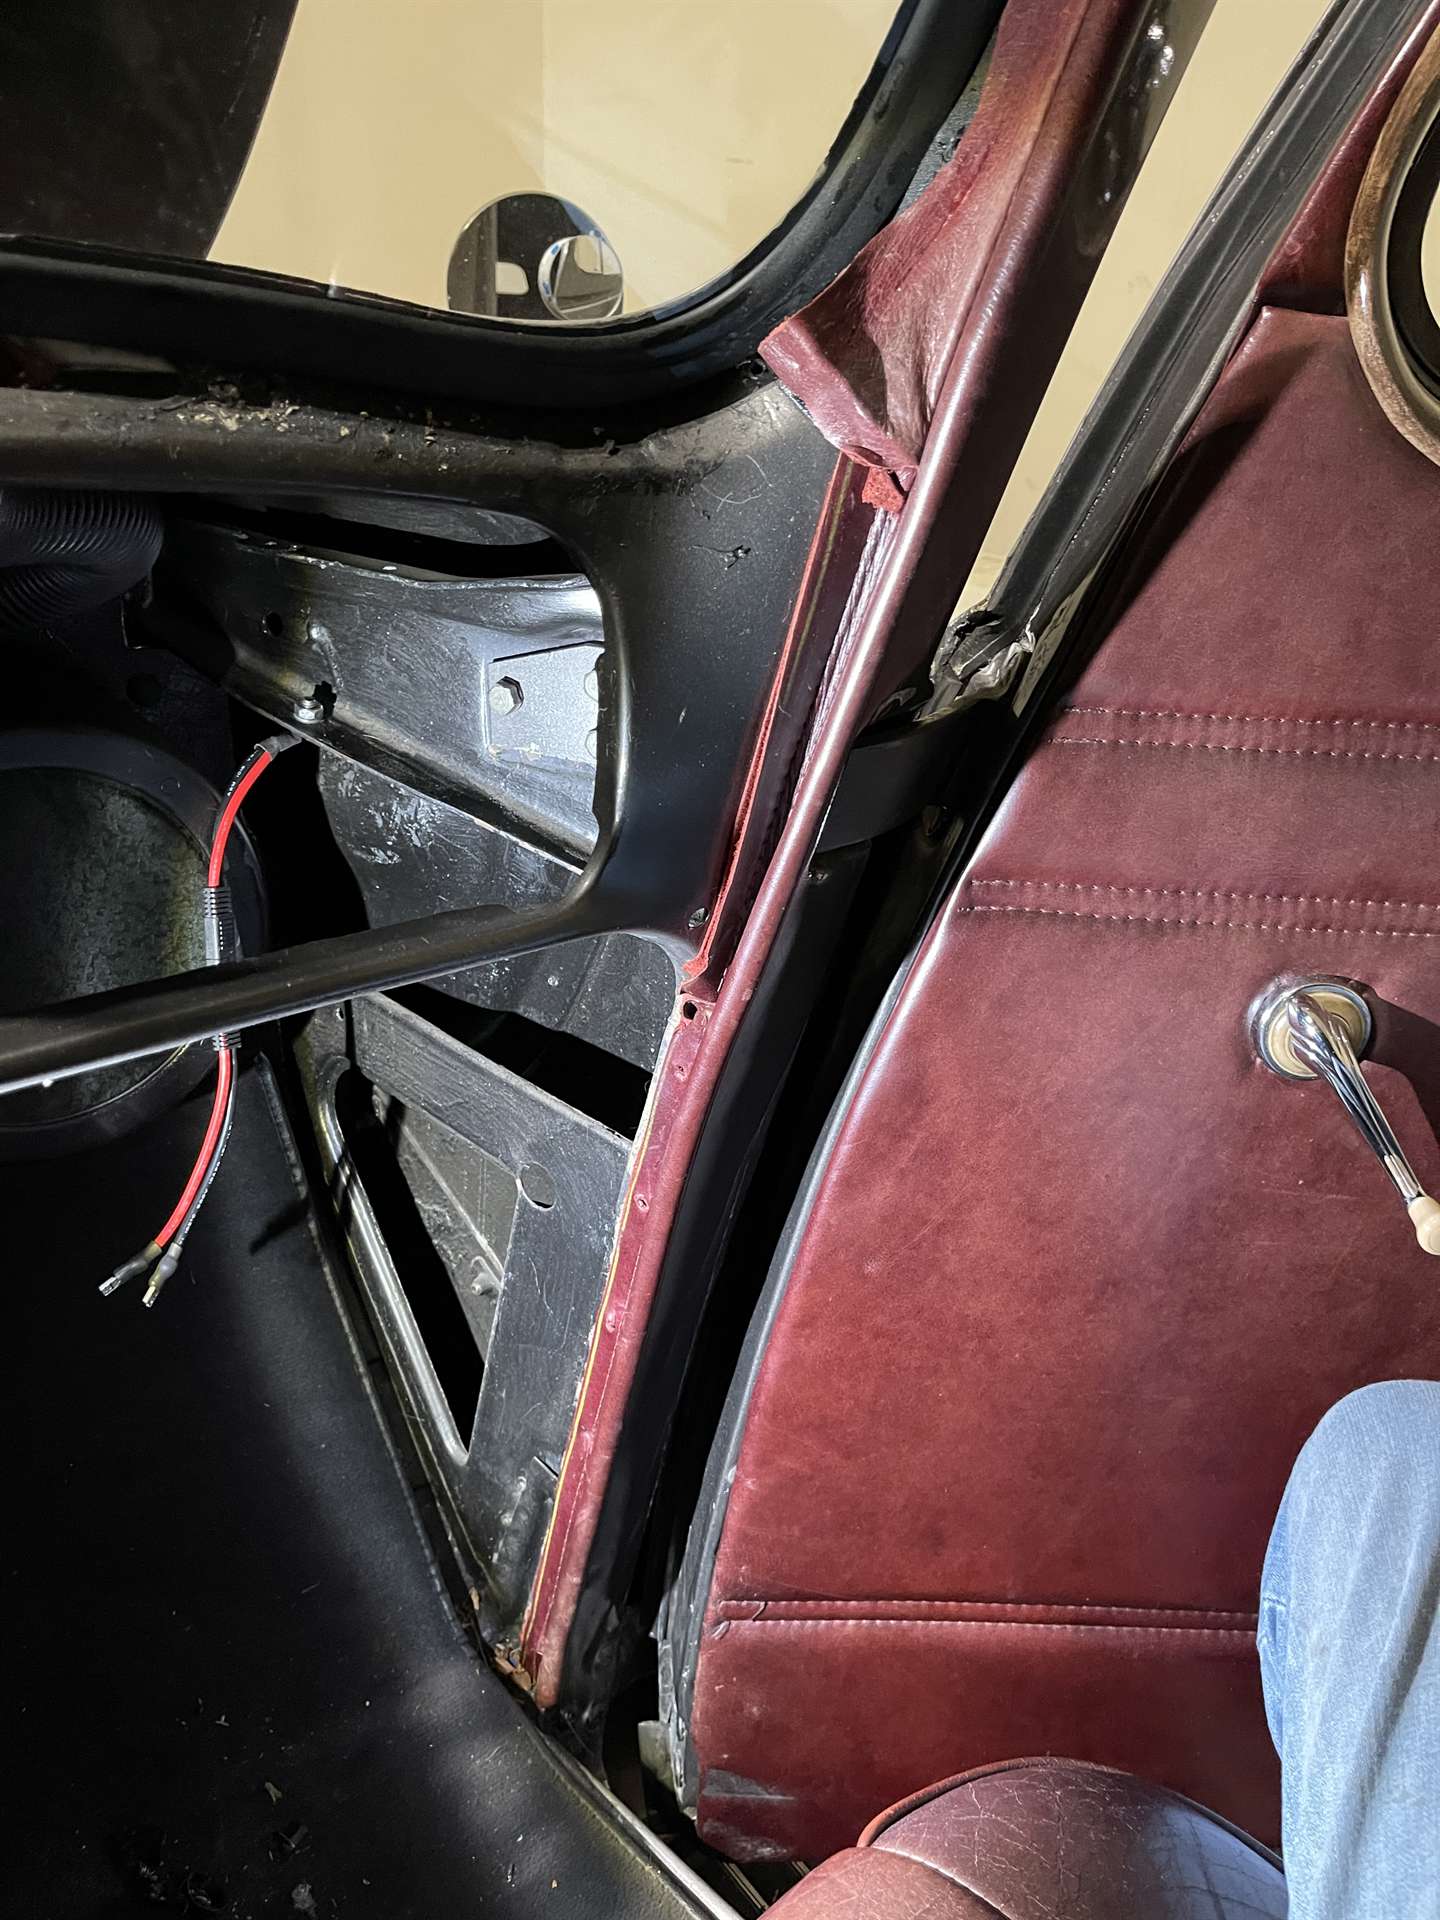
Posted on: 2023/2/9 9:49
|
|||
|
||||
|
Re: The Duchess Project: 1940 Super 8 Convertible Sedan
|
||||
|---|---|---|---|---|
|
Webmaster
|
Looks like it's all coming together! And you are far more organized than I am.
Posted on: 2023/2/9 10:12
|
|||
|
-BigKev
1954 Packard Clipper Deluxe Touring Sedan -> Registry | Project Blog 1937 Packard 115-C Convertible Coupe -> Registry | Project Blog |
||||
|
||||
|
Re: The Duchess Project: 1940 Super 8 Convertible Sedan
|
||||
|---|---|---|---|---|
|
Home away from home
|
DASHBOARD, A FIVE-MONTH SAGA: If you perused a few previous posts, you’ll know that in -December 2022, an overdrive and transmission were installed, provisioned from Ross Miller and rebuilt by Bill Aske. I drove the car home, about a 1-1/2 hour drive, no problem, other than the kickdown switch did not work, yet. I no sooner pulled into the garage than the ignition switch after 83 years locked up halfway between off and on, fortunately locked off. I had a number of other issues with the dash that needed fixing, so I decided to pull the dash out completely.
Being mid-December, I put an electric heater in the back seat, stuck up 2 Eastwood puck lights and proceeded to take the dash apart. Ross recommended these puck lights and I used them a lot throughout the process, often quitting when they needed recharging after 4 or 5 hours. Attach file: 01BackseatHewater.jpg (192.93 KB)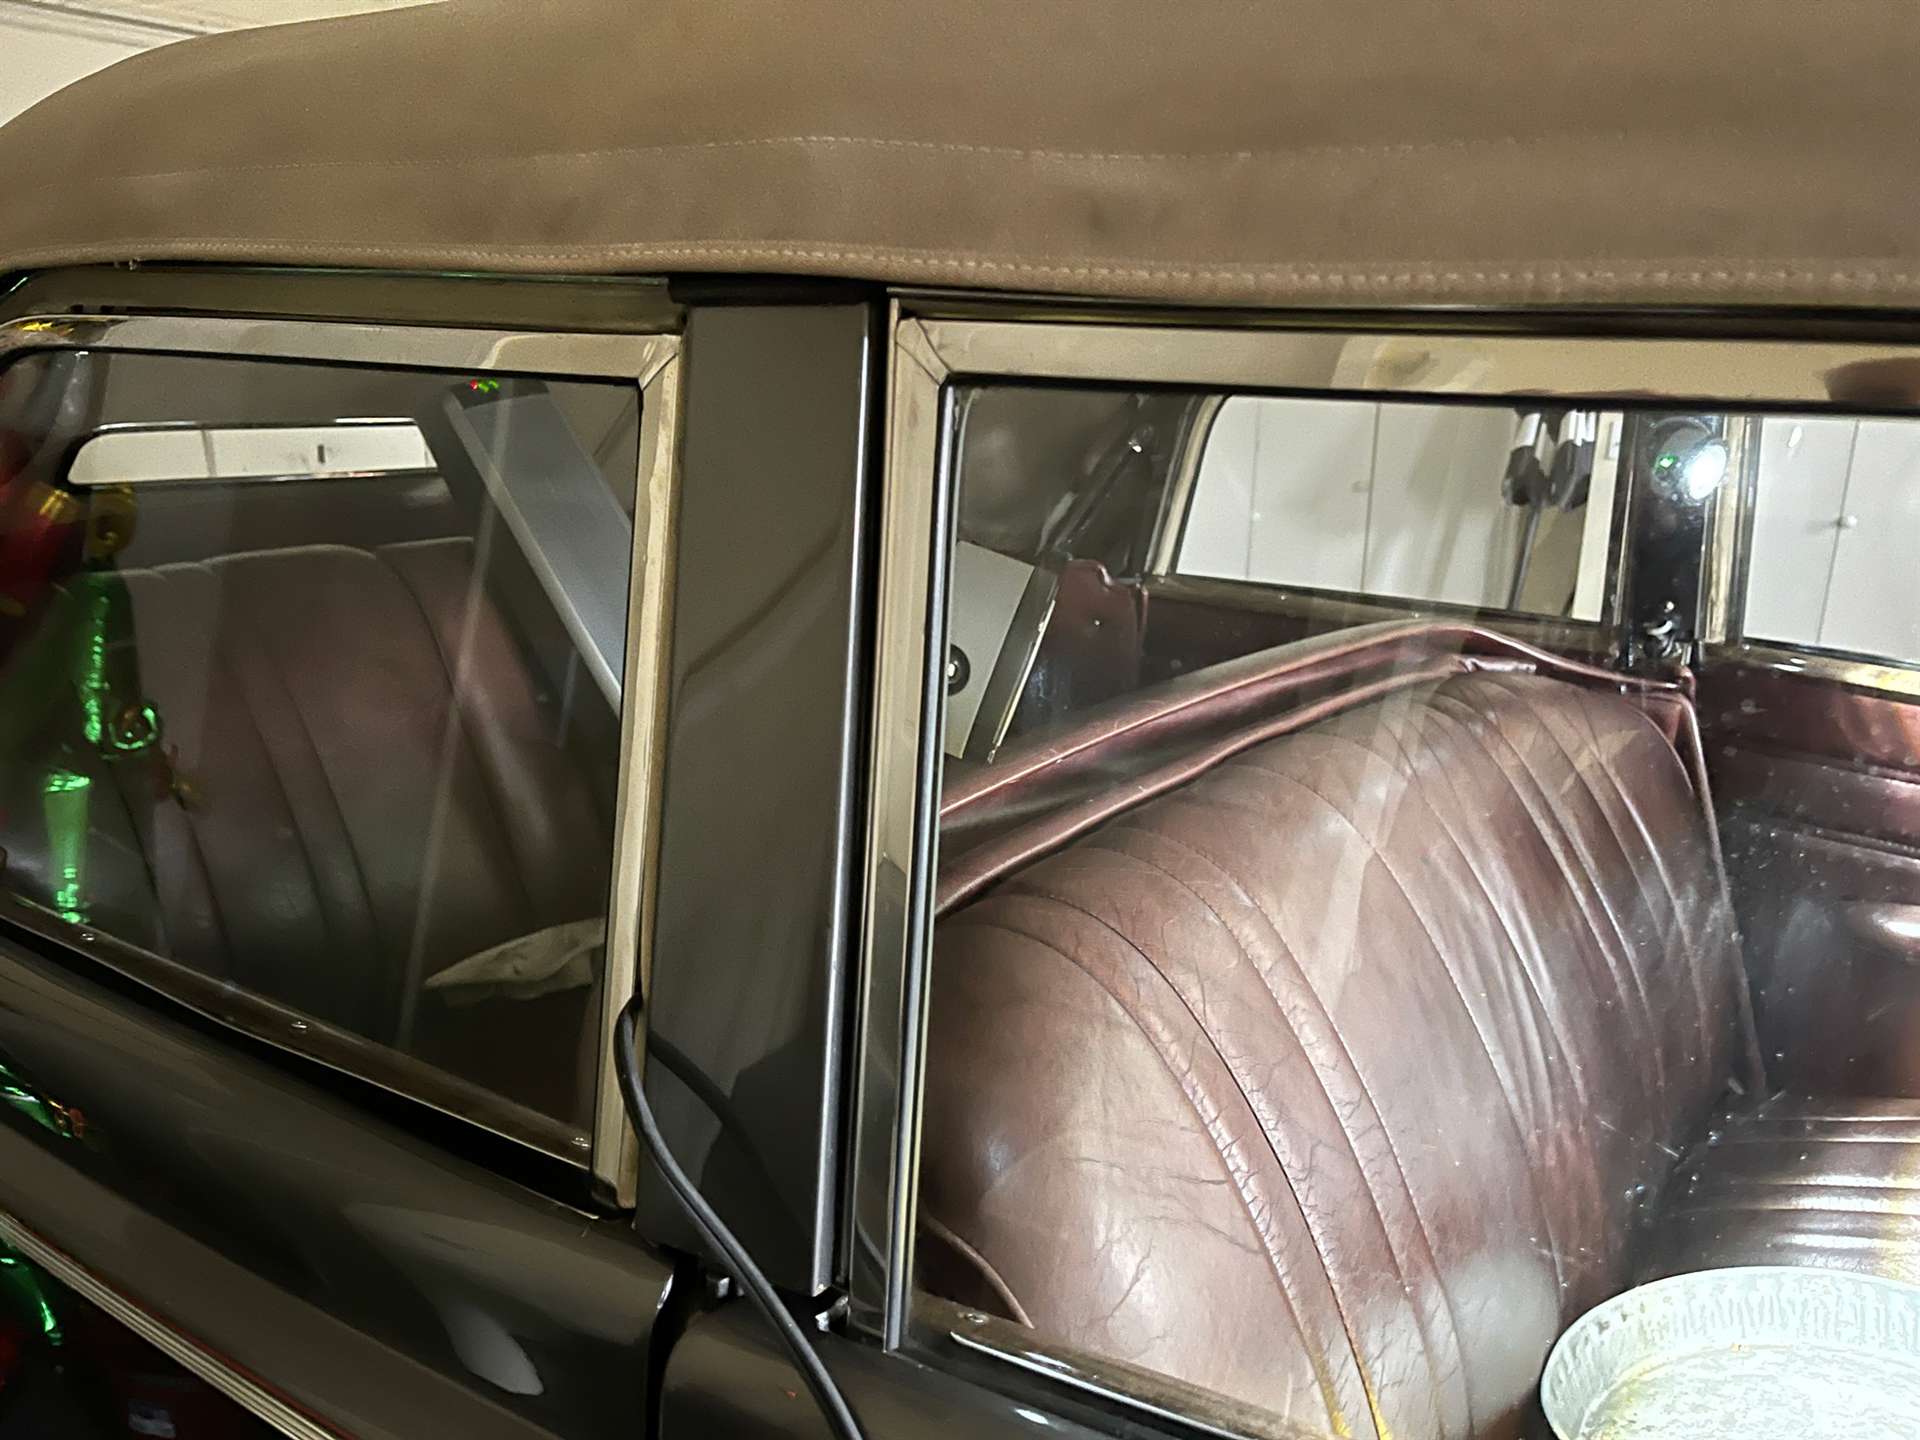 02-EastwoodPuckLight.jpg (125.08 KB) 02-EastwoodPuckLight.jpg (125.08 KB)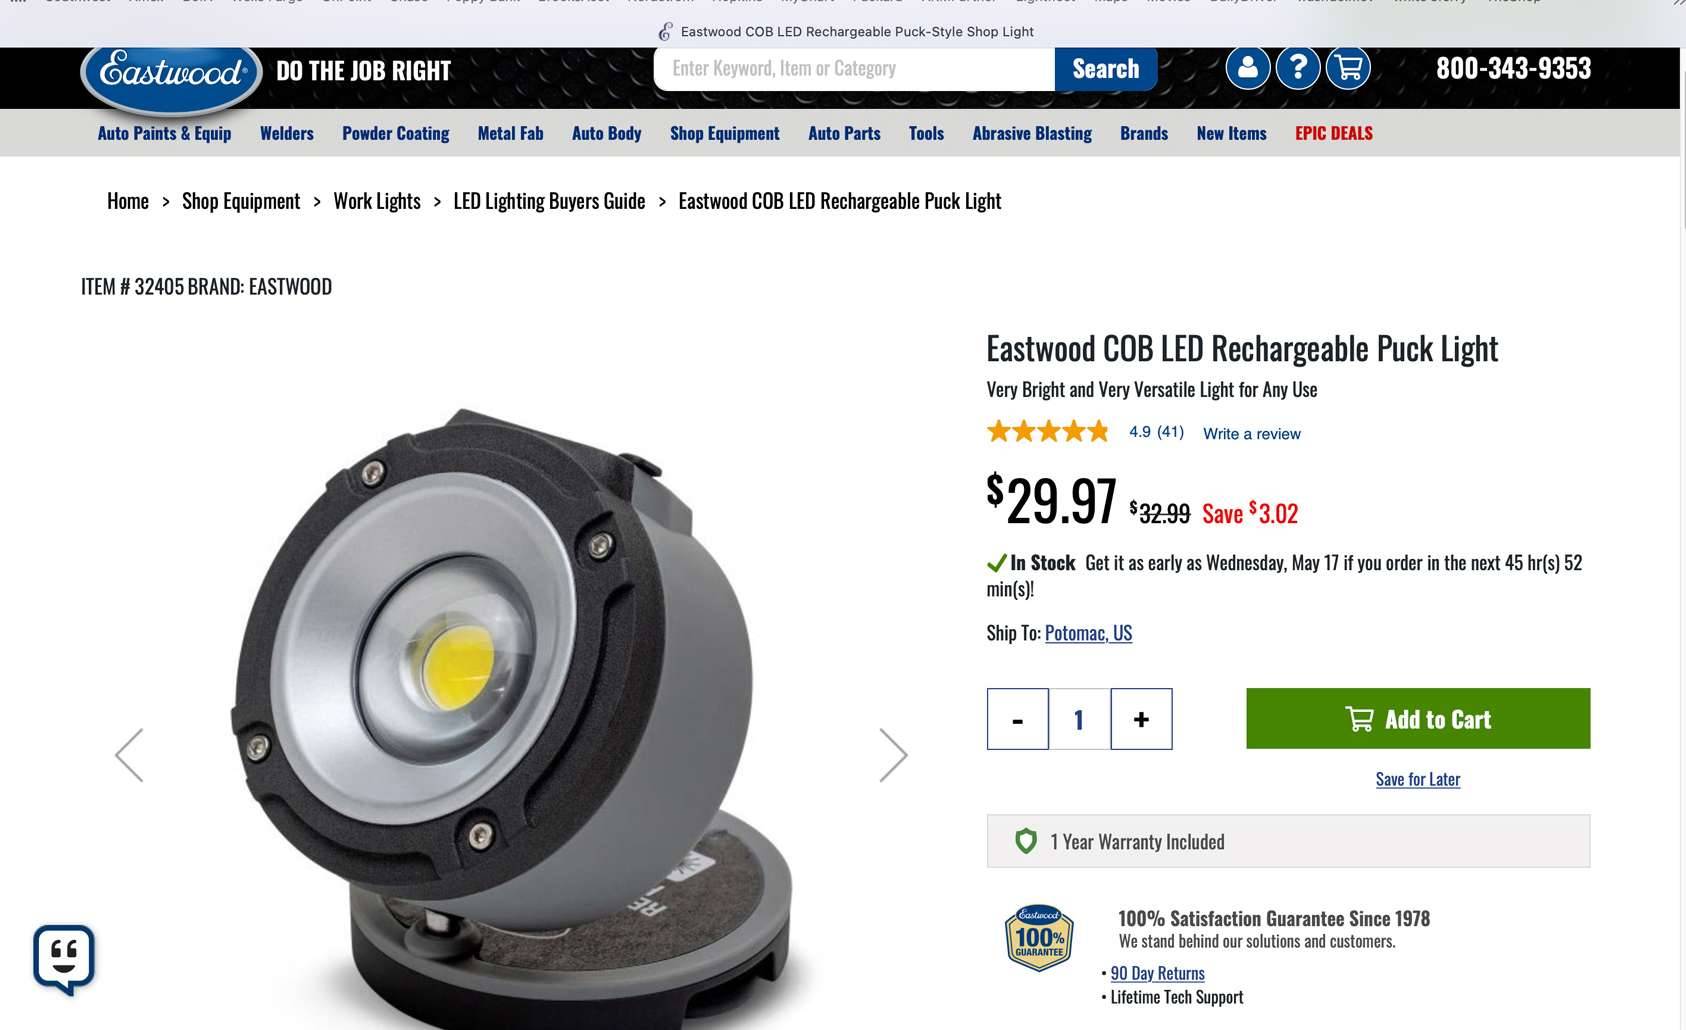 03B1940Plastic.jpg (247.22 KB) 03B1940Plastic.jpg (247.22 KB) 03PuckLightIllumination.jpg (205.25 KB) 03PuckLightIllumination.jpg (205.25 KB)
Posted on: 2023/5/25 9:17
|
|||
|
||||
|
Re: The Duchess Project: 1940 Super 8 Convertible Sedan
|
||||
|---|---|---|---|---|
|
Home away from home
|
There were quite a few items that had been neglected over the years, none as critical as a non-functional ignition switch. The gas gauge was stuck on Empty, the battery gauge on DIS, the heater/defroster switch wanted to swivel (even when tightened), the radio 5-station push button mechanism did not work, the clock hour hand would slip out of position after 3 months running, several of the 160 dash plastic pieces were warped from too much heat and UV exposure (Check out the clock surround and glove box plastic), the glove box was warped from windshield or wiper-mount leaks, the trip odometer cable was broken, and the vent handle and overdrive knob still had the original ‘marble fudge’ plastic, and several dash lights didn’t work even with new bulbs. The whole dash needed refreshing. To add the new overdrive cable knob and the vent handle, the old ones had to be removed. I didn’t know what to expect. The overdrive cable rod had to be threaded to accept a new knob.
Attach file: 04ODKnobMarble.jpg (203.89 KB)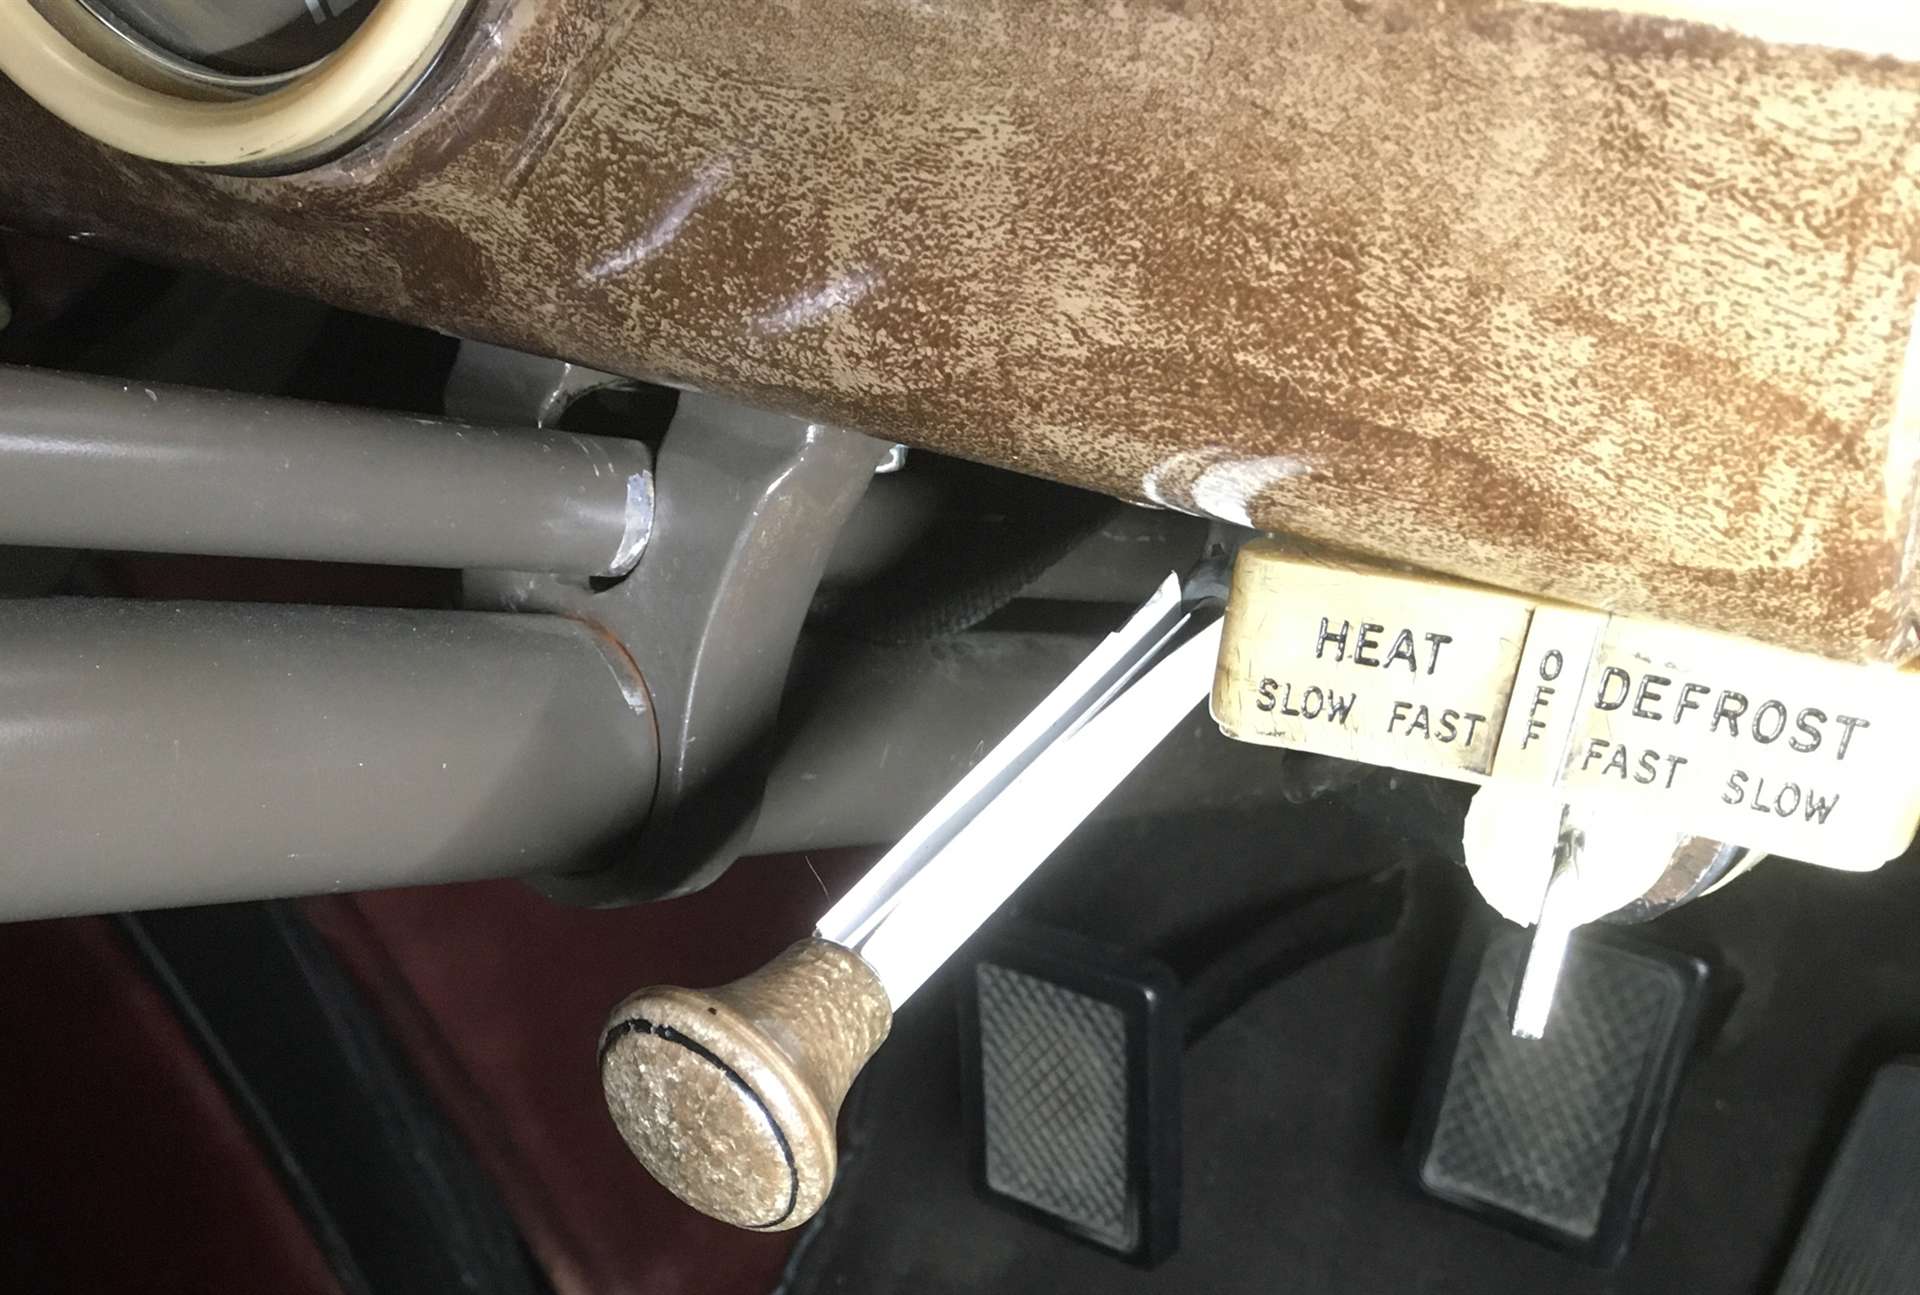 05ODKnobs.jpg (168.45 KB) 05ODKnobs.jpg (168.45 KB)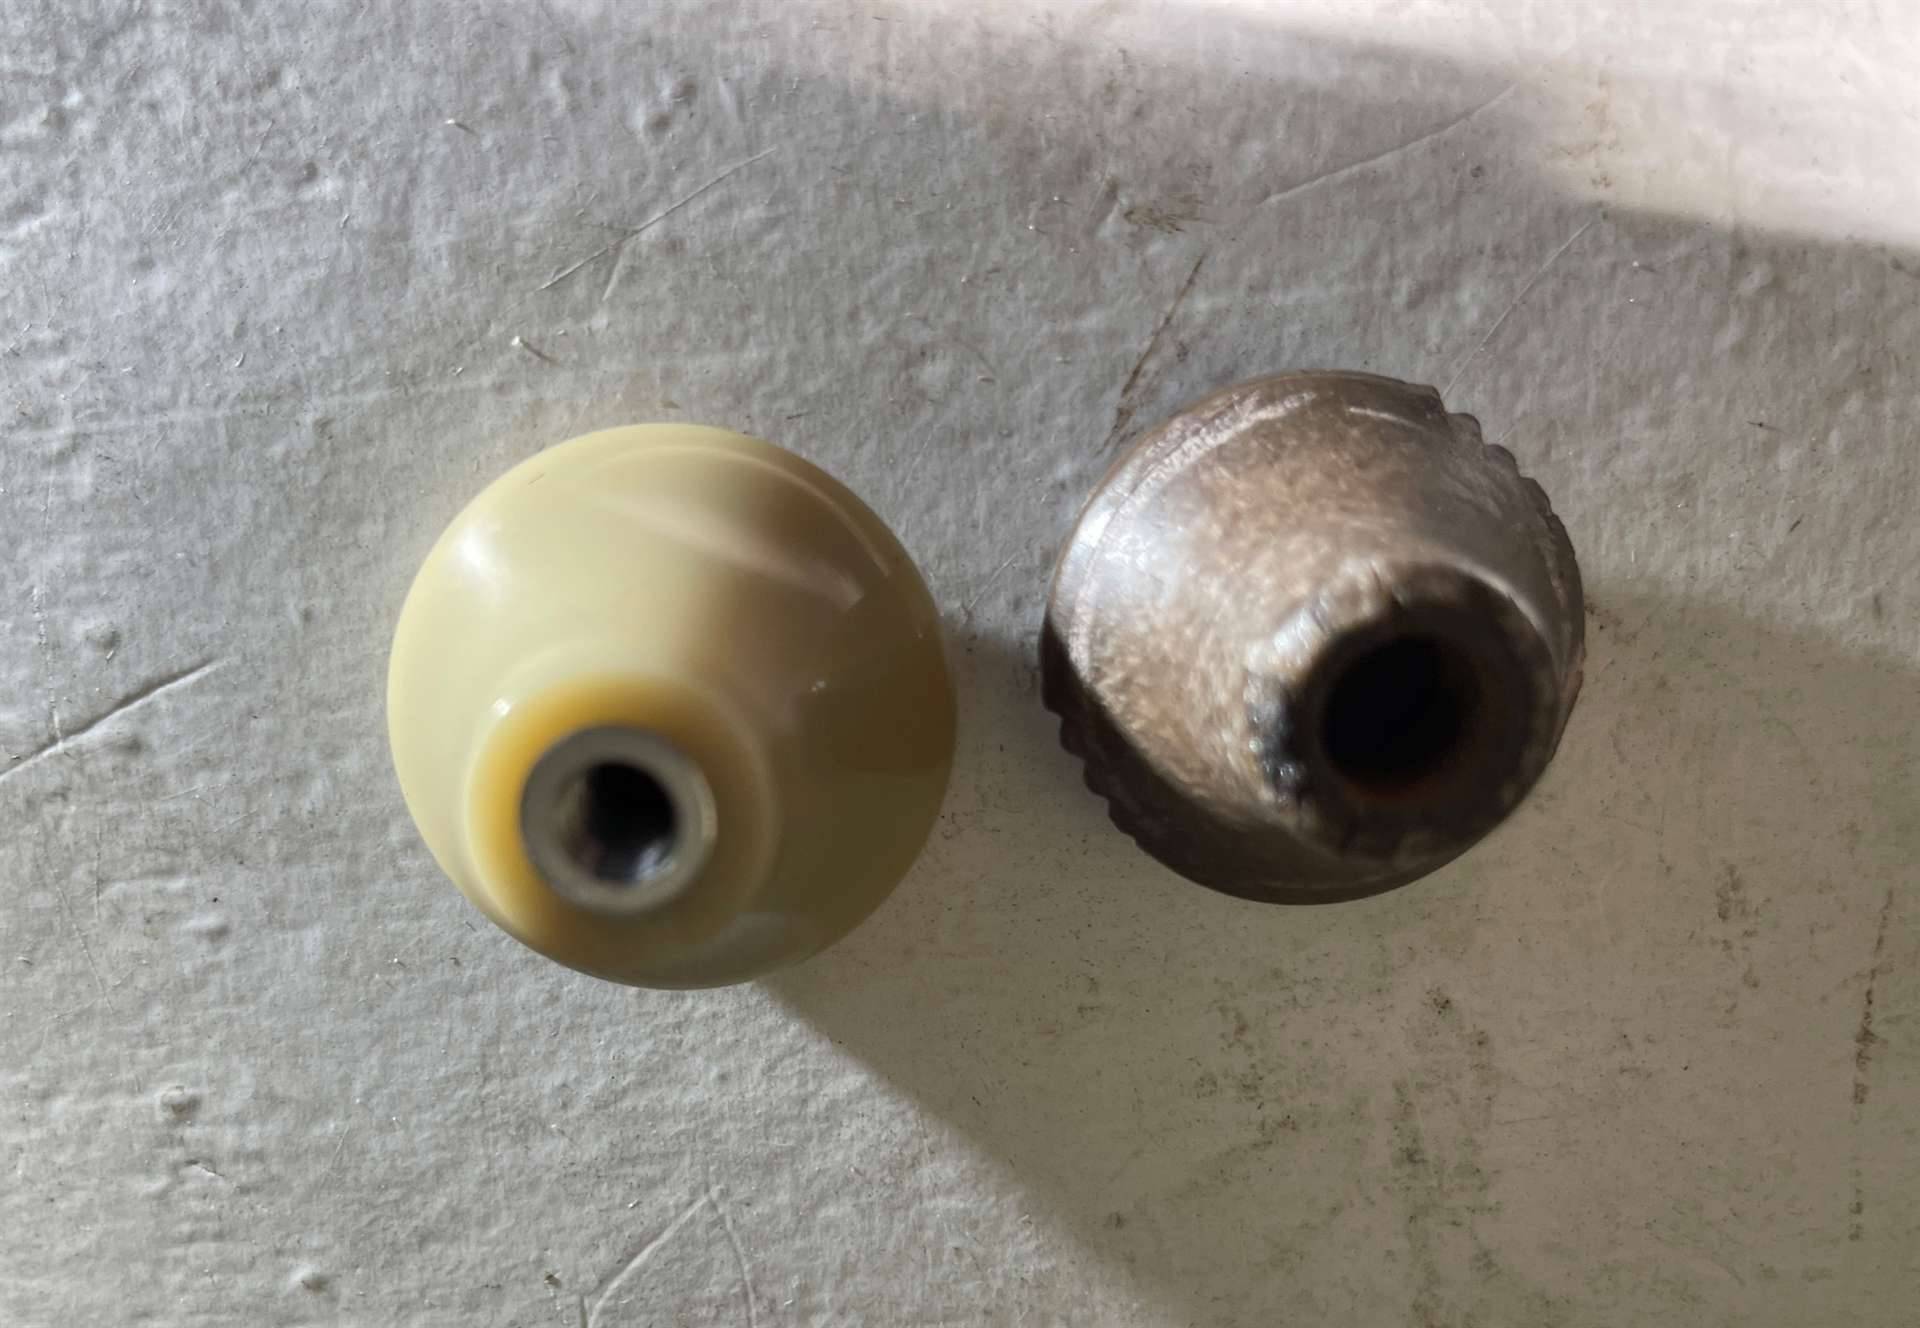 06ODRodNeededThreads.jpg (148.62 KB) 06ODRodNeededThreads.jpg (148.62 KB)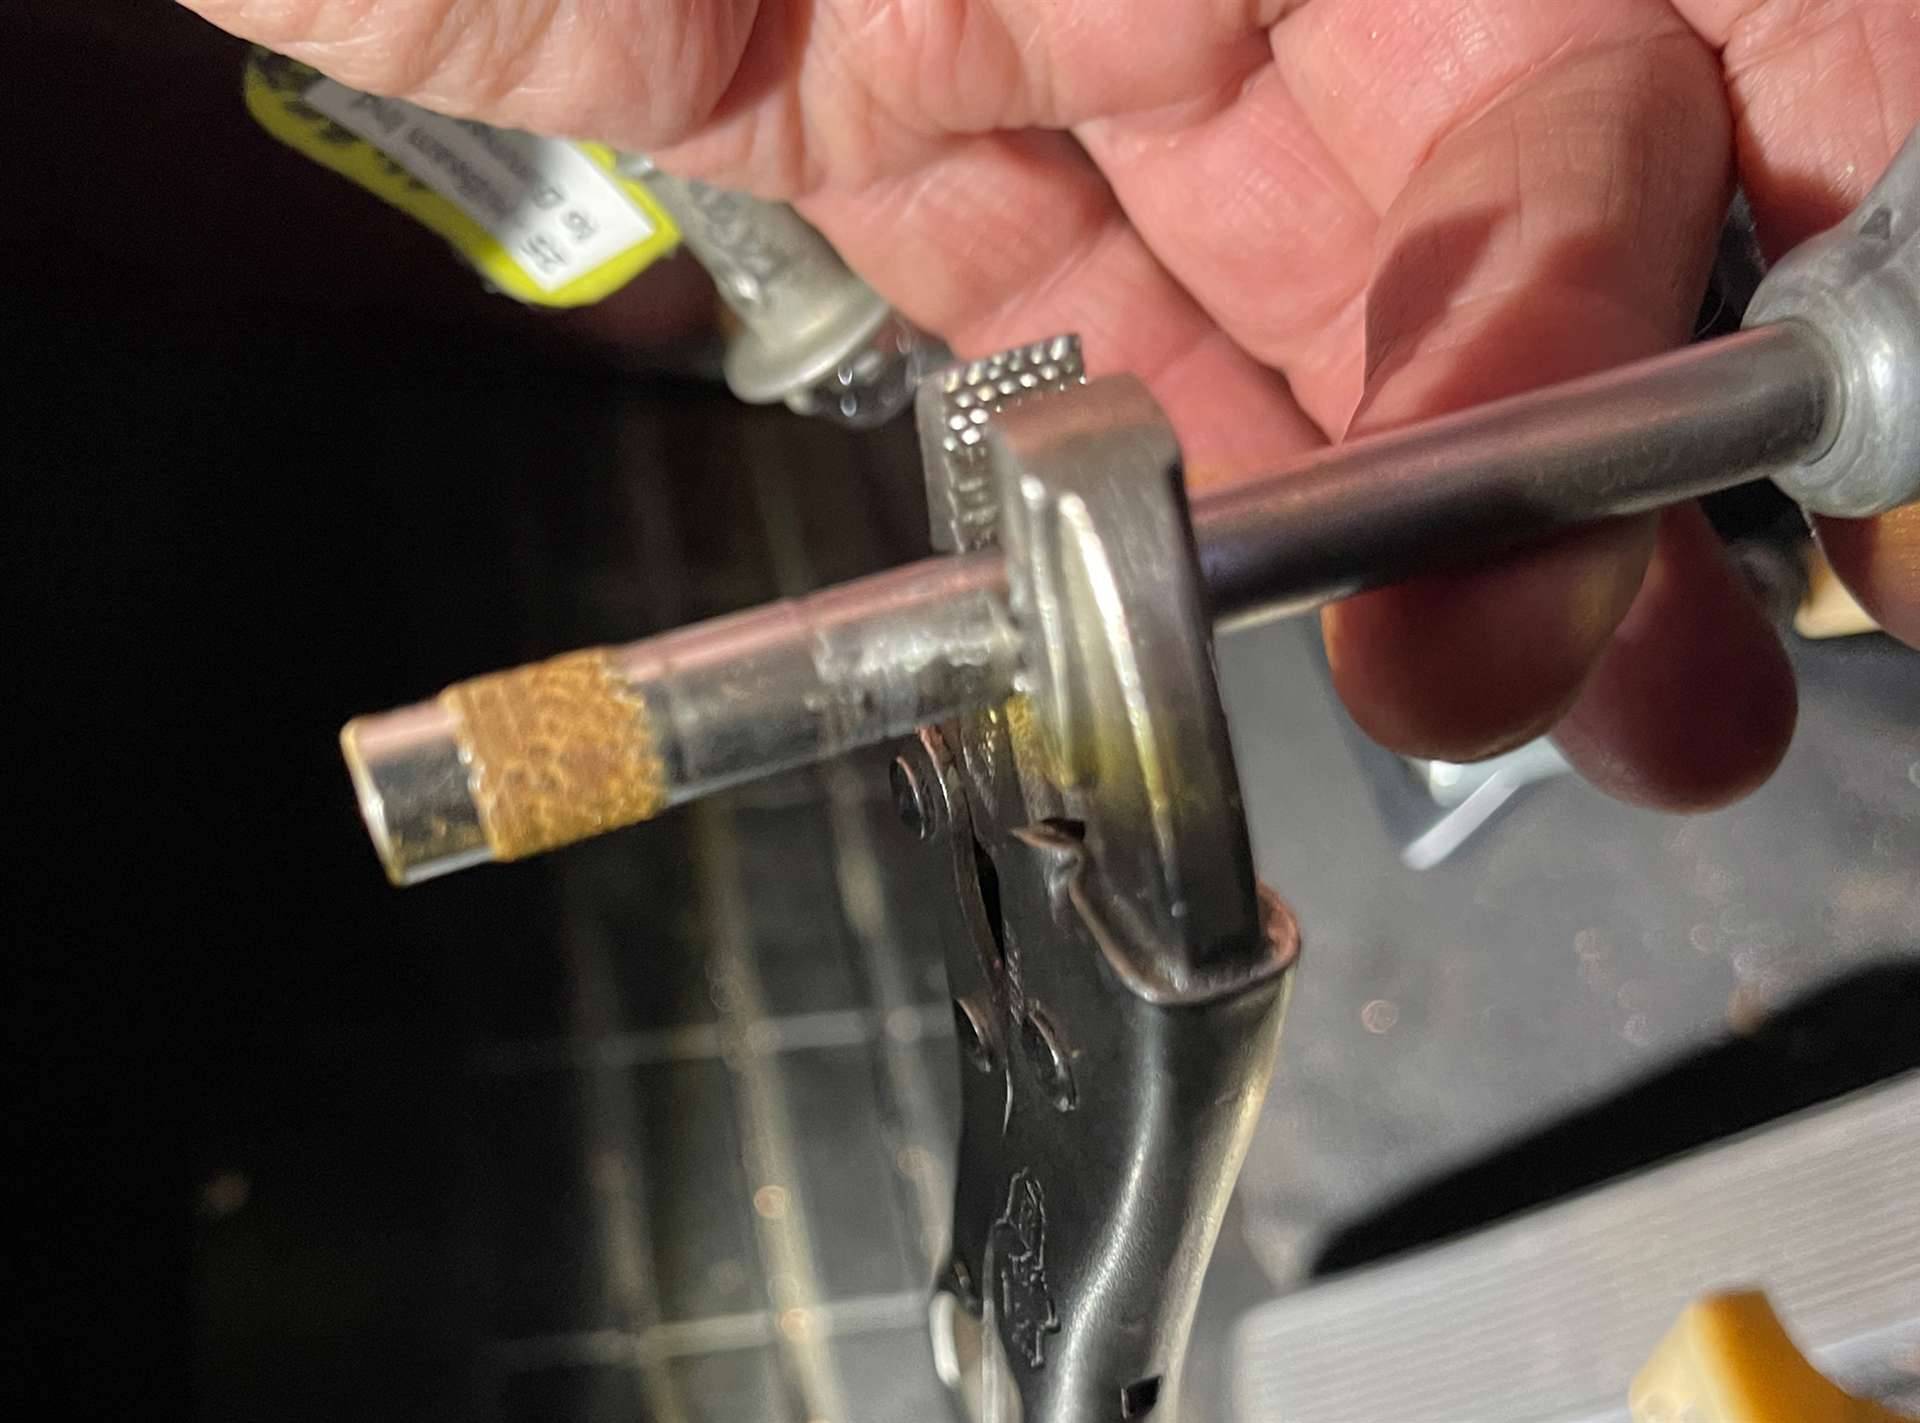 07NewODKnob.jpg (145.22 KB) 07NewODKnob.jpg (145.22 KB)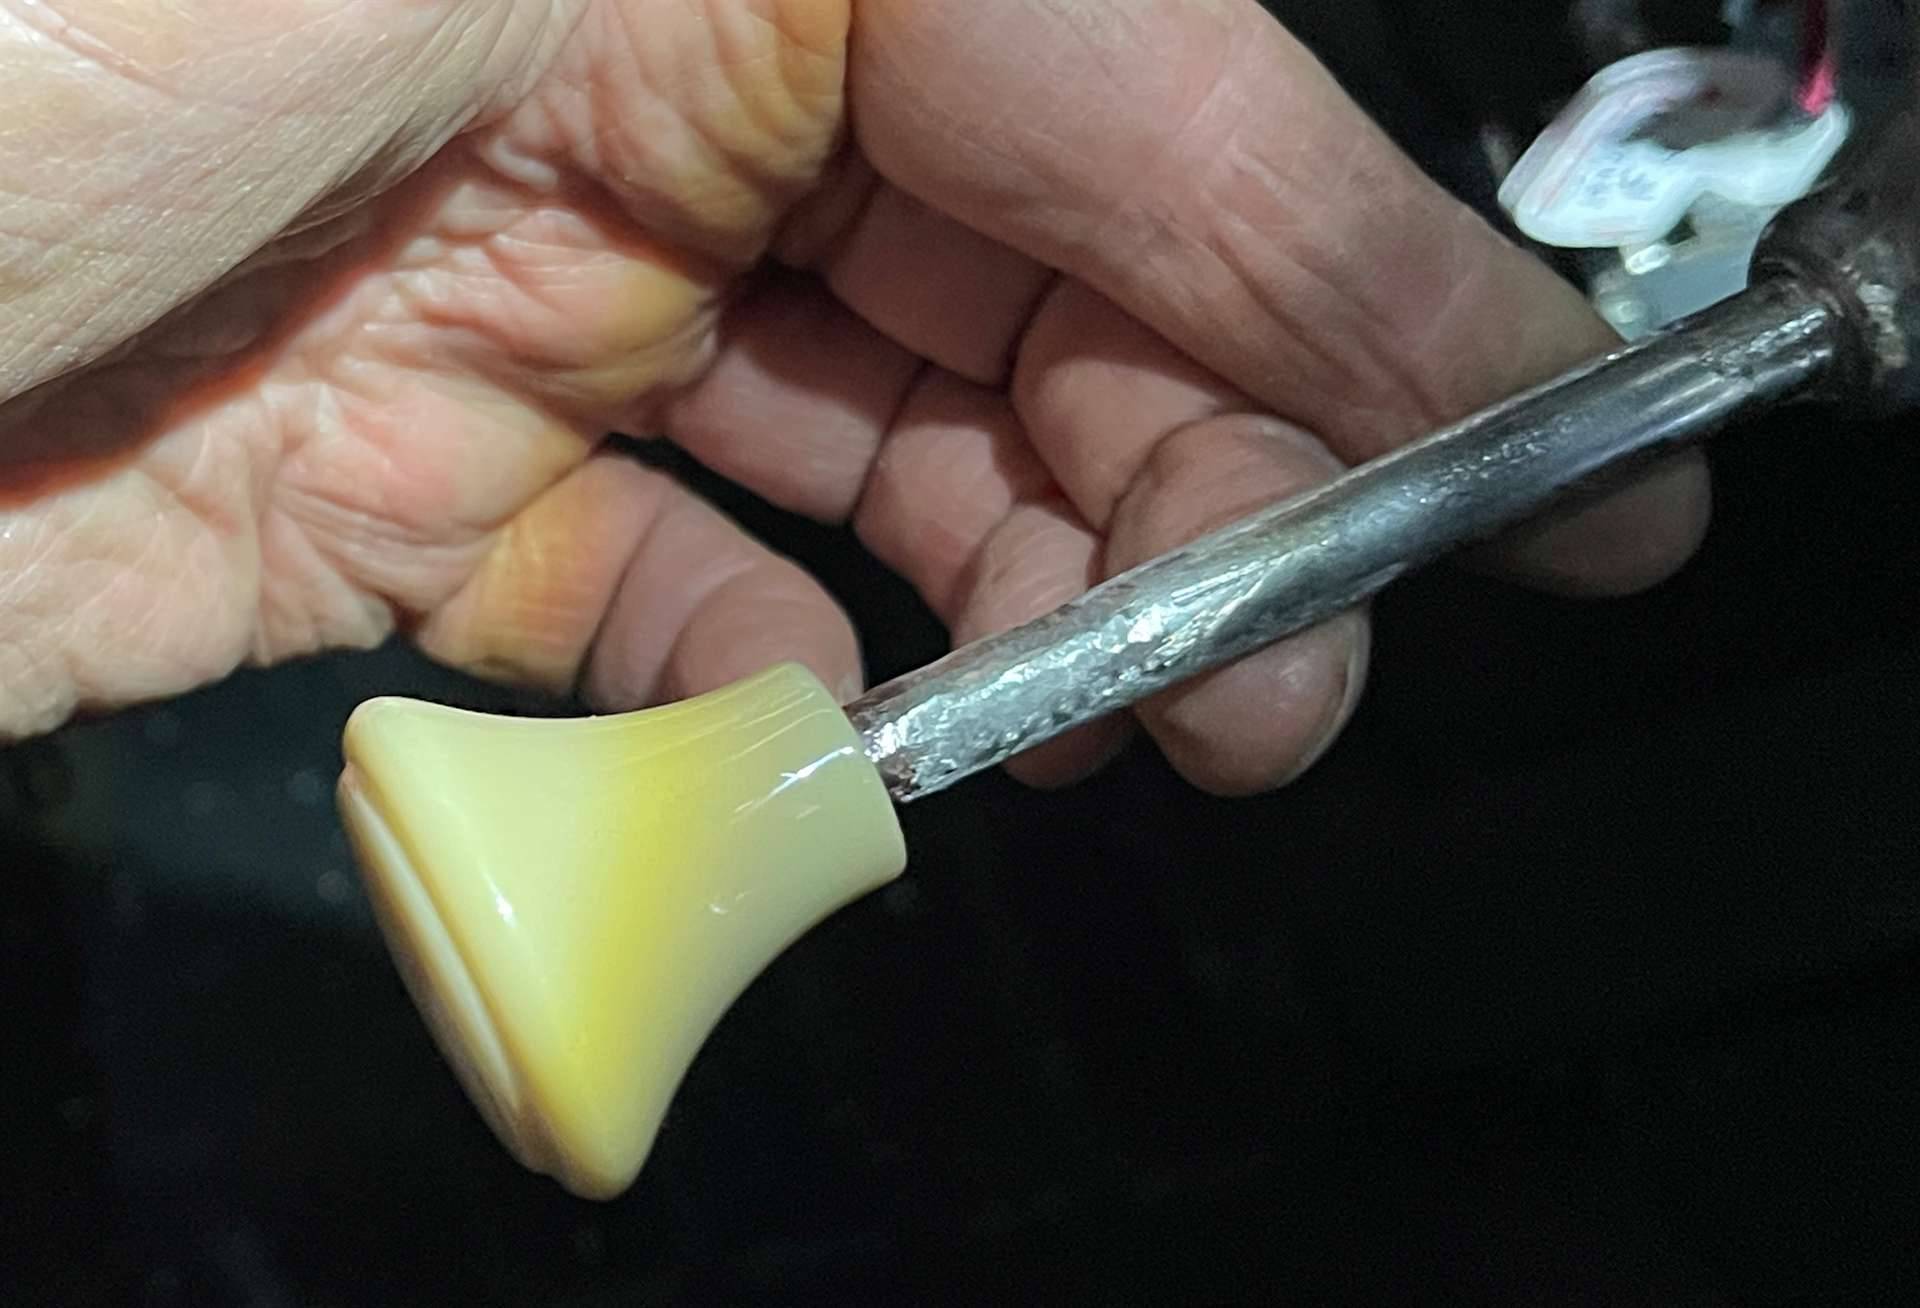 08BareVentHandle.jpg (217.63 KB) 08BareVentHandle.jpg (217.63 KB)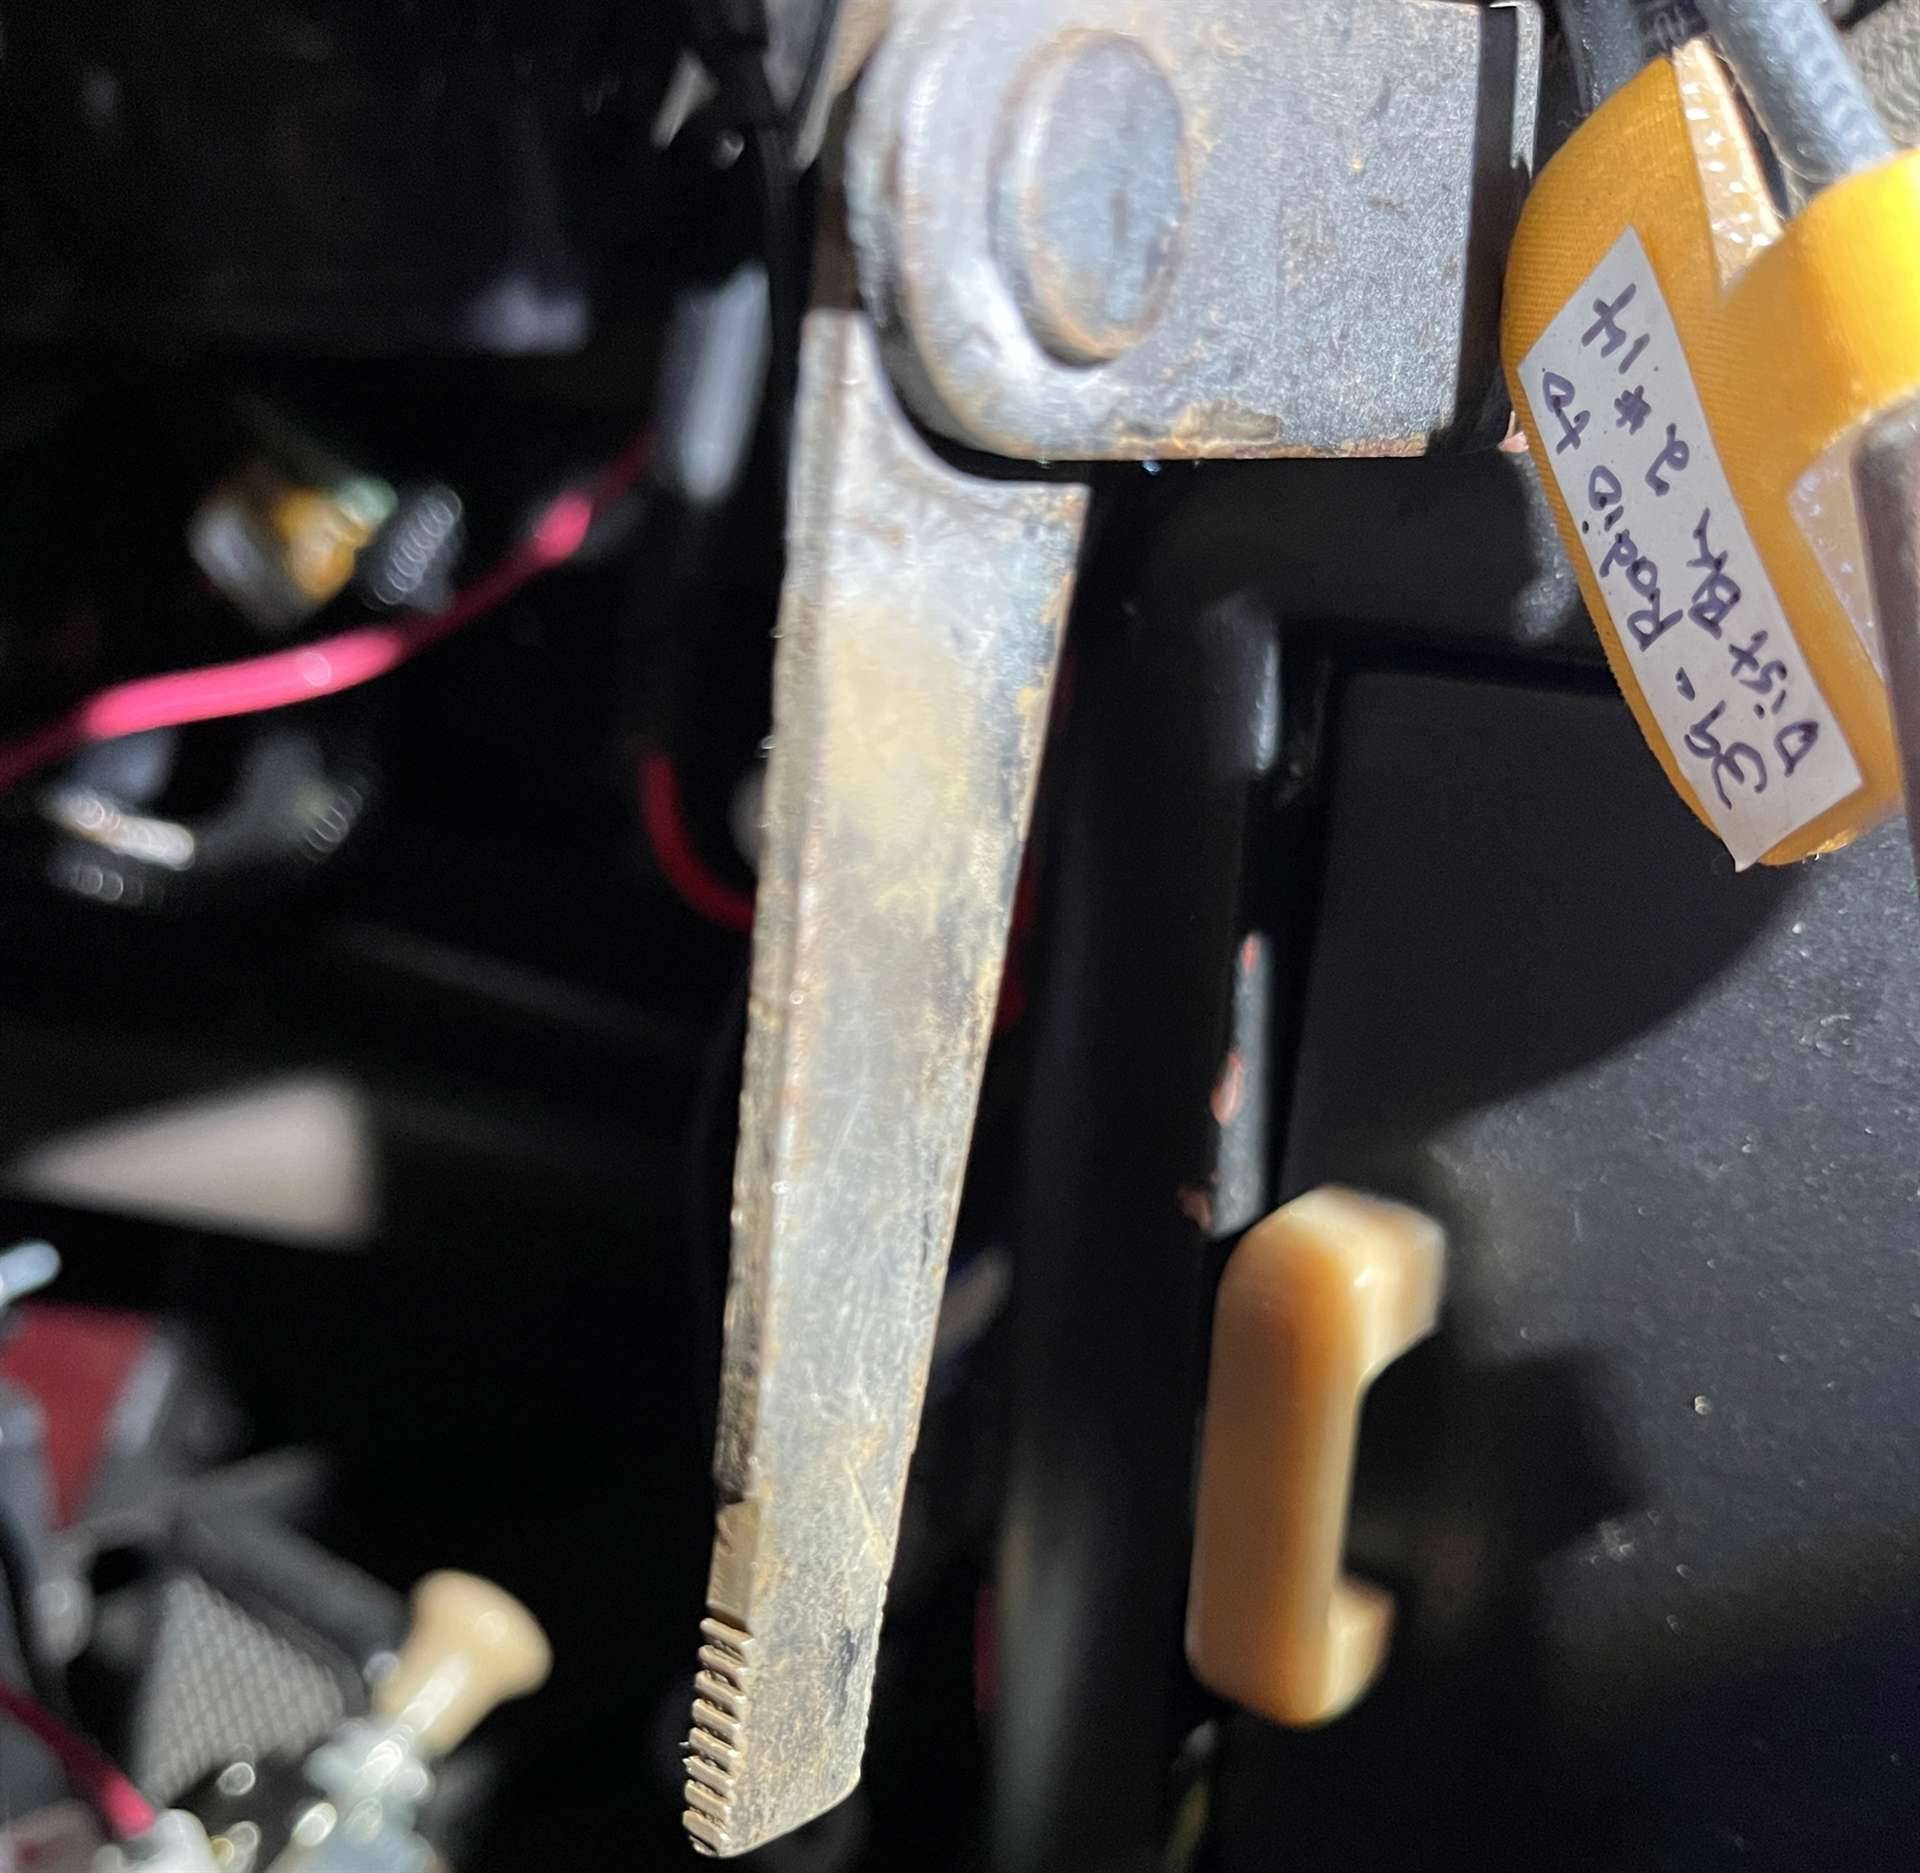 09WarpedPlasticPieces.jpg (105.98 KB) 09WarpedPlasticPieces.jpg (105.98 KB)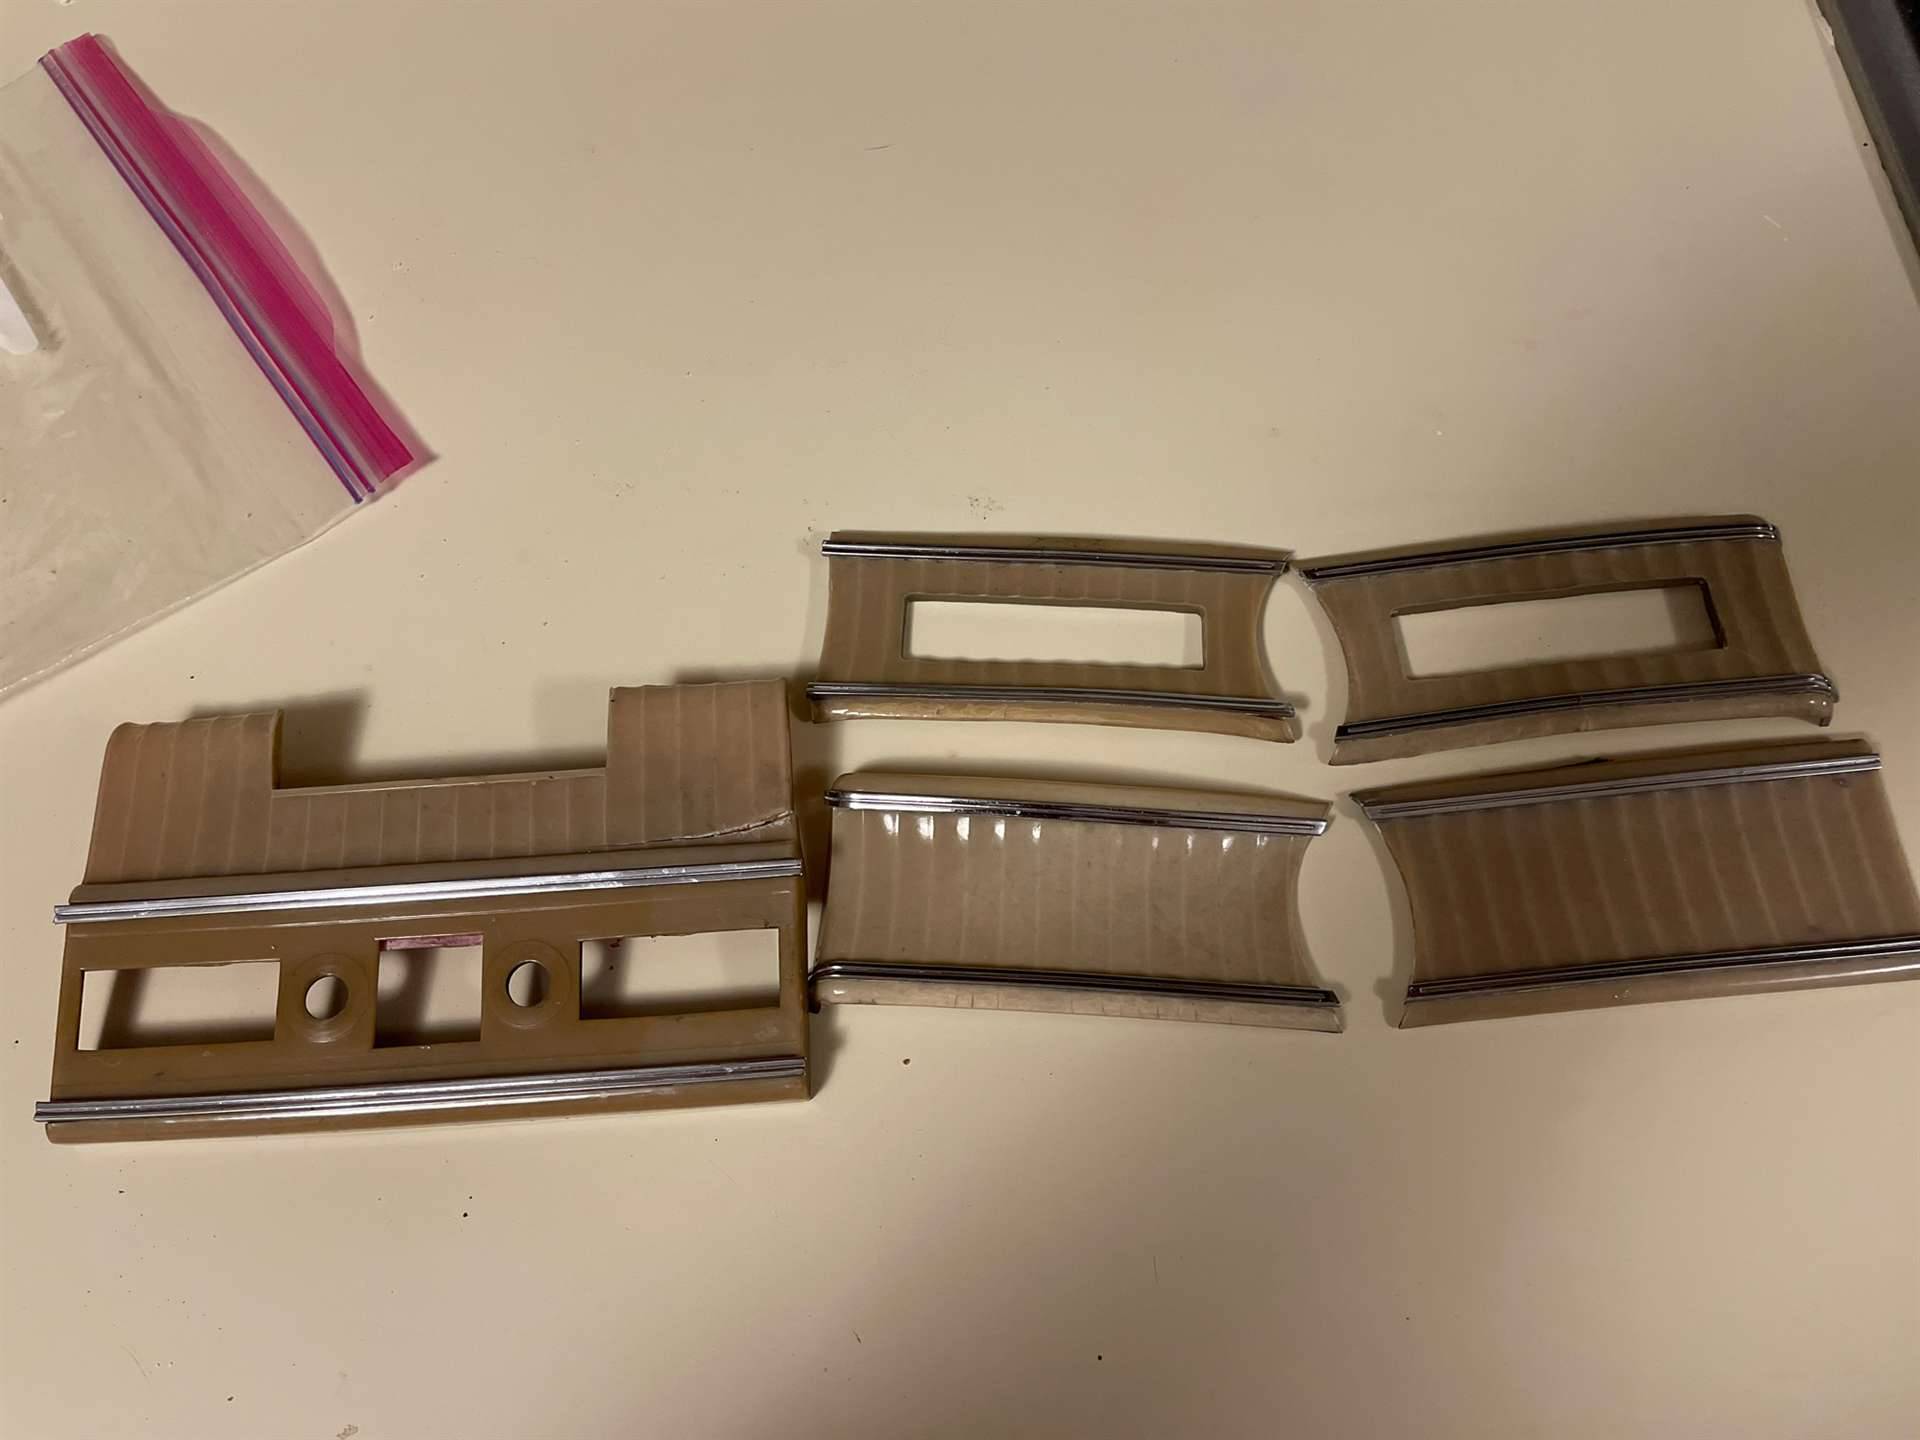 10WarpedGloveBox.jpg (230.71 KB) 10WarpedGloveBox.jpg (230.71 KB)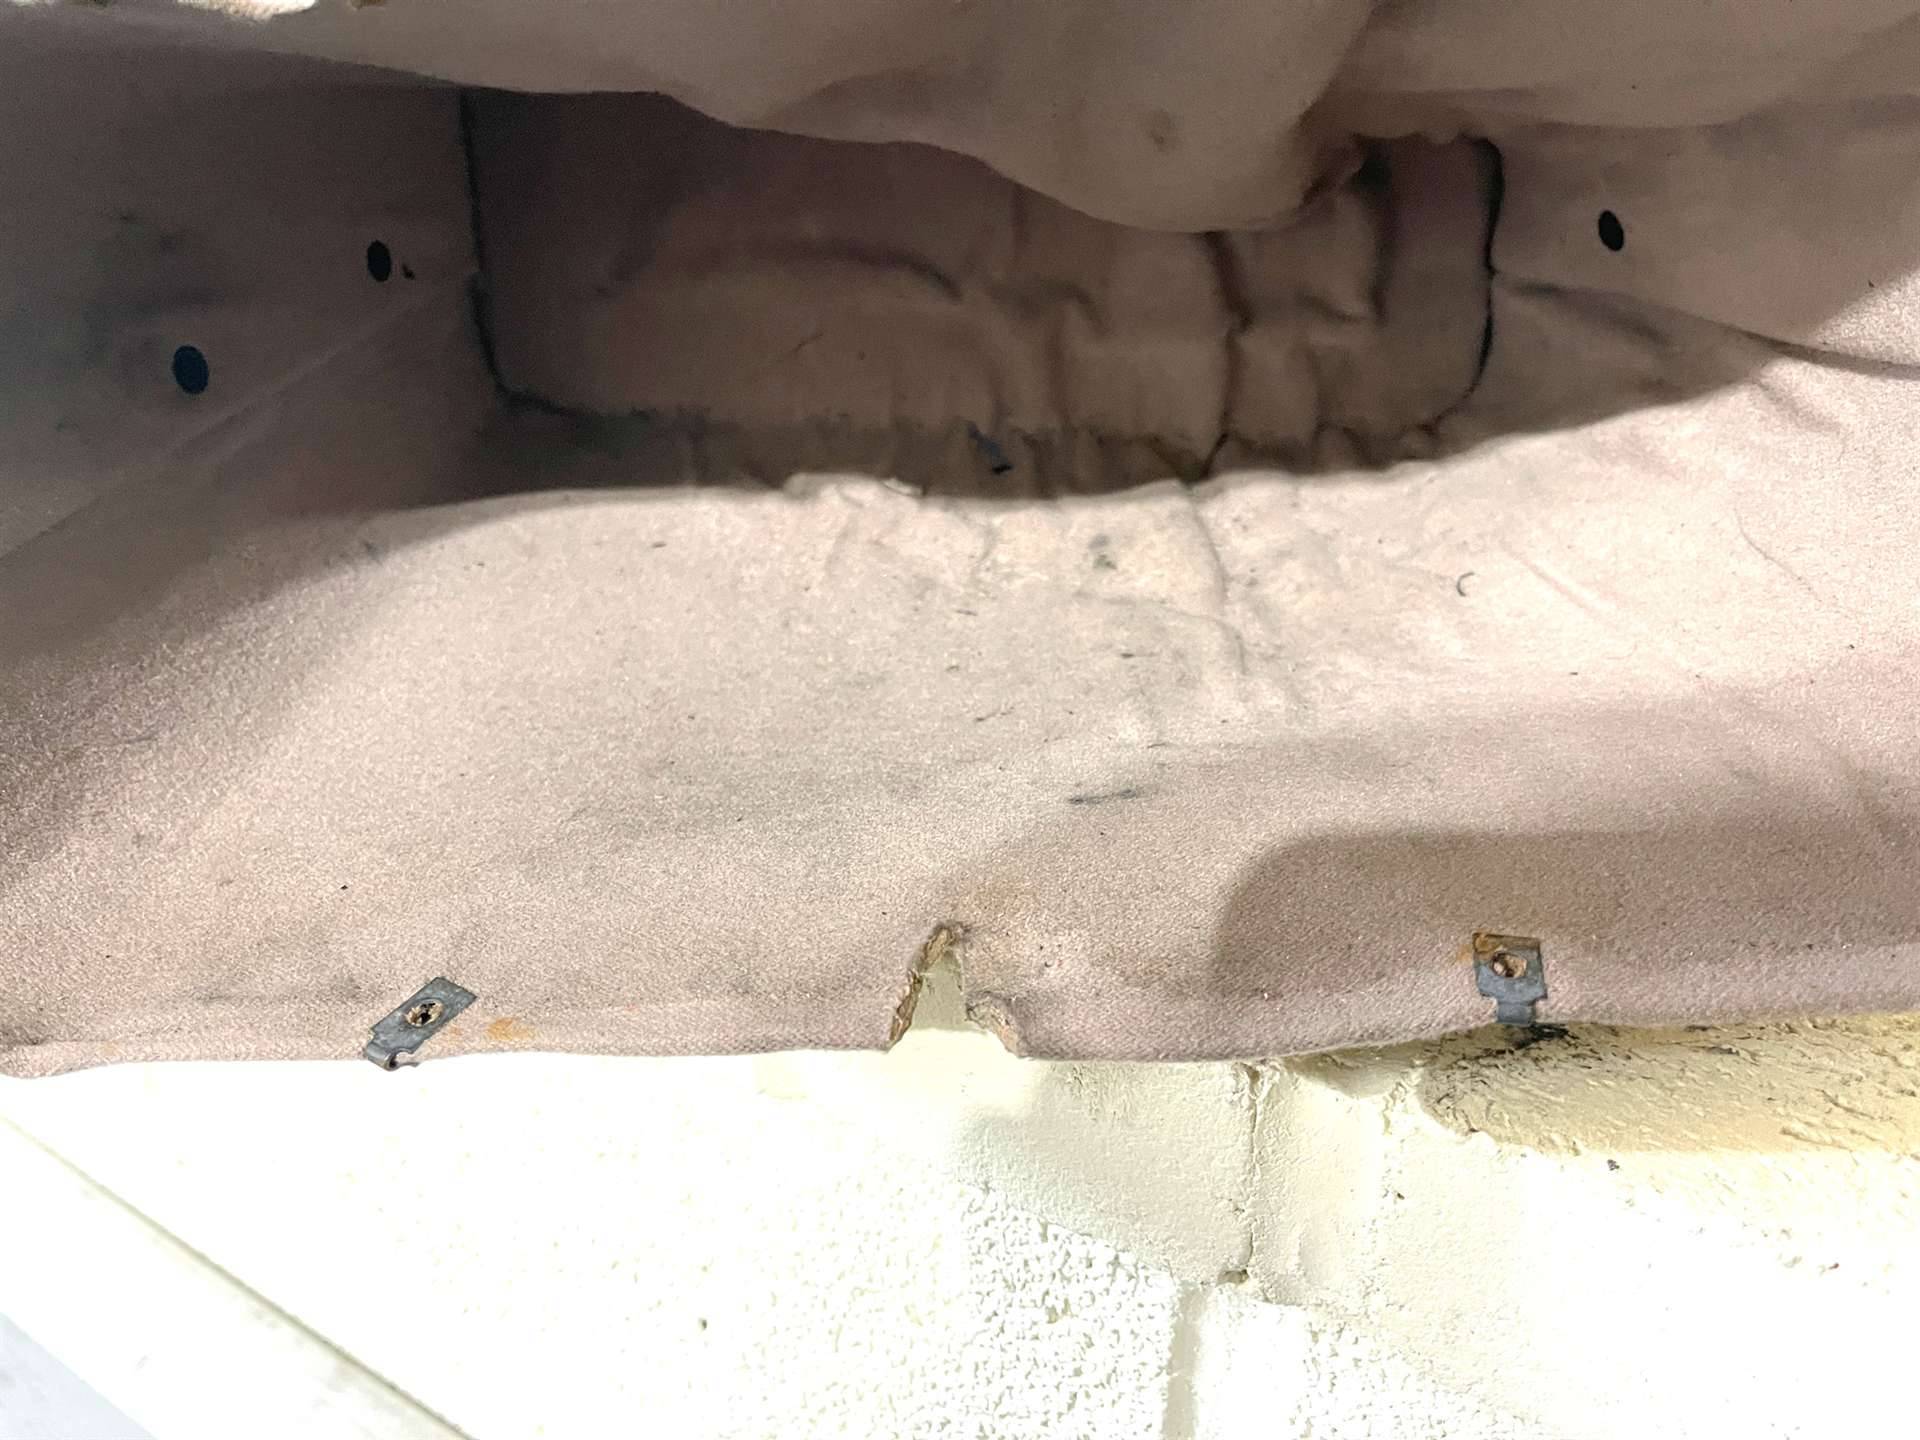
Posted on: 2023/5/25 9:22
|
|||
|
||||


