|
Re: Don’s 1937 (120) 138CD Deluxe Touring Limo
|
||||
|---|---|---|---|---|
|
Webmaster
|
I always recommend a battery cut-off switch on an old car, especially if it has any existing "ancient" wiring.
There are too many instances of cars catching fire in storage. Rodents love wiring and are not very good about disconnecting the battery before chewing on them. It also eliminates any parasitic drain that may cause dead battery, especially if your car has a clock. On our '37 convertible, it's on the floor right behind the seat. So it takes all of 5 seconds to reach down and turn it on or off when getting in or out of the car. I have one I need to install in the '54. For the last 15 years, I've always popped the hood and pulled the positive cable off the battery, which I keep loose enough to wiggle it off. But I will probably install that on the firewall above the pedals somewhere.
Posted on: 2024/9/11 14:54
|
|||
|
-BigKev
1954 Packard Clipper Deluxe Touring Sedan -> Registry | Project Blog 1937 Packard 115-C Convertible Coupe -> Registry | Project Blog |
||||
|
||||
|
Re: Don’s 1937 (120) 138CD Deluxe Touring Limo
|
||||
|---|---|---|---|---|
|
Home away from home
|
Mounting behind the seat wasn’t an option for me since my car is a limo. The seat back doesn’t move and mounts right to the divider.
I thought about mounting on the firewall, but really didn’t like where that put things on the engine side. It would have been right next to the voltage regulator and since I was switching the negative (hot), it put the connections in a spot where it would be way too easy to get up against accidentally. So, the bracket I had made works great. It isn’t as convenient as being inside the cabin, but it is MUCH more convenient than under the seat on the battery. Also, this was a way of doing it without permanent modifications to the car.
Posted on: 2024/9/11 17:44
|
|||
|
||||
|
Re: Don’s 1937 (120) 138CD Deluxe Touring Limo
|
||||
|---|---|---|---|---|
|
Home away from home
|
Got to tinkering in the garage and decided to once again investigate the operation of my heater and defroster switch/rheostats. Only one of which is correct for the car (thanks to Flackmaster for confirming). That’s okay as I have another correct one on the way and the better of my two existing was a correct one.
The existing correct switch was pretty rough in its operation, not smooth, not consistent electrical resistance, you name it. So, I disassembled and cleaned thoroughly. I then confirmed that the resister coil was 1.7 ohm end to end, which is about what I was expecting. Here’s where it gets interesting. When I put it all back together, I had between 28 to 30 ohms across the terminals when adjusting through the range. Hmmm…. So, I ohmed out the resistor coil again…1.7 ohms end-to-end. Then ohmed the swipe contact to its terminal…0.1 ohm. So far so good. Then, I ohmed from the end of the resistor coil to the other terminal…..28 ohms. Now this point is connected by a brass rivet and everything is very solid physically. So, I then ohmed from the resistor to the terminal side of the rivet (not the terminal)….0.1 ohm. Aha! Next I ohmed from terminal side of the rivet to the terminal….28 ohms. I now had a solid conclusion. After 87 years, there is a build up of crud/corrosion between the very solid physical connection of the rivet and the terminal. So, I got out the soldering iron and soldered the rivet and the terminal….Problem solved. I should have taken pictures before I soldered, but didn’t think of it…here’s the after picture, though. 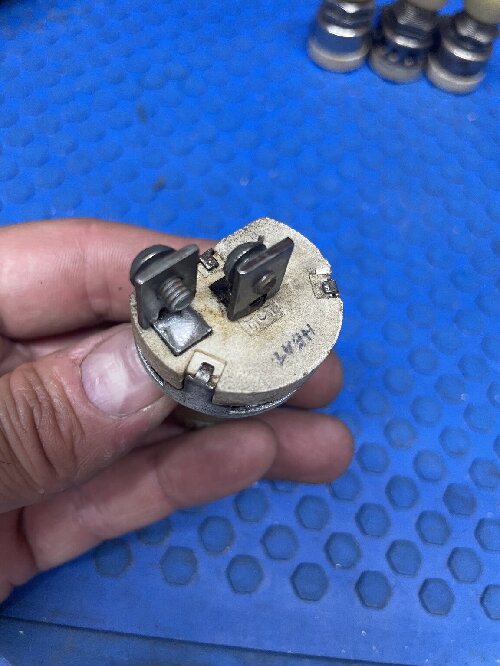 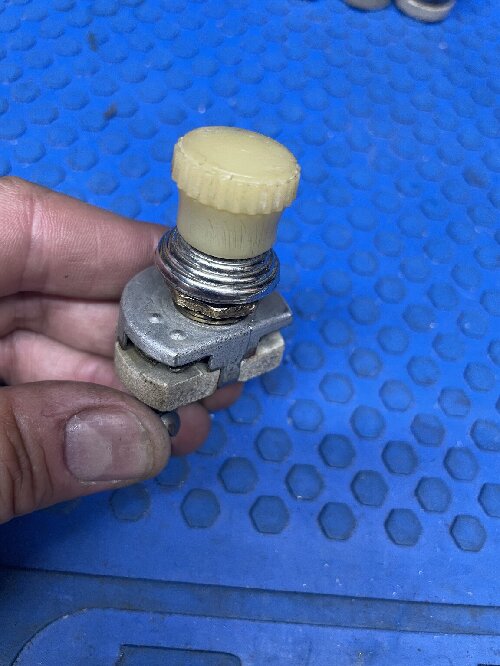
Posted on: 2024/9/16 22:36
|
|||
|
||||
|
Re: Don’s 1937 (120) 138CD Deluxe Touring Limo
|
||||
|---|---|---|---|---|
|
Home away from home
|
Congratulations on diligently finding the real problem. This not too unusual and I have often seen it in overdrive relays--their symptom is usually that they will not work when hot. Soldering over the rivets is a good solution.
Posted on: 2024/9/17 6:49
|
|||
|
||||
|
Re: Don’s 1937 (120) 138CD Deluxe Touring Limo
|
||||
|---|---|---|---|---|
|
Forum Ambassador
|
Also can be an issue in 51-6 headlight switch rheostat sections. Symptom there is instrument lights will not come on and the quick fix of rapidly turning the knob back and forth does not do much if anything to make the lights start working.
Posted on: 2024/9/17 9:00
|
|||
|
Howard
|
||||
|
||||
|
Re: Don’s 1937 (120) 138CD Deluxe Touring Limo
|
||||
|---|---|---|---|---|
|
Home away from home
|
Heater fan rheostats get hot when in operation, and that often causes problems with loose connections and corrosion. The resistive element is an alloy wire that often develops problems where it connects to the terminals. Solder may make a permanent repair, or it may not. Heat and dissimilar metals don't get along well in low voltage electrical circuits. The same issues plague dash light dimmer rheostats.
Posted on: 2024/9/17 9:01
|
|||
|
||||
|
Re: Don’s 1937 (120) 138CD Deluxe Touring Limo
|
||||
|---|---|---|---|---|
|
Home away from home
|
Today was the day to work with my brother-in-law on my car. We replaced the front coil springs, lower support arm bushings, and center crank arm and bearings. The new springs corrected the vast majority of the tilt that my car had. Most likely, I will need to replace the rear leaf springs to correct that last little bit of tilt. I also need to have the rear shocks re-built. That will likely be a winter project.
In the meantime, my car drives MUCH better. It’s almost unbelievable how much of a difference it made. 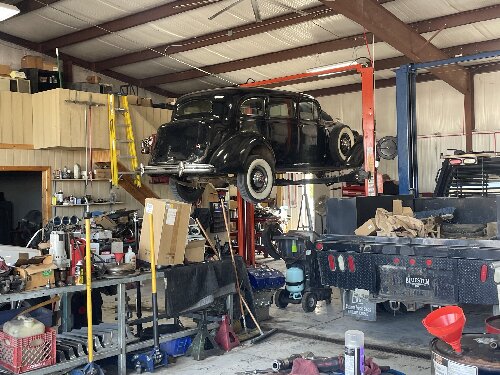 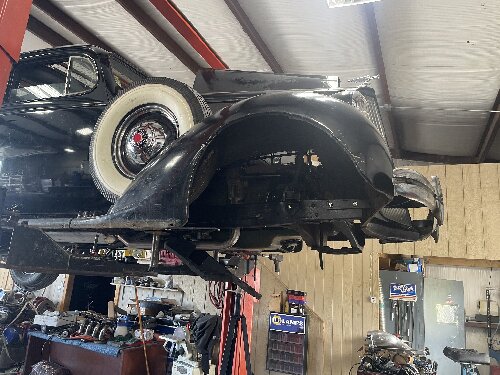 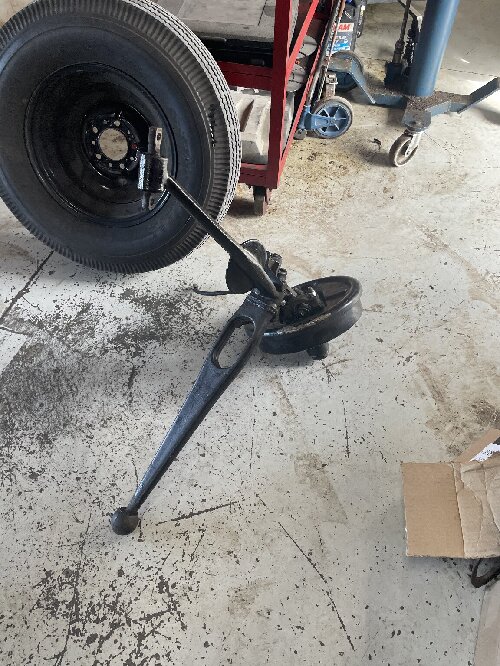 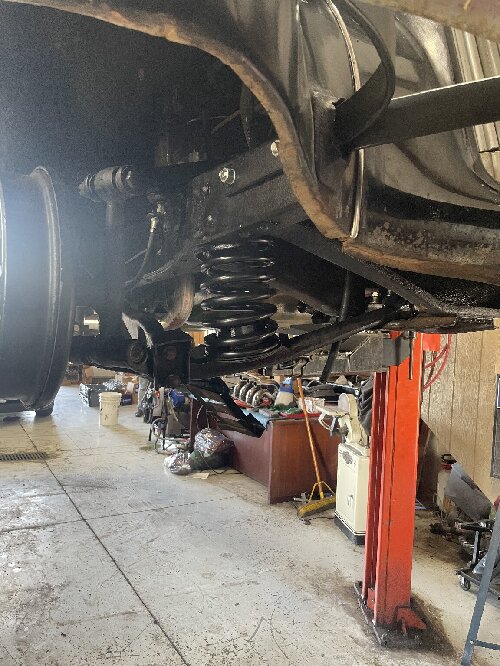 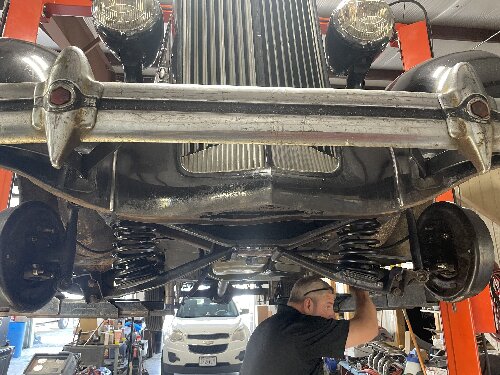 Here are a couple pictures of the center crank arm ball….it was pretty worn. Thanks to Flackmaster for a NOS crank arm. 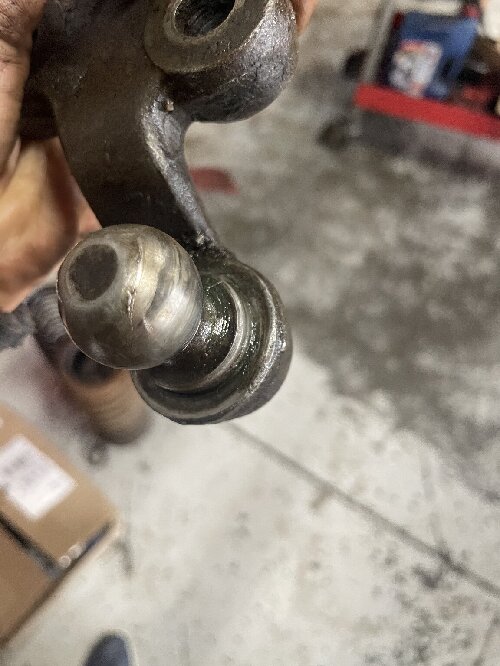 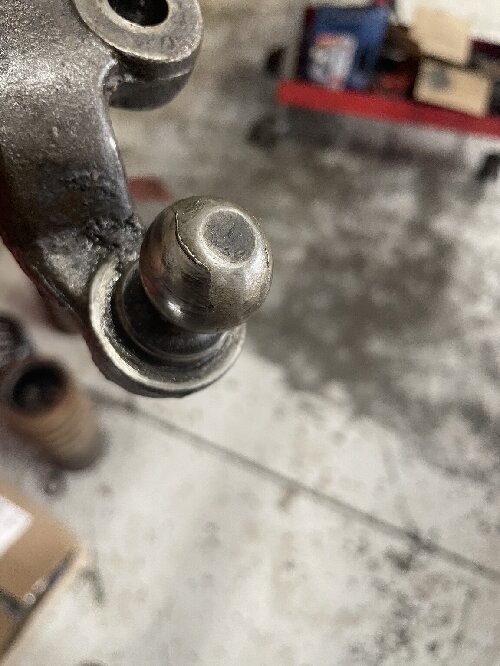
Posted on: 2024/9/24 19:16
|
|||
|
||||
|
Re: Don’s 1937 (120) 138CD Deluxe Touring Limo
|
||||
|---|---|---|---|---|
|
Webmaster
|
All you need now is the optional swaybar and you be ready to take it through a road course track!
Posted on: 2024/9/24 19:33
|
|||
|
-BigKev
1954 Packard Clipper Deluxe Touring Sedan -> Registry | Project Blog 1937 Packard 115-C Convertible Coupe -> Registry | Project Blog |
||||
|
||||
|
Re: Don’s 1937 (120) 138CD Deluxe Touring Limo
|
||||
|---|---|---|---|---|
|
Home away from home
|
Quote:
Haha…I do believe I have one or two other items to take care of first….re-woodgraining the dash and trim pieces, re-wiring the dash after the woodgraining, new rear floor pan, body work, upholstery, oh….and a roof would be a small plus.
Posted on: 2024/9/24 19:59
|
|||
|
||||


