|
Re: Henry's 55 Constellation
|
||||
|---|---|---|---|---|
|
Forum Ambassador

|
man I WISH there was a batch way...I have to do them one at a time. its a labor of love. I'm just glad Kev gives us space to host them though.
the last picture was 0268 I also added and apology to you on the last page incase you missed it.
Posted on: 2015/9/3 20:45
|
|||
|
1937 Packard 138-CD Deluxe Touring Limousine
Maroon/Black 1090-1021 [url=https://packardinfo.com/xoops/html/modules/registry/View.php?ID=232]1955 Packard |
||||
|
||||
|
Re: Henry's 55 Constellation
|
||||
|---|---|---|---|---|
|
Forum Ambassador

|
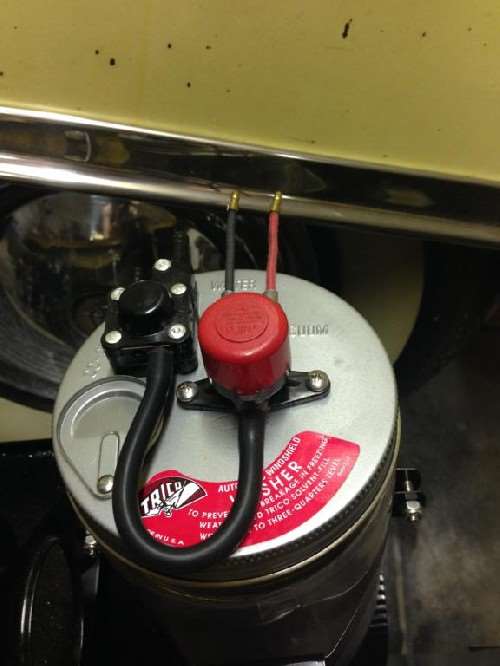
forgot this pic of the sticker installed.
Posted on: 2015/9/3 22:44
|
|||
|
1937 Packard 138-CD Deluxe Touring Limousine
Maroon/Black 1090-1021 [url=https://packardinfo.com/xoops/html/modules/registry/View.php?ID=232]1955 Packard |
||||
|
||||
|
Re: Henry's 55 Constellation
|
||||
|---|---|---|---|---|
|
Forum Ambassador

|
Operation of the Trico Mag-U-Matic solenoid
<iframe width="560" height="315" src="https://www.youtube.com/embed/epHIcnUrU4Q" frameborder="0" allowfullscreen></iframe>
Posted on: 2015/9/3 23:15
|
|||
|
1937 Packard 138-CD Deluxe Touring Limousine
Maroon/Black 1090-1021 [url=https://packardinfo.com/xoops/html/modules/registry/View.php?ID=232]1955 Packard |
||||
|
||||
|
Re: Henry's 55 Constellation
|
||||
|---|---|---|---|---|
|
Forum Ambassador

|
some more progress on the Packard. I worked on the headlight buckets, cleaned them up and painted the non aluminum bits to keep the rust away.
I put in Autopal E code headlights that have replaceable H4 bulbs. I also mounted a new relay harness for the lights to run straight from the battery. I did this to my 70 dart and it wasn't even funny how much brighter the headlights were. some people say these headlights suck, but the brand has been fine for me and they are easily half the price of bosch and hella brands. and to me E code is a WAY better light pattern then DOT. I don't see well at night so, this was a must do modification. the harness will be discrete enough for me. I found a rubber plug that I have no idea what it goes to and I'm sure will need when I figure it out, but for now I drilled a hole in it and used it for the rubber stopper in the headlight bucket. I just need to find another random plug like it on the garage floor. yeah right! I know they carry stuff like that at lowes though, so should beable to find something similar there. I used 5/8 quick nuts for the cowling and I will use 5/8 stainless bolts to secure it. Lowes again. also I was going to send off my heater plenum for R&D by a company to repop it for the future, but as you can see the rats got to mine. Ross was kind enough to loan me one so I could still pursue this endeavor with this company. I keep everyone updated on that. I plan to send the defrost ducting along with it too. I finally got the back window back in. the rubber fits better then the first one they sent me, but it still doesn't seem right at the top. if it doesn't leak it will be a miracle. I plan on using some black gasket maker to fill the gap, cause I'm done jacking with it. besides I think the manual says to fill the gap with some putty anyways...can't remember. I also had to figure out how to reattach the headlight adjusters. I used 3/16 rivets, ground down to not interfere with the adjustment screw. they work great! also linseed oiled the last bits of the body panels and will clear coat those once it dries. Attach file:  (55.91 KB) (55.91 KB)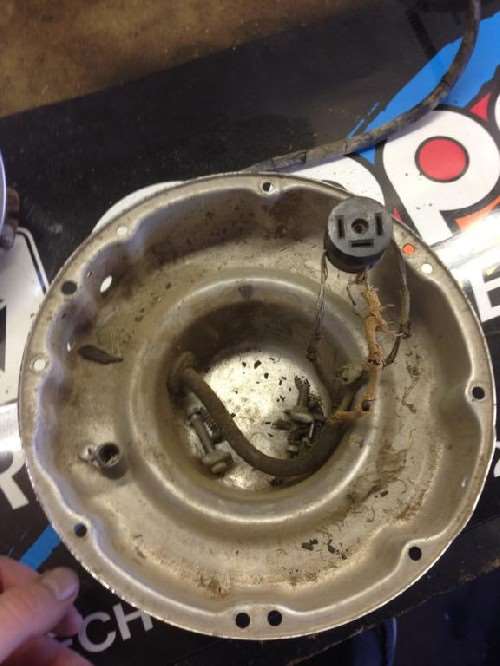  (41.62 KB) (41.62 KB)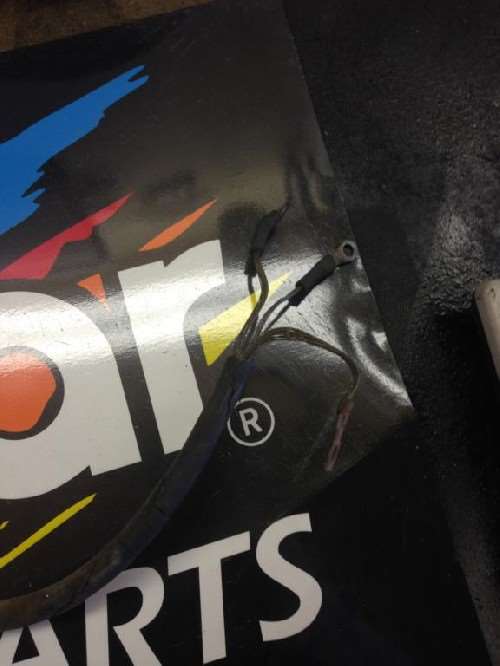  (56.34 KB) (56.34 KB)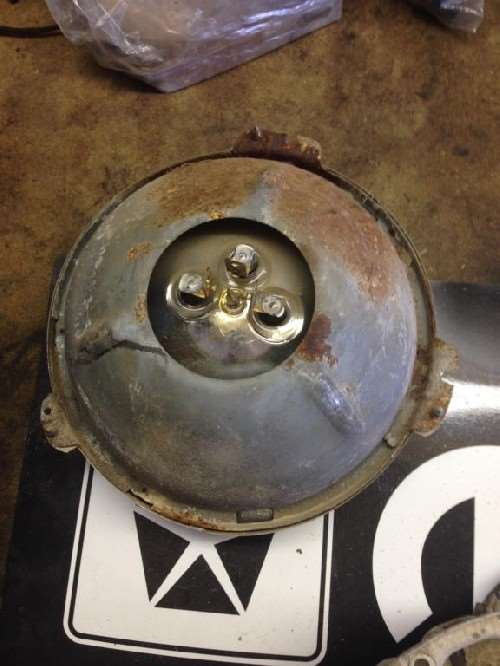  (50.60 KB) (50.60 KB)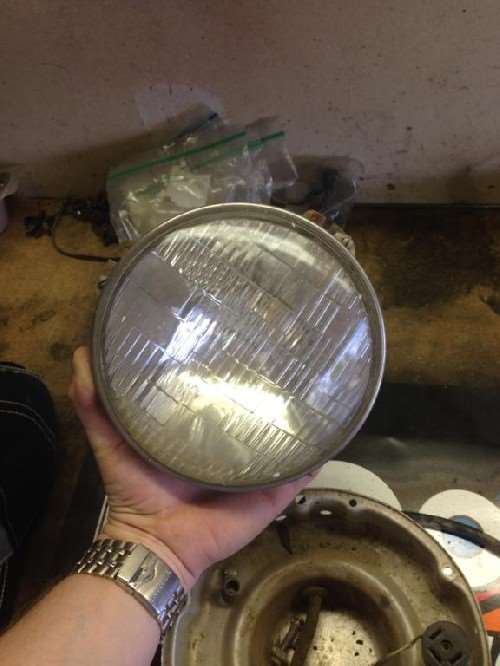  (61.32 KB) (61.32 KB)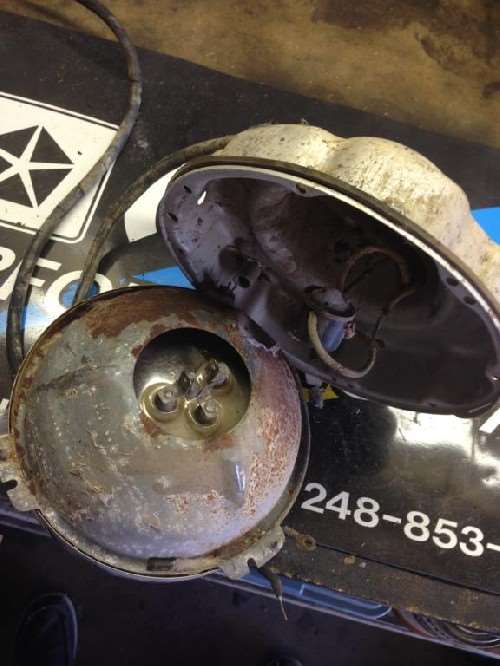  (69.04 KB) (69.04 KB)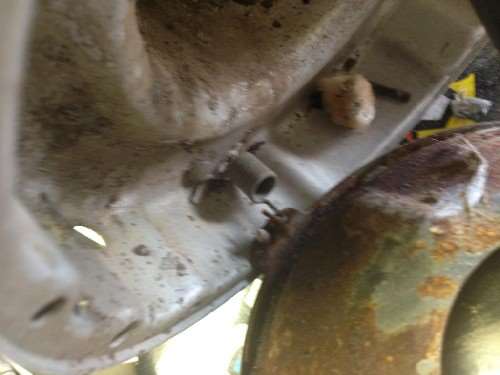  (90.52 KB) (90.52 KB)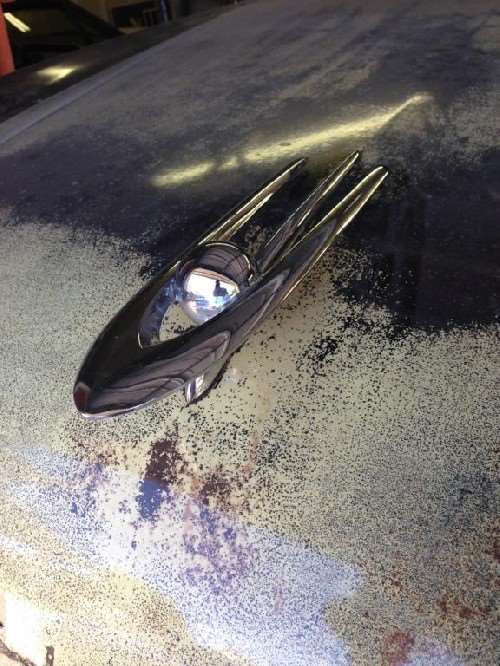  (73.85 KB) (73.85 KB)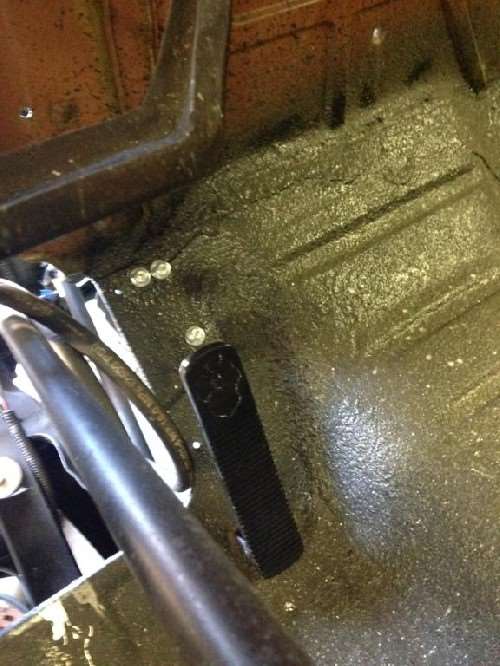  (49.11 KB) (49.11 KB)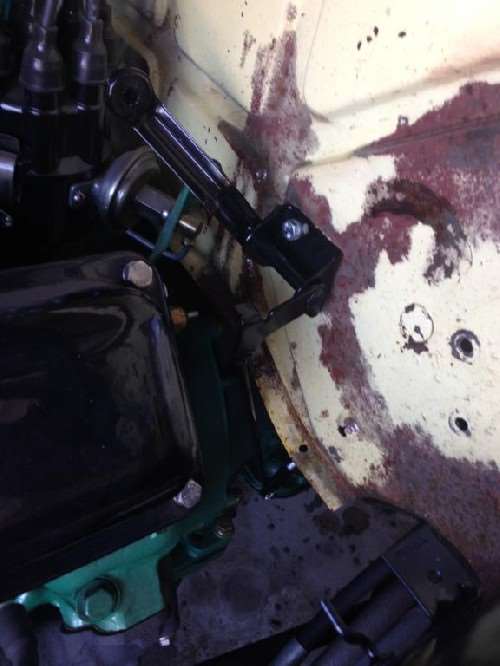  (61.17 KB) (61.17 KB)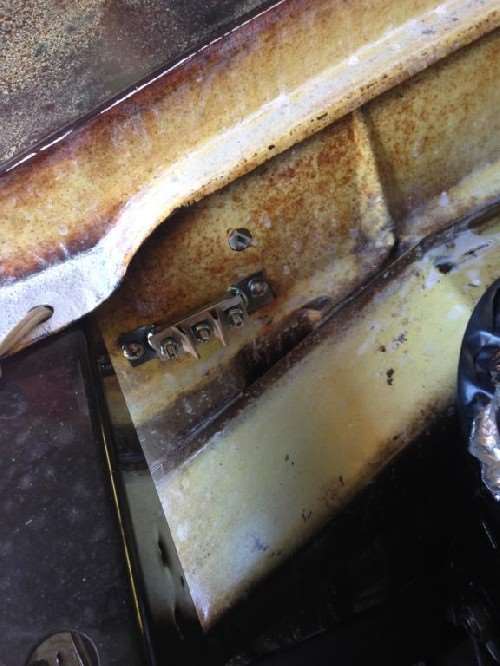  (86.44 KB) (86.44 KB)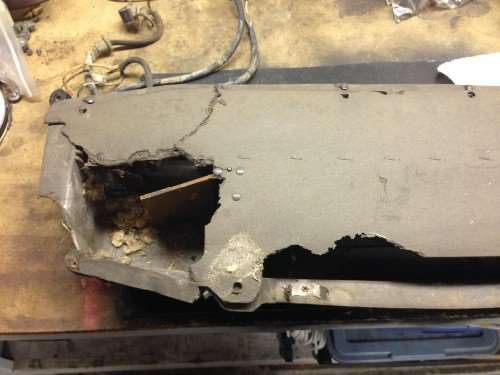  (75.45 KB) (75.45 KB)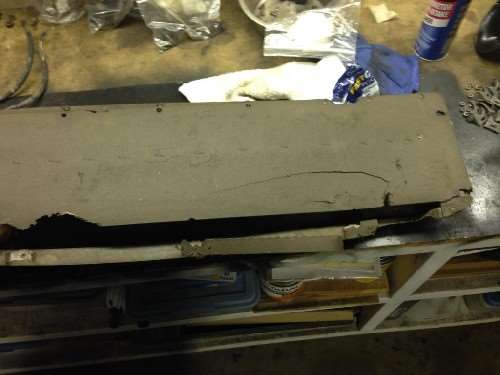  (52.35 KB) (52.35 KB)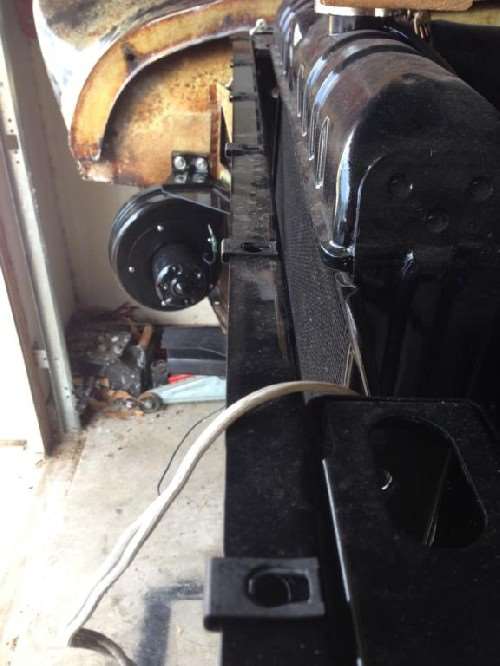  (40.00 KB) (40.00 KB)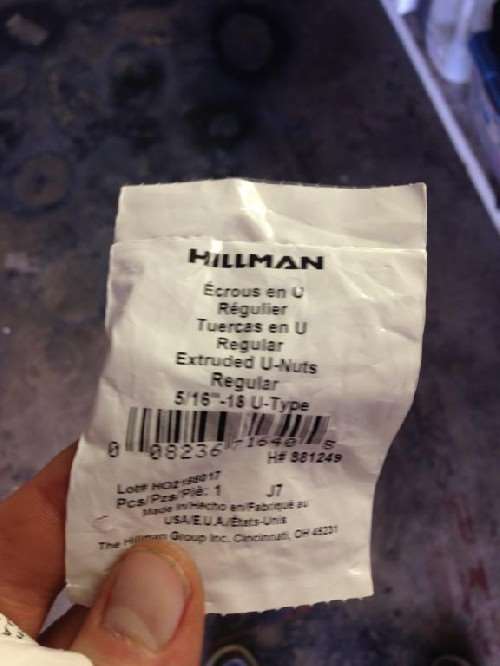  (64.97 KB) (64.97 KB)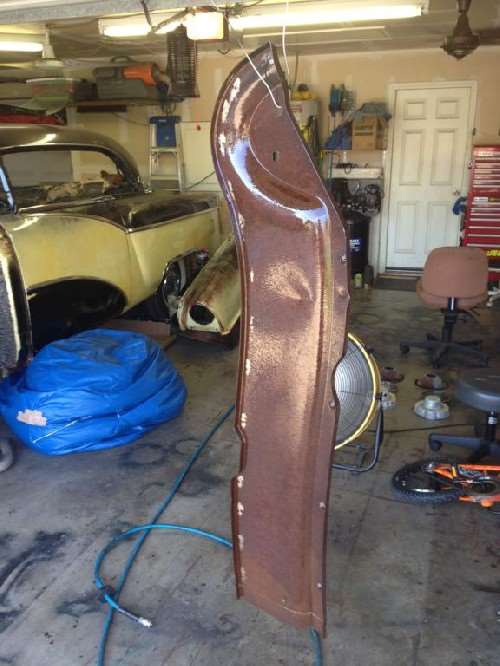  (60.81 KB) (60.81 KB)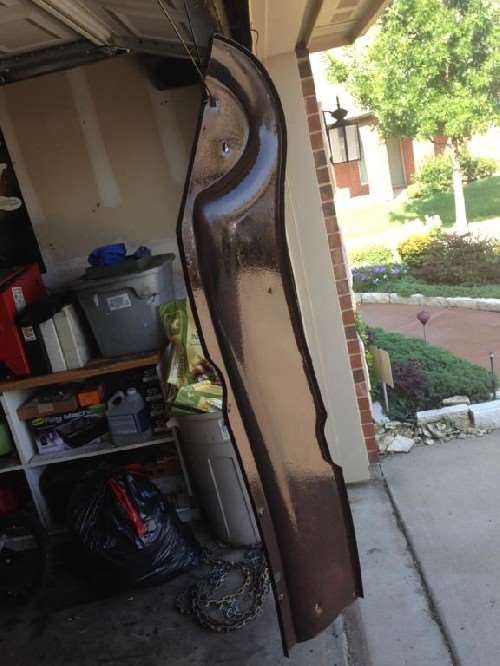  (73.80 KB) (73.80 KB)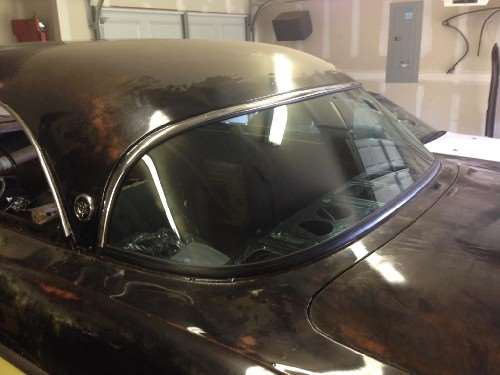  (50.18 KB) (50.18 KB)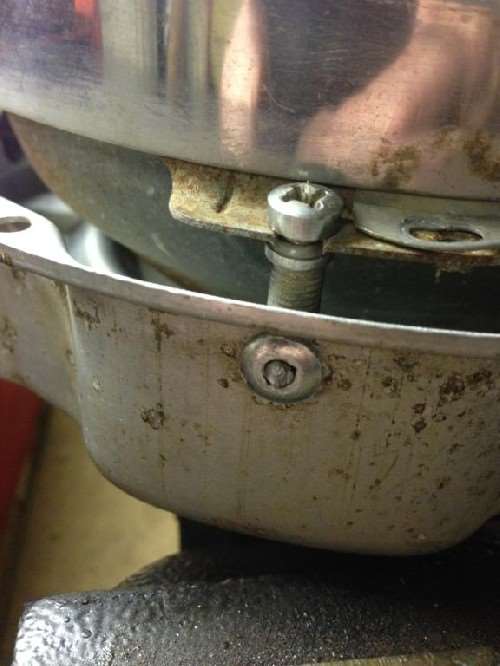  (50.31 KB) (50.31 KB)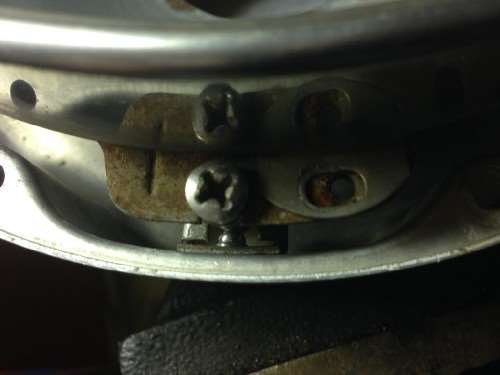  (59.35 KB) (59.35 KB)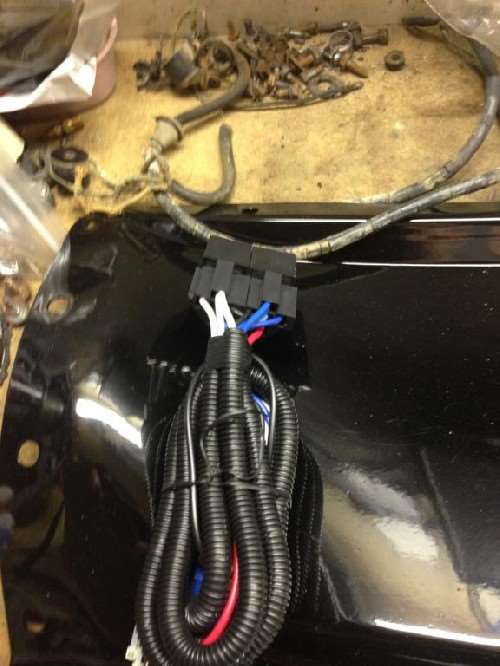  (44.66 KB) (44.66 KB)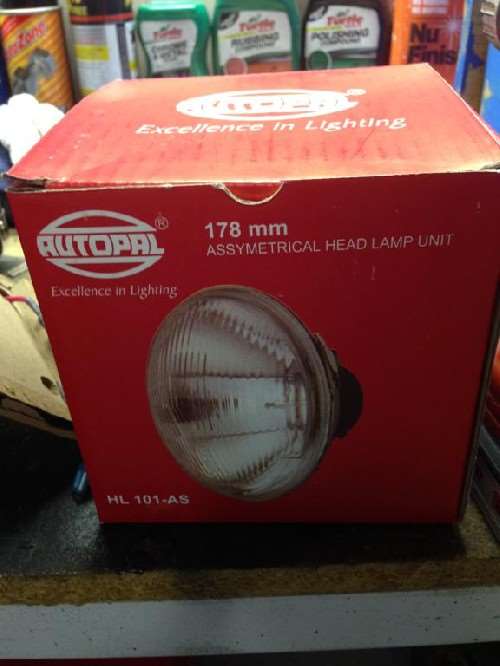  (63.92 KB) (63.92 KB)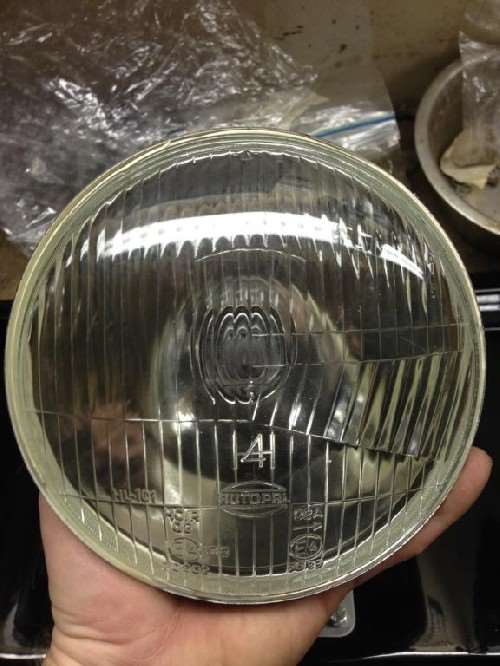  (51.00 KB) (51.00 KB)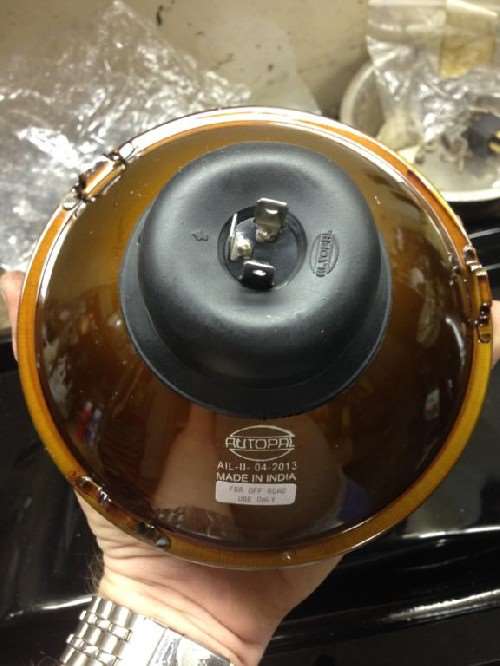  (50.54 KB) (50.54 KB)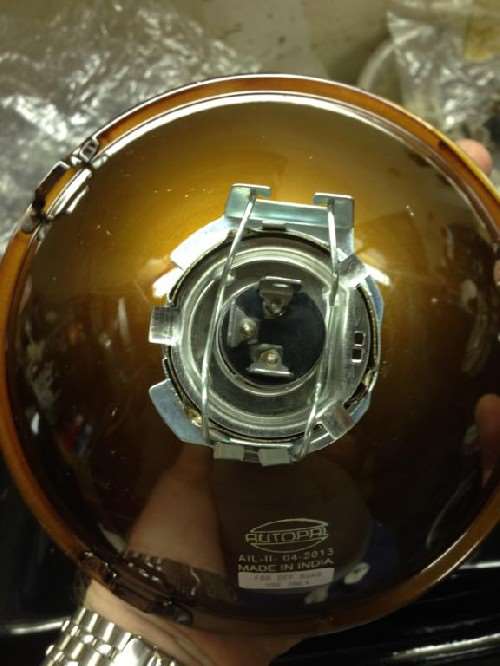  (51.82 KB) (51.82 KB)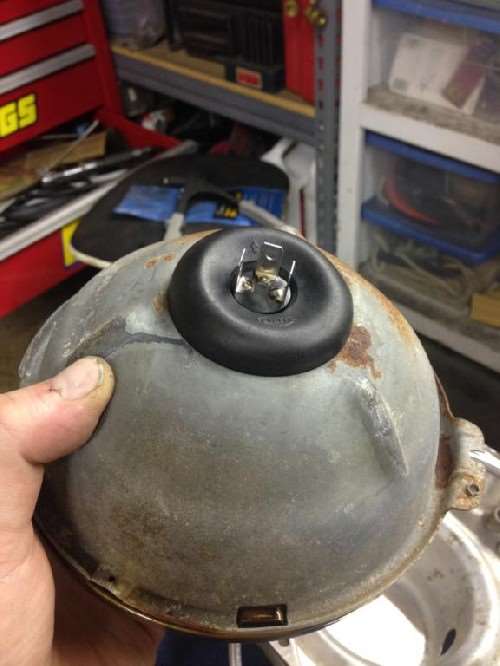  (56.68 KB) (56.68 KB)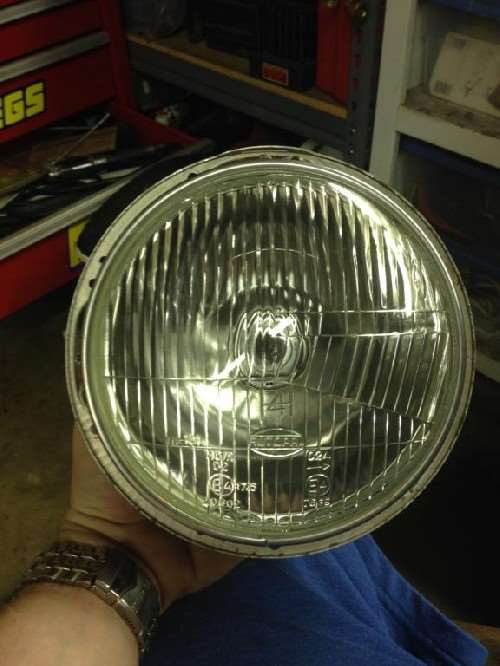  (52.81 KB) (52.81 KB)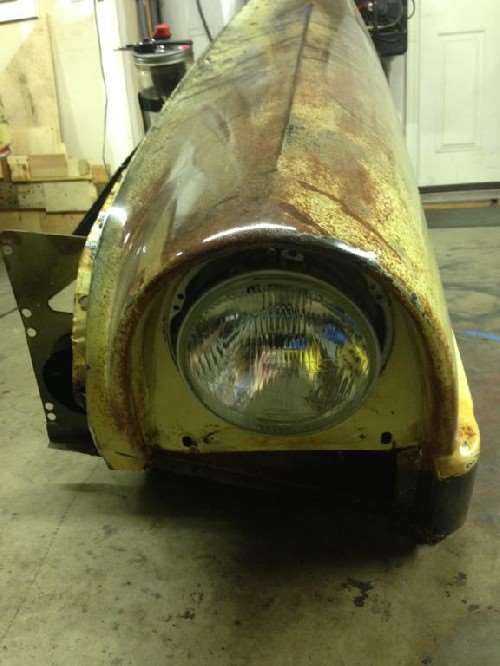  (83.10 KB) (83.10 KB)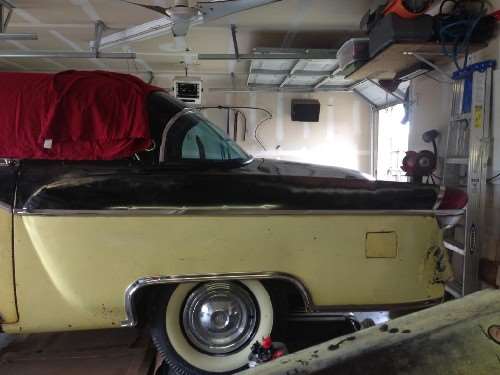  (69.30 KB) (69.30 KB)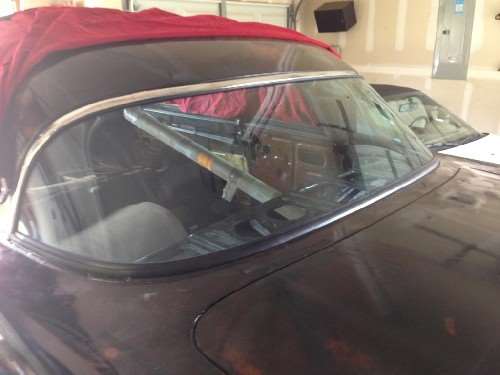  (70.14 KB) (70.14 KB)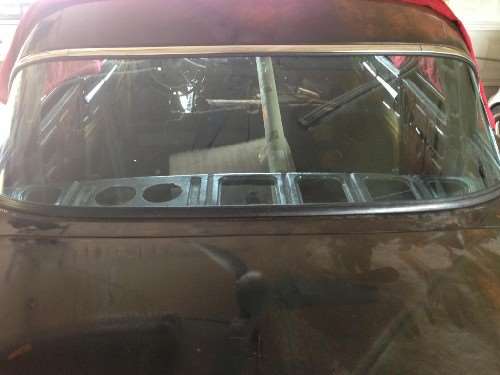  (66.49 KB) (66.49 KB)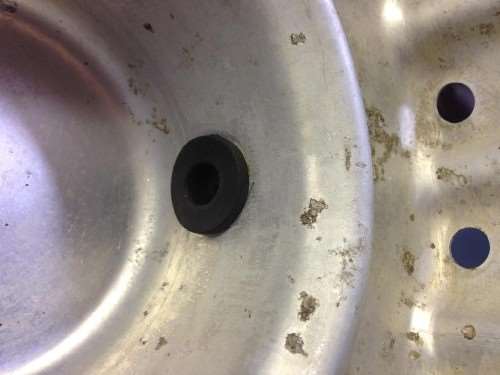  (67.49 KB) (67.49 KB)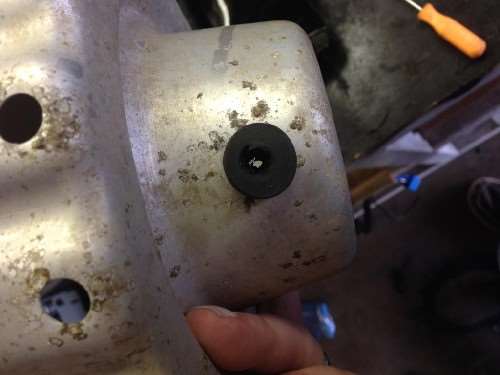  (103.13 KB) (103.13 KB)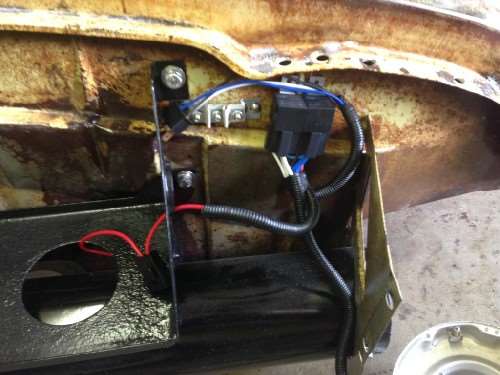  (56.09 KB) (56.09 KB)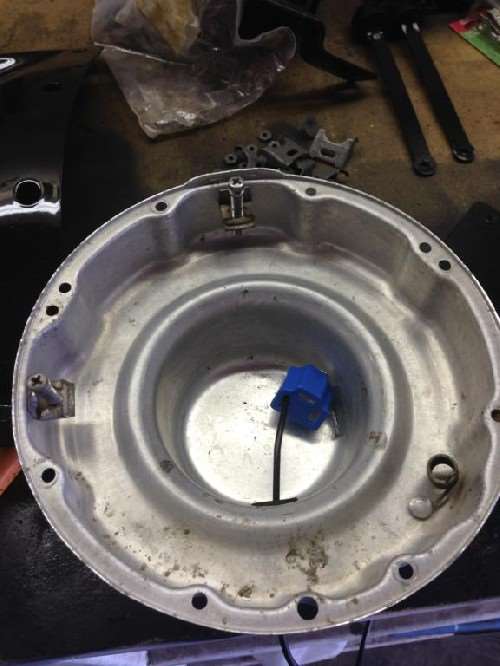  (100.79 KB) (100.79 KB)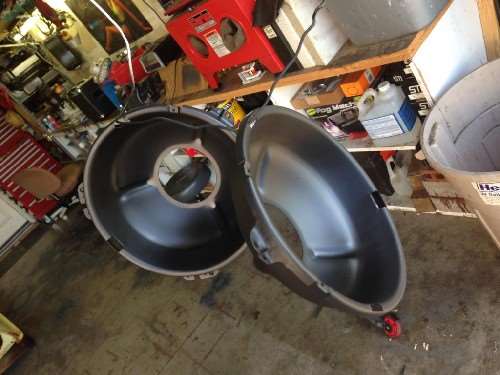  (99.51 KB) (99.51 KB)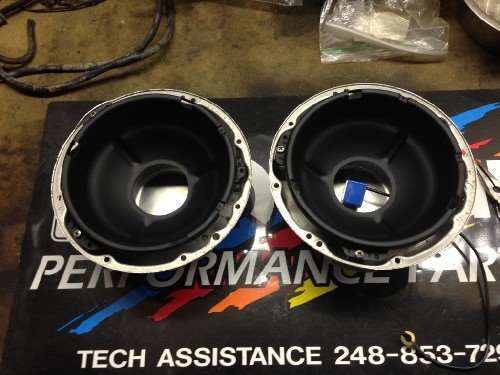  (97.90 KB) (97.90 KB)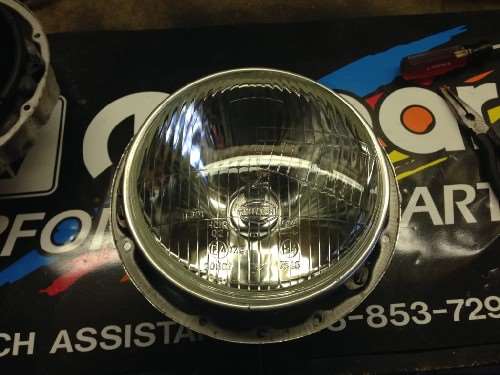
Posted on: 2015/9/15 14:30
|
|||
|
1937 Packard 138-CD Deluxe Touring Limousine
Maroon/Black 1090-1021 [url=https://packardinfo.com/xoops/html/modules/registry/View.php?ID=232]1955 Packard |
||||
|
||||
|
Re: Henry's 55 Constellation
|
||||
|---|---|---|---|---|
|
Home away from home

|
+1 on the H4 Euro headlights. Back when I was living in Michigan I changed my old Audi C4 S6 to Euro lamps. My Packard also has h4 lamps in it, and I also have H4 and relays in my Porsche. If you want even moa powah, you could get high wattage H4 bulbs. Normal is 55/65 watts, Al Zim has 55/100 or something Crazy like that. Daniel Stern I believe is also a good Source for 75/85 Watt bulbs.
Posted on: 2015/9/15 15:00
|
|||
|
1953 Clipper Delux Club Sedan, 1953 Caribbean, 1969 912, 1990 Miata
|
||||
|
||||
|
Re: Henry's 55 Constellation
|
||||
|---|---|---|---|---|
|
Forum Ambassador

|
yes I have heard of Daniel Stern, he is a big Cibie nut. hates autopal...but I've never had issue with them.
I'm running this same setup in my dart and its great, i'll look into the brighter H4 bulbs if these don't seem good enough.
Posted on: 2015/9/15 15:11
|
|||
|
1937 Packard 138-CD Deluxe Touring Limousine
Maroon/Black 1090-1021 [url=https://packardinfo.com/xoops/html/modules/registry/View.php?ID=232]1955 Packard |
||||
|
||||
|
Re: Henry's 55 Constellation
|
||||
|---|---|---|---|---|
|
Forum Ambassador

|
started working on the dash. this post serves to show all of the wiring hook ups and terminal ends for the 55 jr 2 dr. no power anything except antennae. I plan to purchase new wiring and terminals and rebuild the harnesses myself. buying a new one is not cost effective and with my old one being in pretty good shape I should beable to duplicate it easily enough.
I took all the bits and pieces off the dash so I could linseed and clear coat the dash itself. decided to leave it original along with the other body panels, even left the rust holes in it to match with the outside of the car. seems to be a theme for someone with very little budget. the next post will have the painting and reassembly of the dash. luckily the dash cloth came off in one piece and I was able to get all of the knobs off without the special tool. not sure how, but they came off. putting them back on I'll need the tool I'm sure. the service manual and parts plates can show only so much. the wiring diagrams don't show terminals and or how the whole thing hooks up in real life application. I know its a lot of pics, but maybe it will help someone in the future when they are fiddling around blindly behind the dash. yes I'm wearing Mario Bros. PJ pants.....cause I'm cool like that. Attach file:  (105.82 KB) (105.82 KB)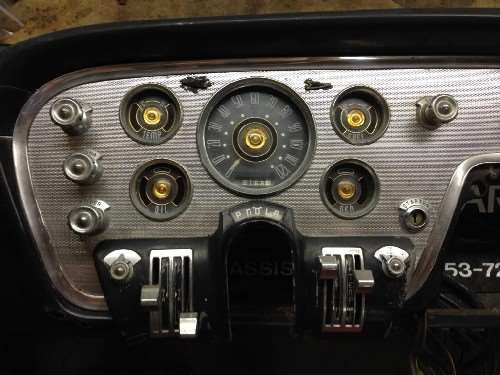  (95.96 KB) (95.96 KB)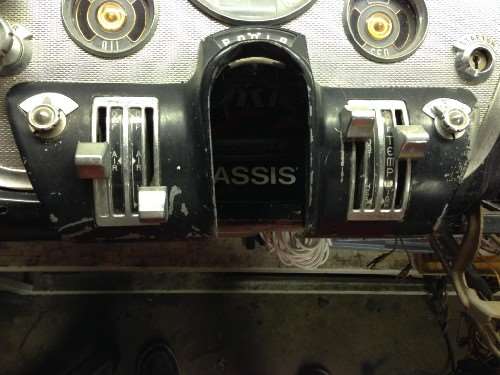  (119.54 KB) (119.54 KB)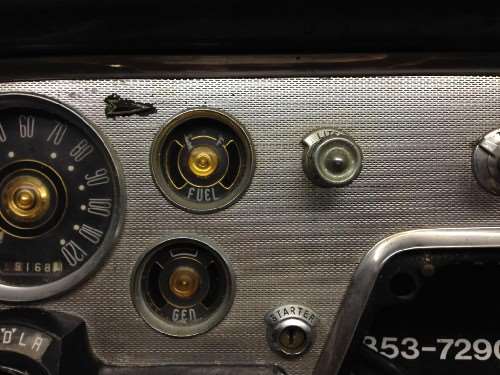  (124.49 KB) (124.49 KB)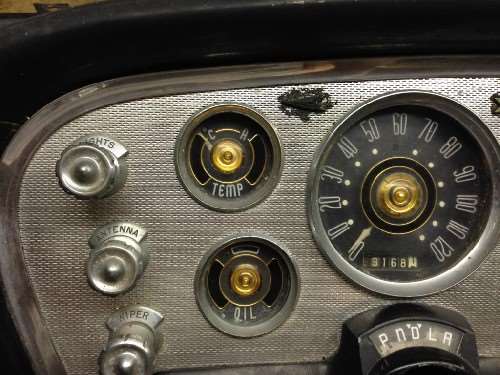  (78.62 KB) (78.62 KB)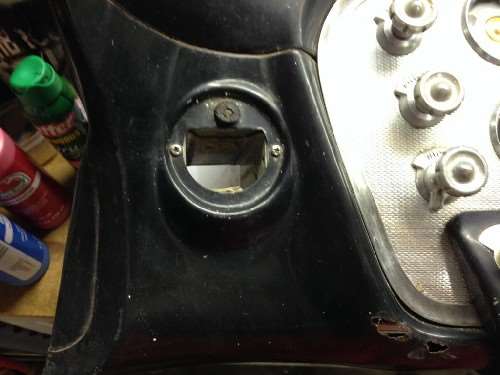  (89.06 KB) (89.06 KB)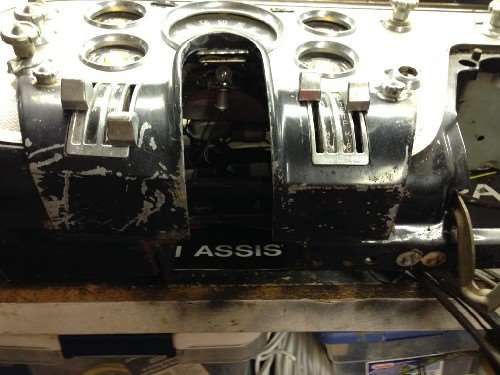  (74.51 KB) (74.51 KB)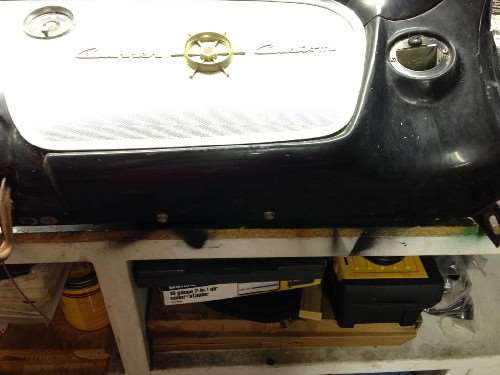  (88.40 KB) (88.40 KB)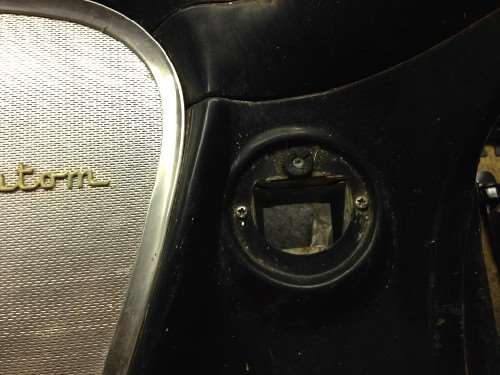  (150.48 KB) (150.48 KB)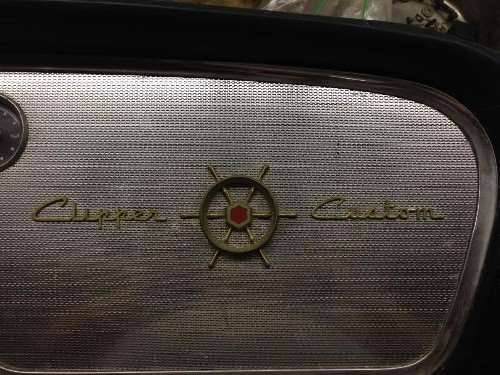  (112.80 KB) (112.80 KB)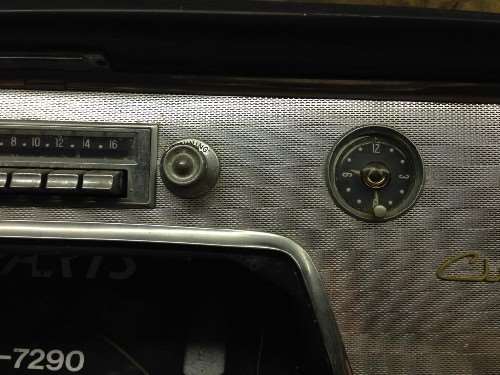  (78.18 KB) (78.18 KB)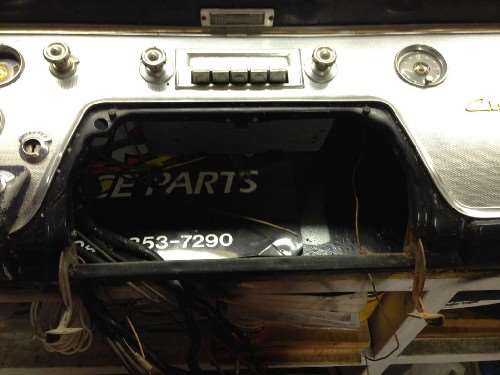  (98.42 KB) (98.42 KB)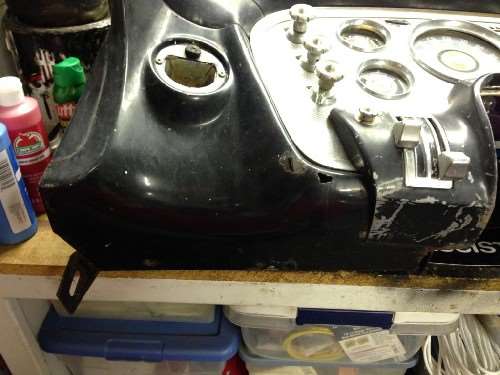  (87.57 KB) (87.57 KB)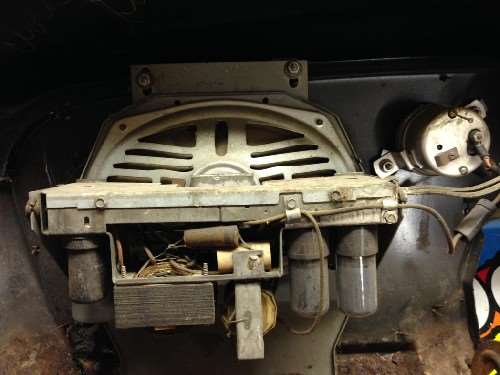  (86.32 KB) (86.32 KB)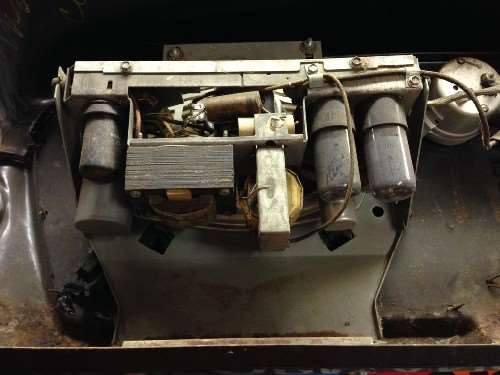  (85.75 KB) (85.75 KB)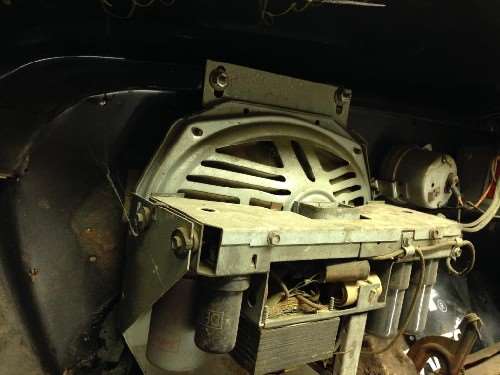  (57.16 KB) (57.16 KB)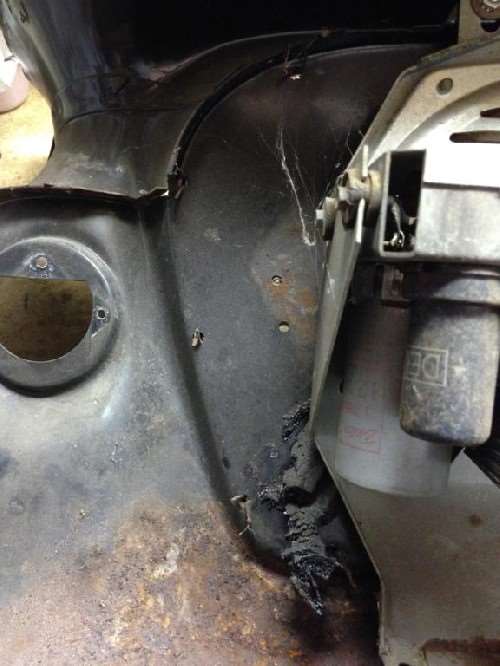  (87.25 KB) (87.25 KB)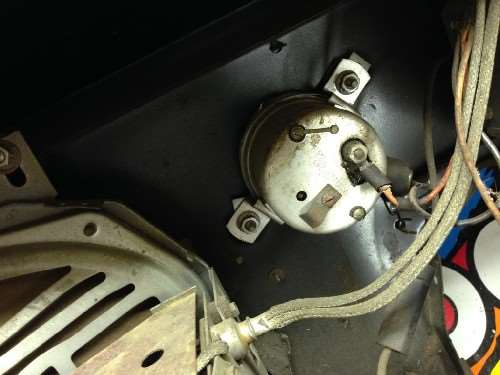  (71.55 KB) (71.55 KB)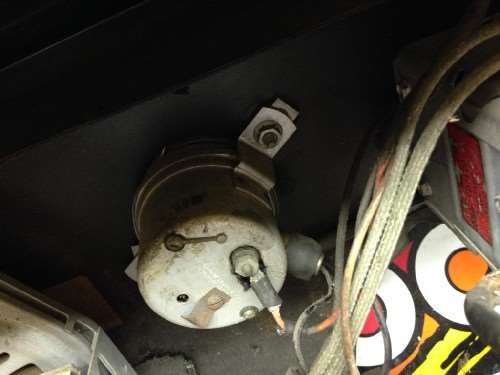  (73.54 KB) (73.54 KB)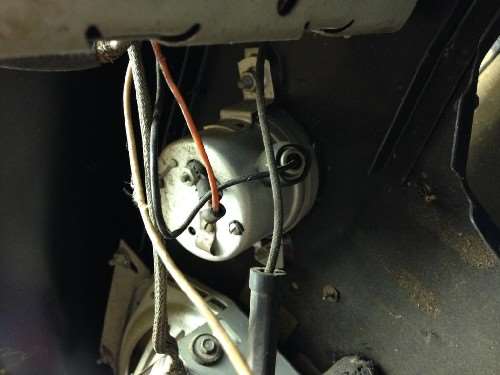  (71.25 KB) (71.25 KB)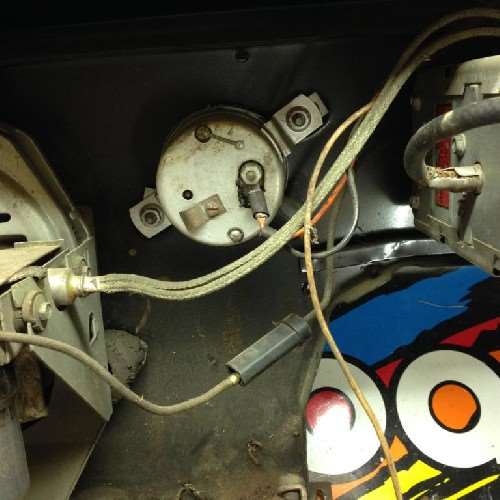  (67.99 KB) (67.99 KB)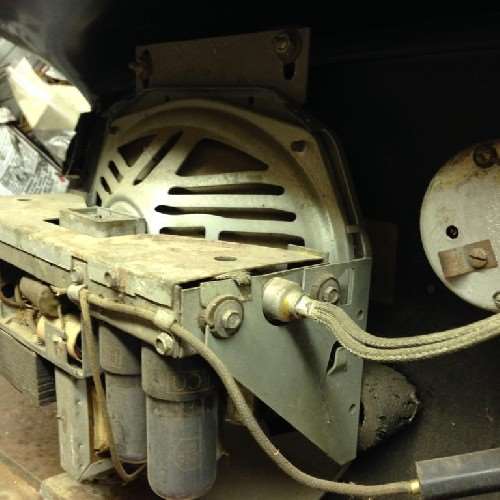  (90.95 KB) (90.95 KB)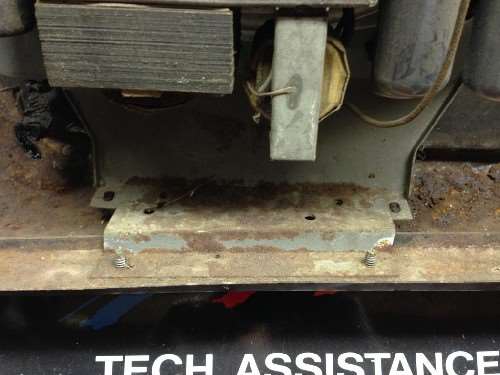  (87.93 KB) (87.93 KB)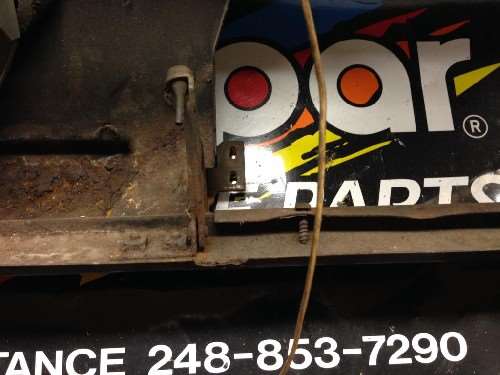  (96.60 KB) (96.60 KB)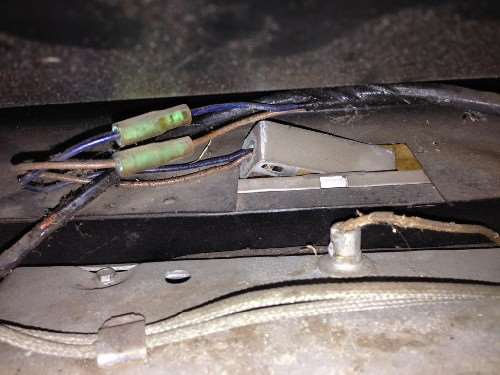  (76.63 KB) (76.63 KB)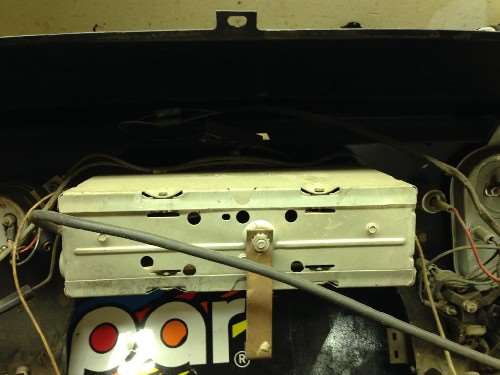  (82.10 KB) (82.10 KB)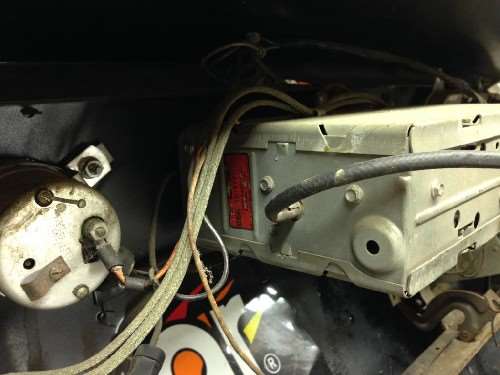  (61.48 KB) (61.48 KB)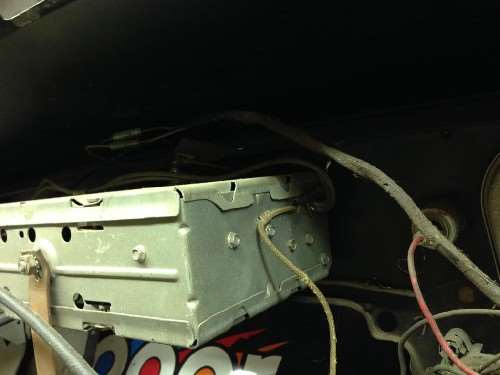  (119.85 KB) (119.85 KB)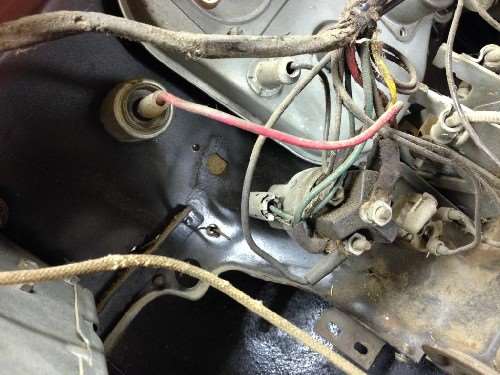  (71.29 KB) (71.29 KB)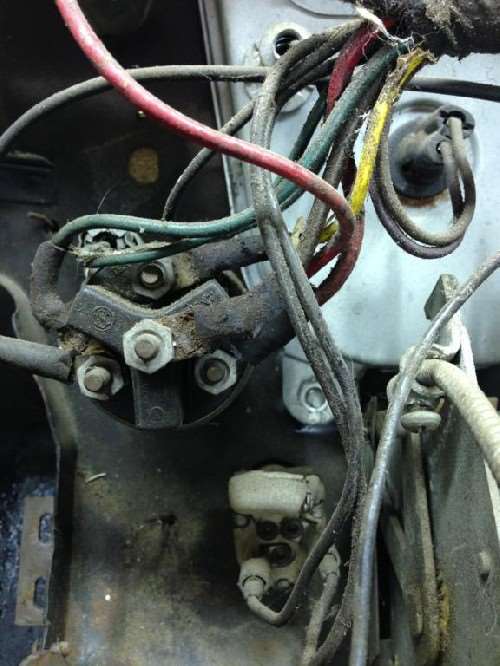  (113.36 KB) (113.36 KB)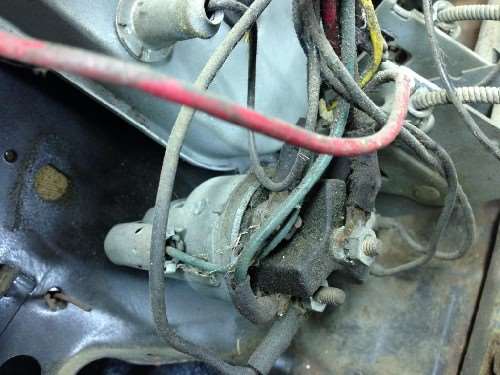  (67.27 KB) (67.27 KB)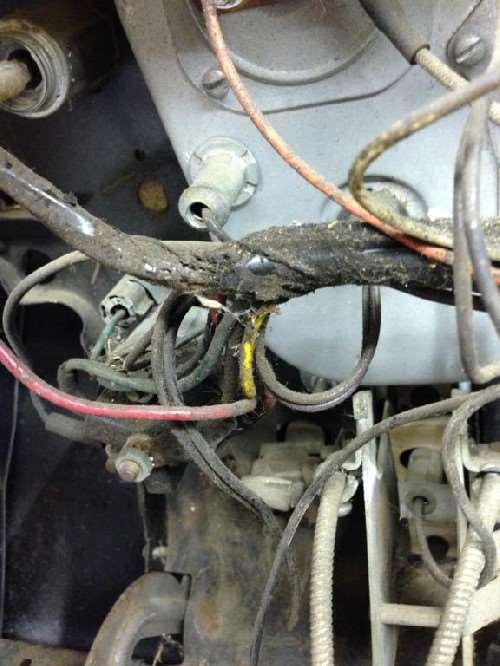  (91.62 KB) (91.62 KB)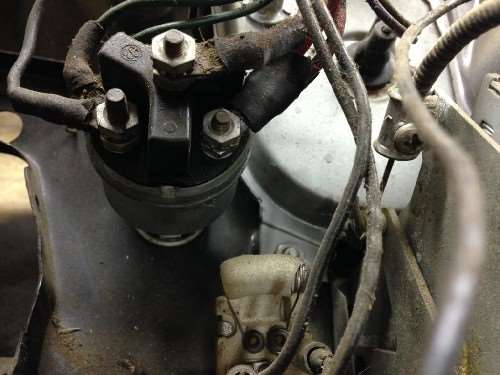  (91.61 KB) (91.61 KB)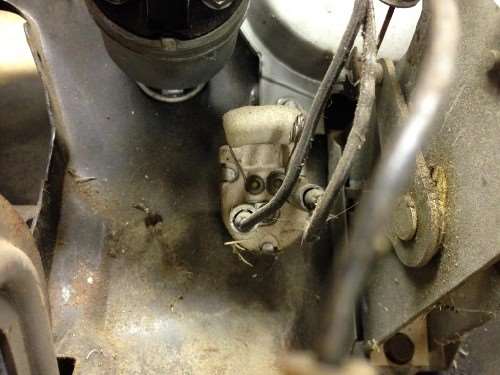  (109.88 KB) (109.88 KB)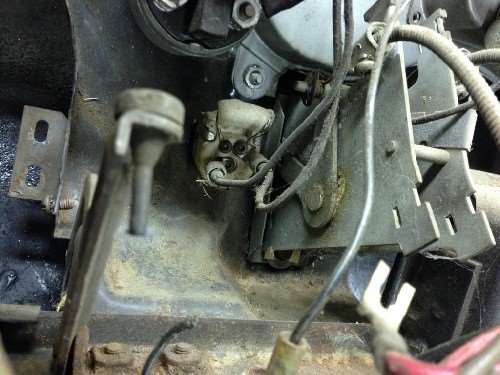  (78.92 KB) (78.92 KB)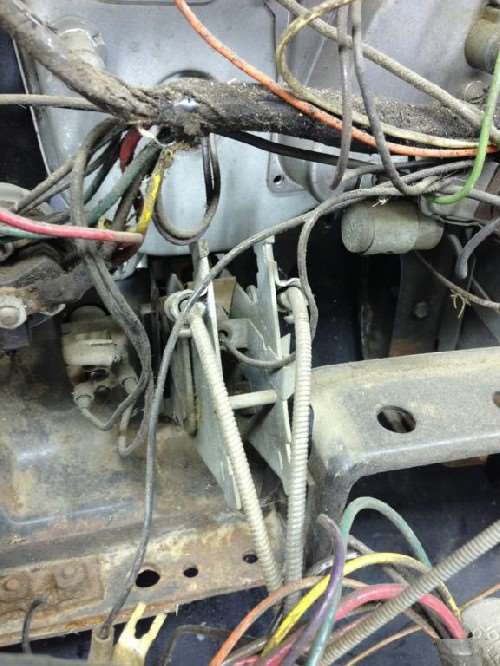  (120.02 KB) (120.02 KB)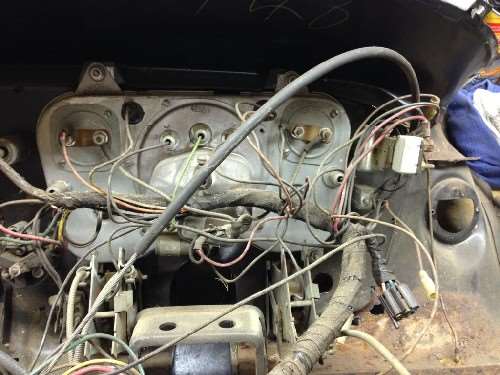  (106.95 KB) (106.95 KB)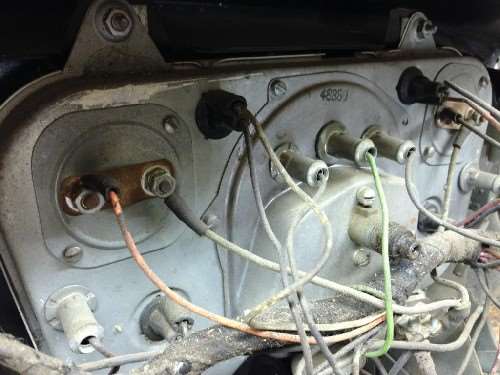  (121.28 KB) (121.28 KB)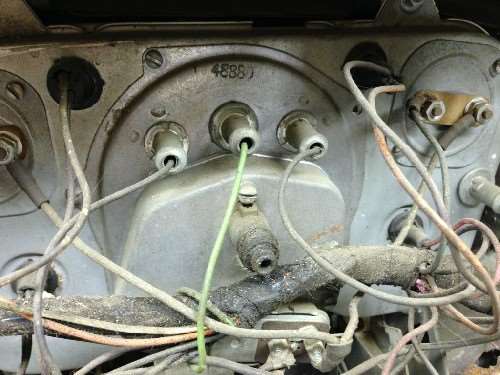  (108.02 KB) (108.02 KB)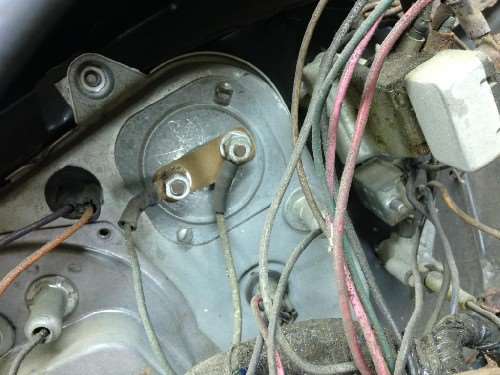  (132.76 KB) (132.76 KB)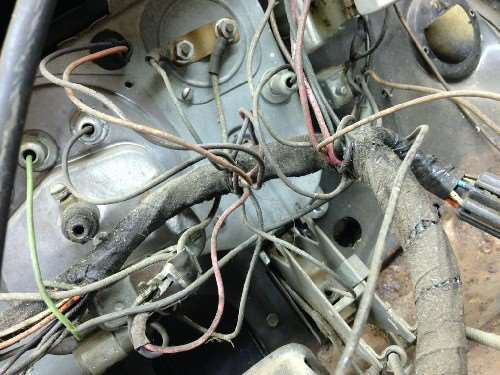  (111.20 KB) (111.20 KB)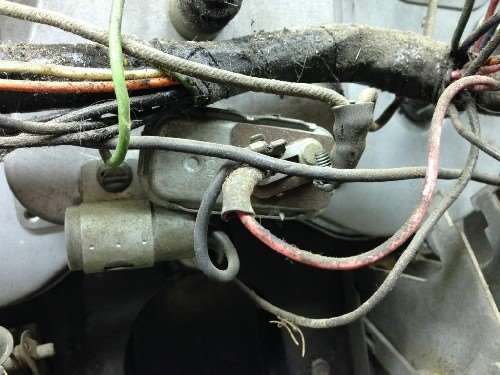  (120.24 KB) (120.24 KB)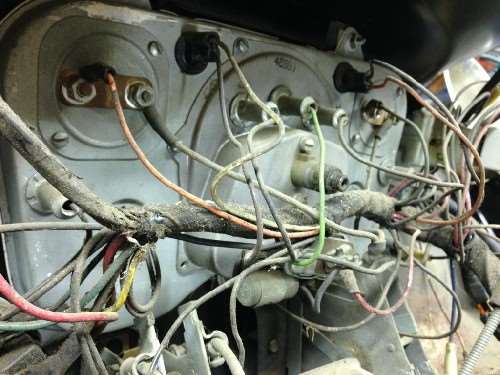  (123.32 KB) (123.32 KB)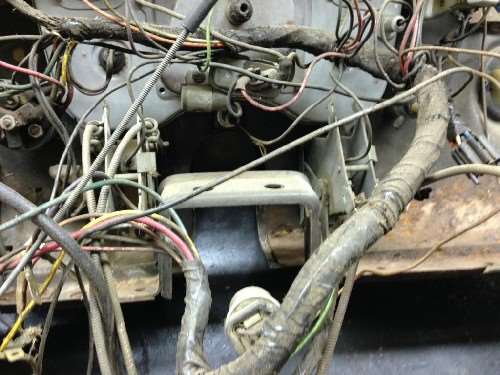  (114.02 KB) (114.02 KB)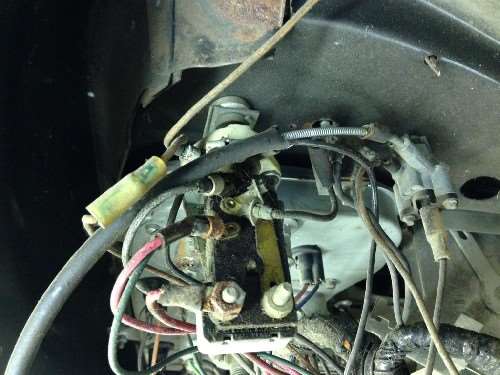  (79.06 KB) (79.06 KB)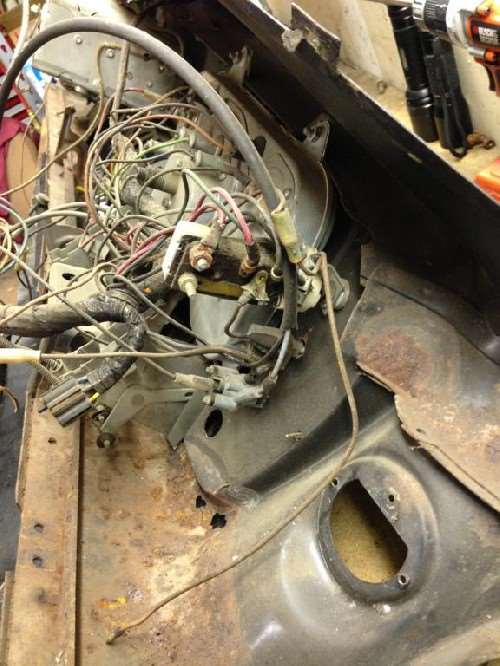  (67.43 KB) (67.43 KB)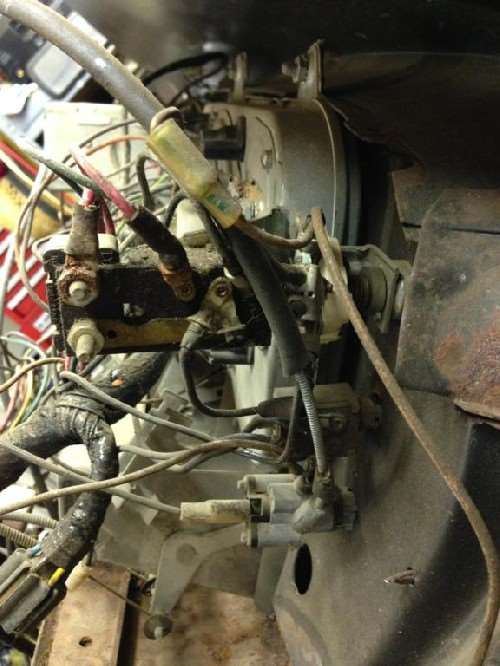  (62.49 KB) (62.49 KB)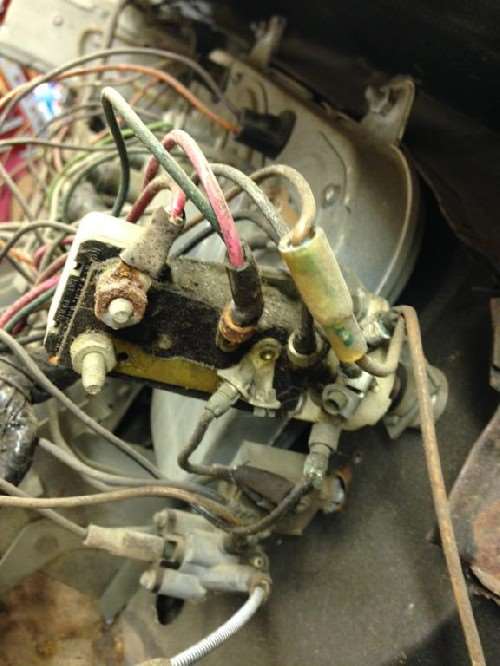  (66.73 KB) (66.73 KB)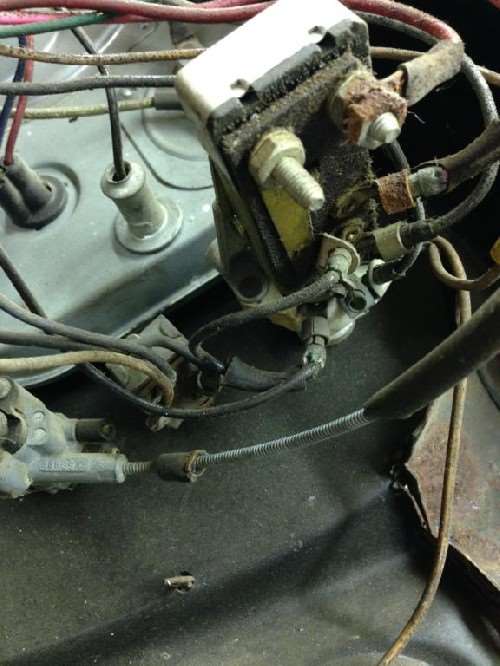  (116.46 KB) (116.46 KB)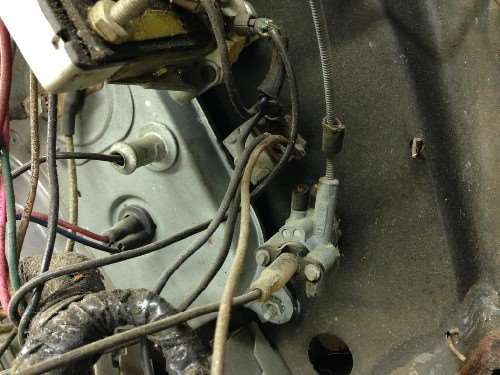  (132.89 KB) (132.89 KB)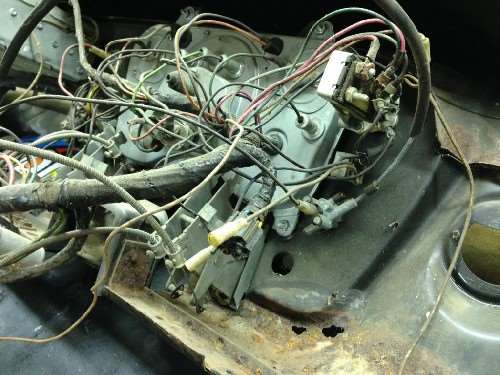  (116.58 KB) (116.58 KB)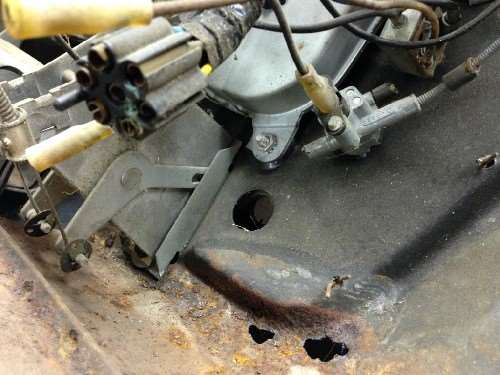  (124.80 KB) (124.80 KB)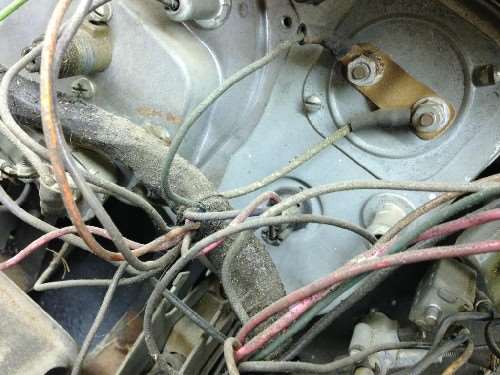  (126.04 KB) (126.04 KB)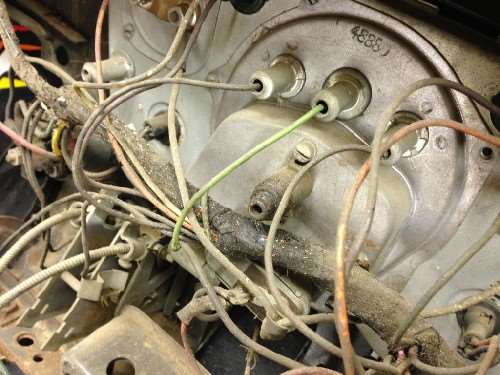  (116.70 KB) (116.70 KB)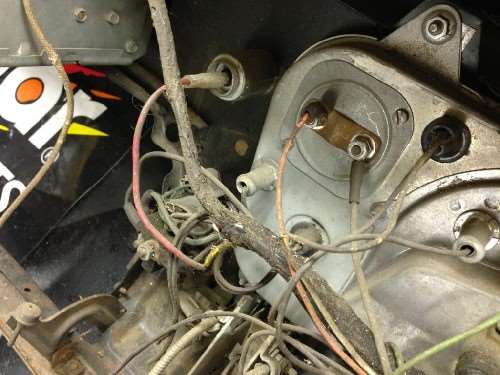  (121.79 KB) (121.79 KB)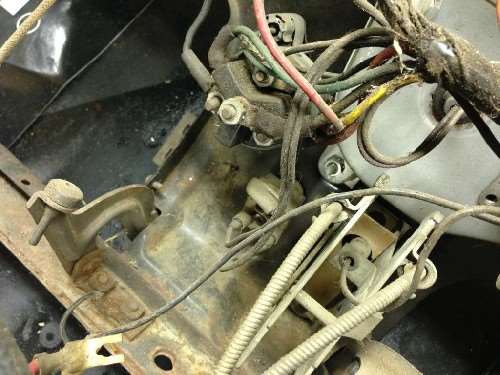  (105.24 KB) (105.24 KB)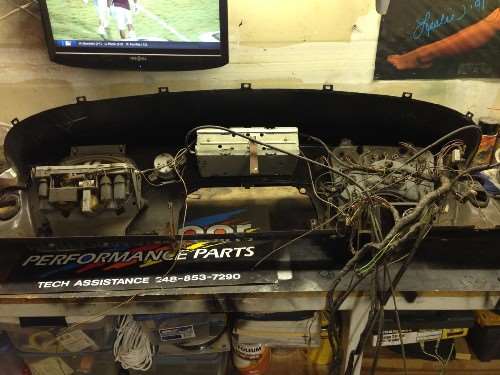  (105.85 KB) (105.85 KB)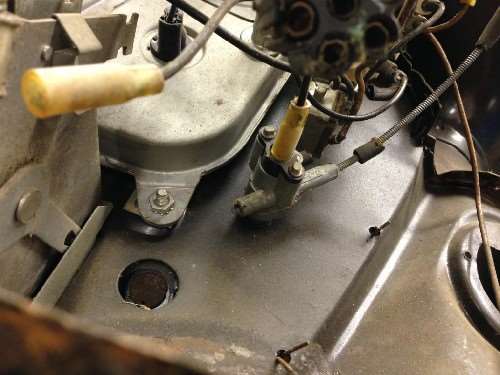  (94.85 KB) (94.85 KB)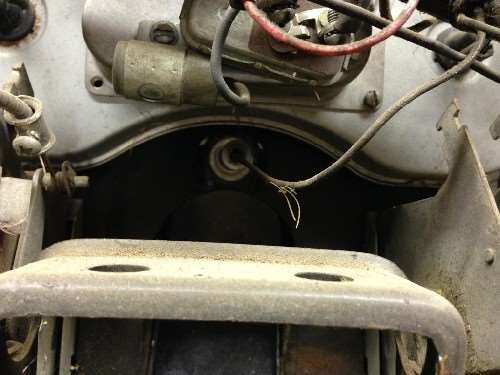  (111.13 KB) (111.13 KB)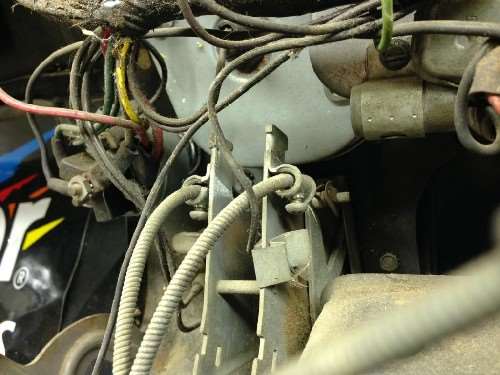  (66.58 KB) (66.58 KB)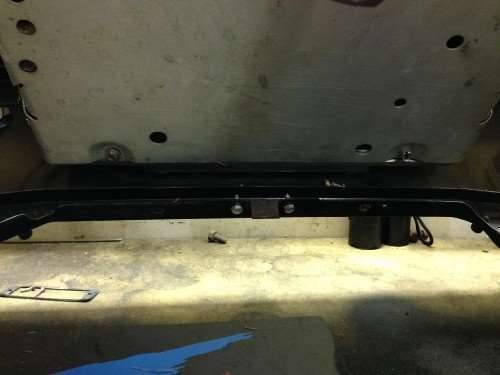  (96.31 KB) (96.31 KB)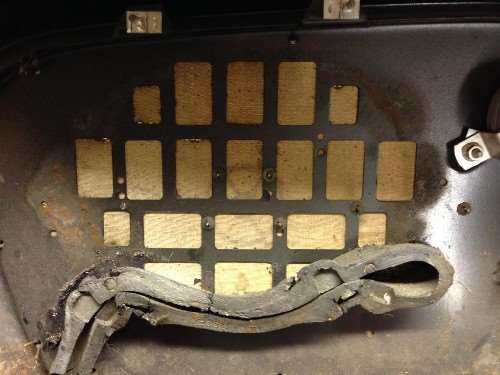  (112.63 KB) (112.63 KB)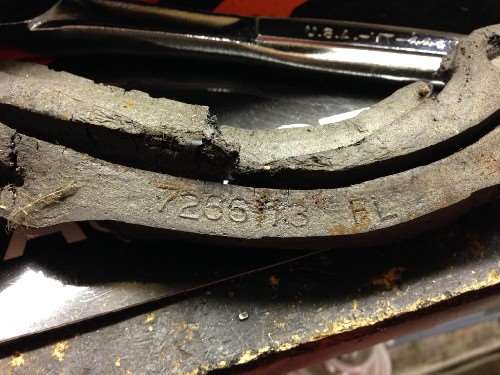  (92.66 KB) (92.66 KB)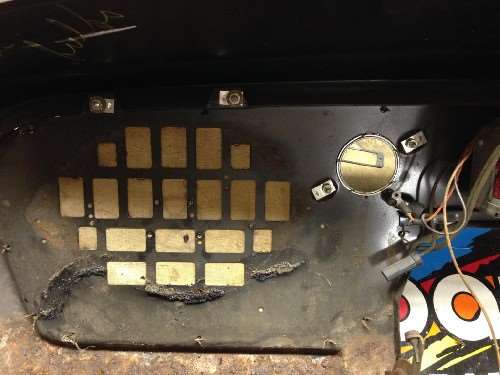  (66.10 KB) (66.10 KB)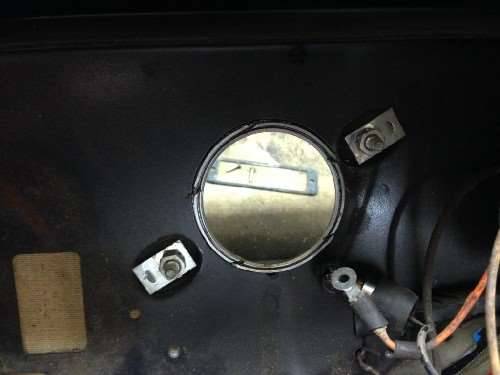  (67.49 KB) (67.49 KB)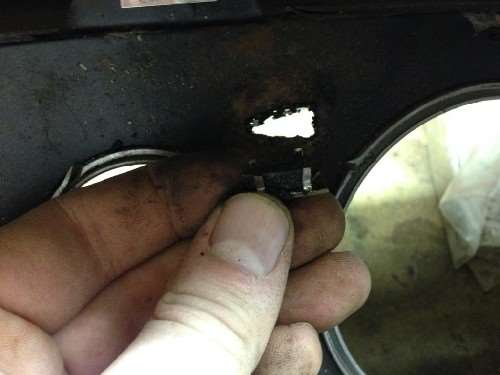  (88.62 KB) (88.62 KB)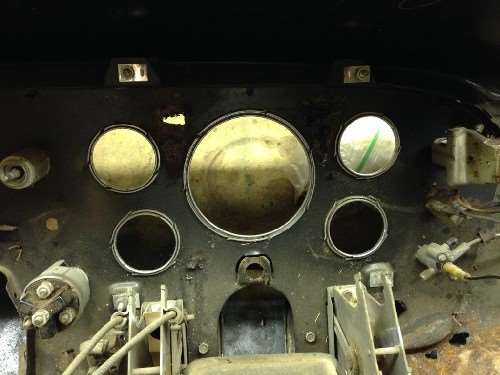  (89.91 KB) (89.91 KB)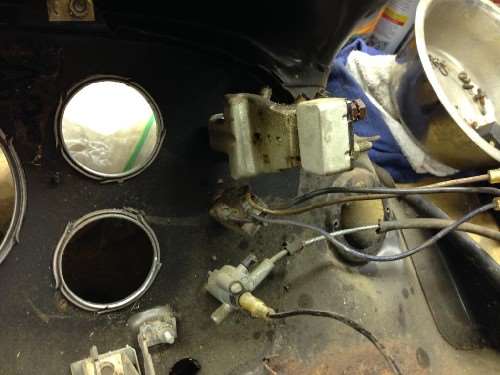  (93.83 KB) (93.83 KB)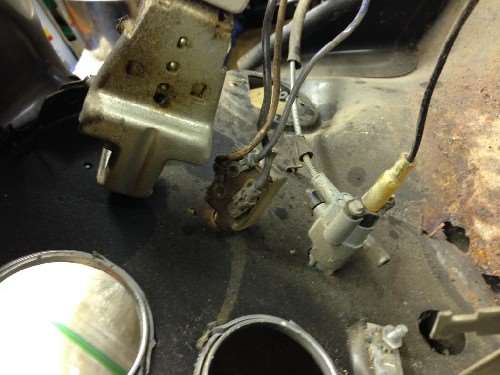  (123.23 KB) (123.23 KB)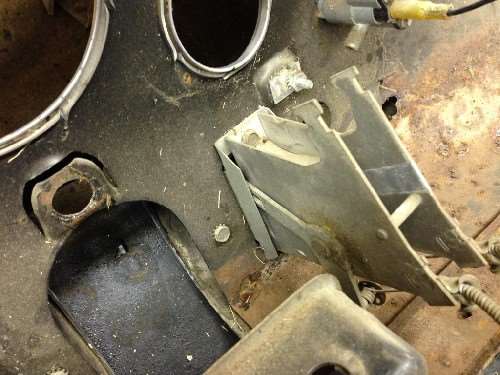  (117.49 KB) (117.49 KB)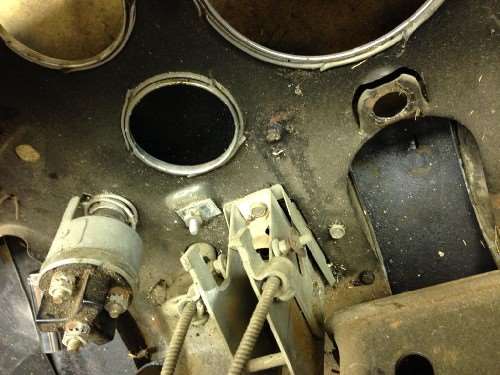  (63.66 KB) (63.66 KB)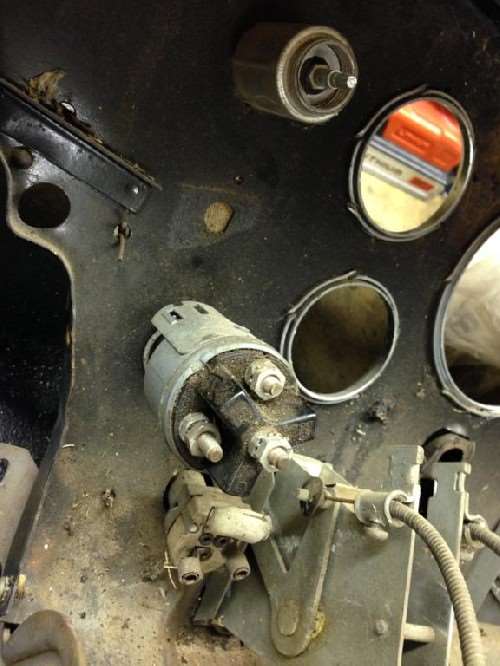  (56.98 KB) (56.98 KB)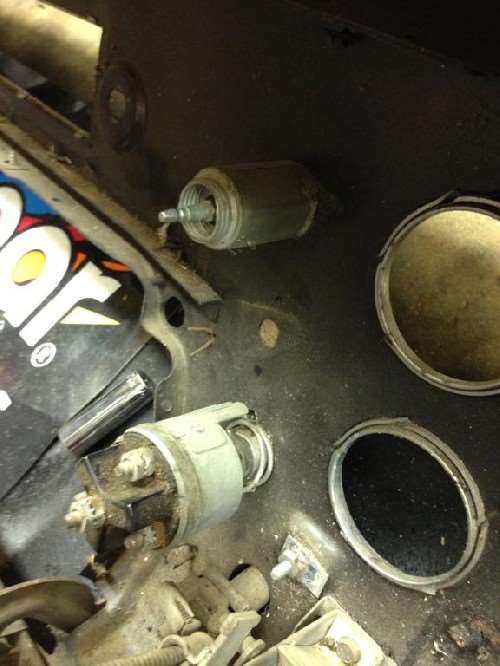  (96.92 KB) (96.92 KB)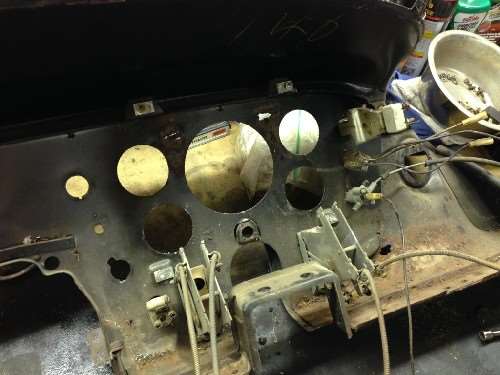  (83.15 KB) (83.15 KB)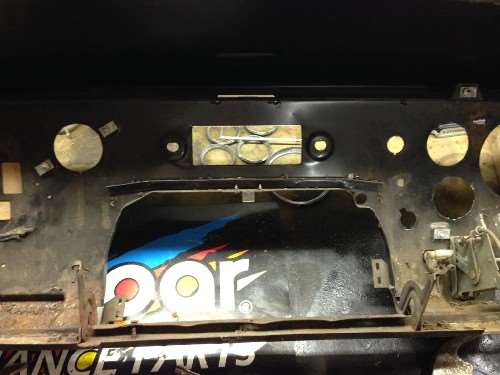  (95.21 KB) (95.21 KB)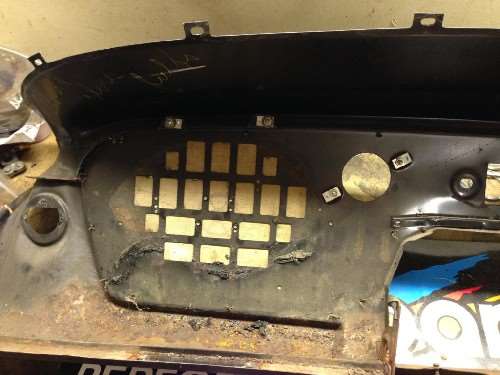  (93.52 KB) (93.52 KB)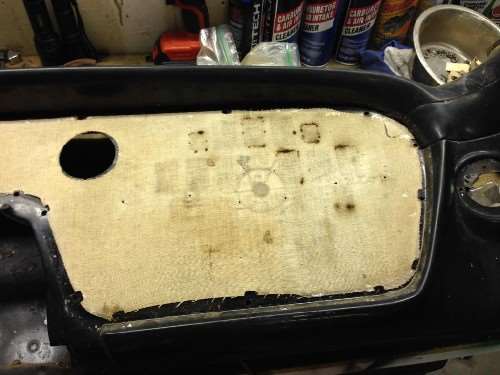  (79.18 KB) (79.18 KB)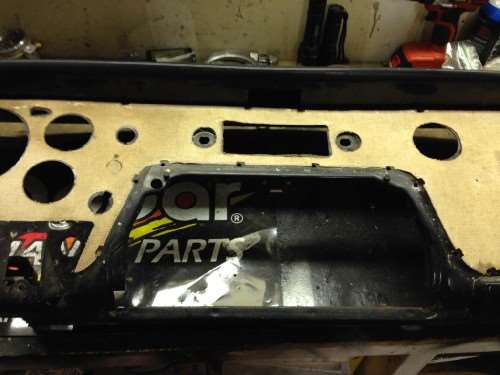  (83.39 KB) (83.39 KB)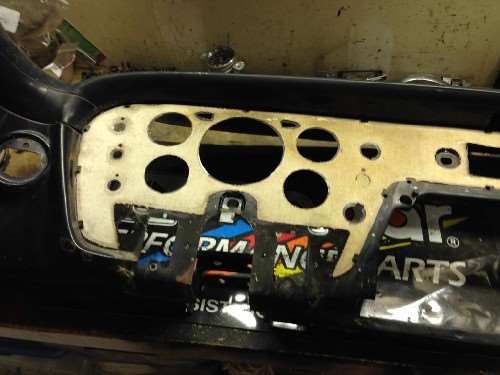  (94.25 KB) (94.25 KB)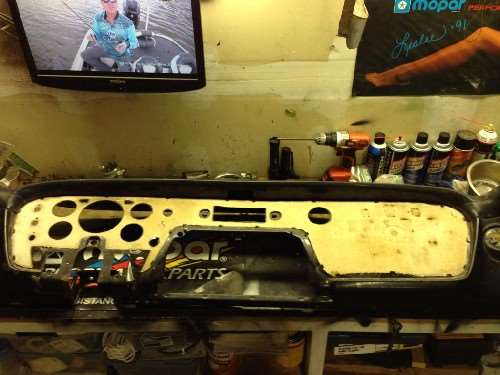  (115.07 KB) (115.07 KB)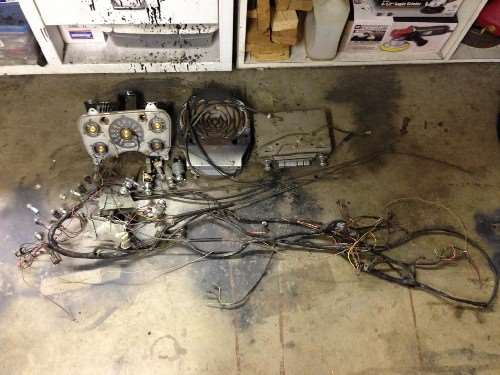  (104.51 KB) (104.51 KB)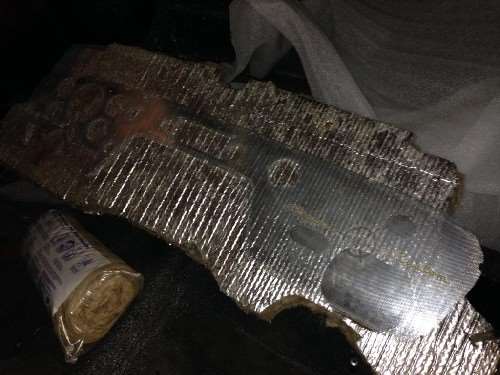  (145.77 KB) (145.77 KB)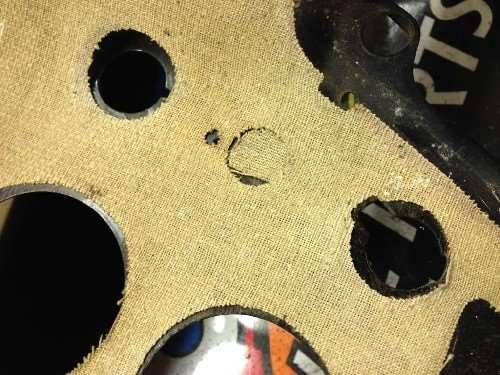  (133.59 KB) (133.59 KB)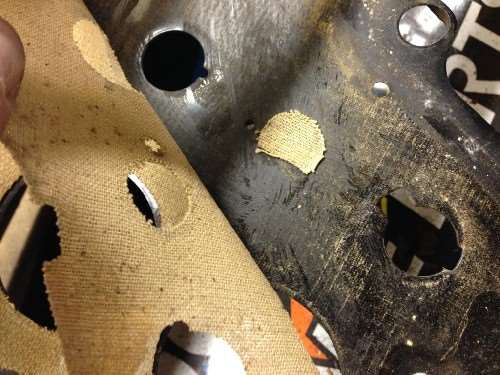  (117.85 KB) (117.85 KB)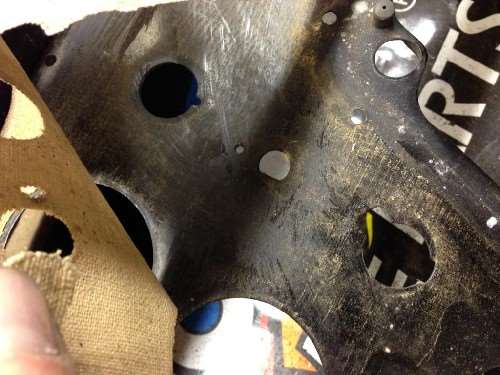  (69.65 KB) (69.65 KB)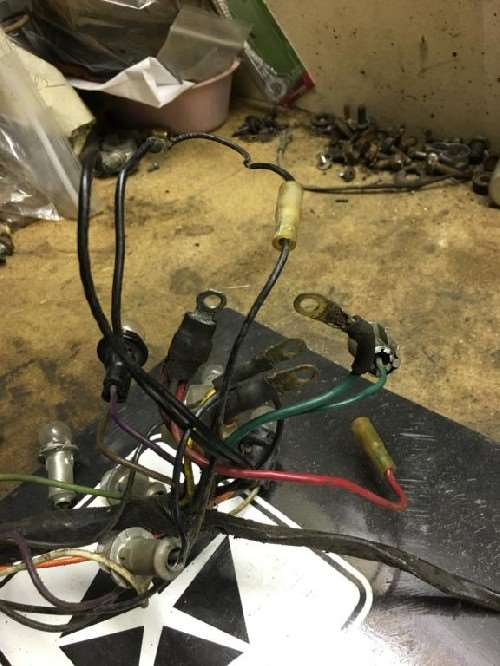  (127.80 KB) (127.80 KB)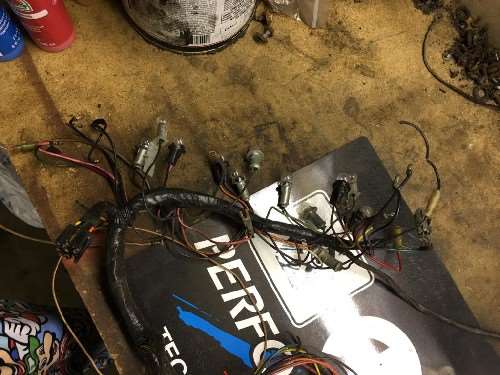  (61.26 KB) (61.26 KB)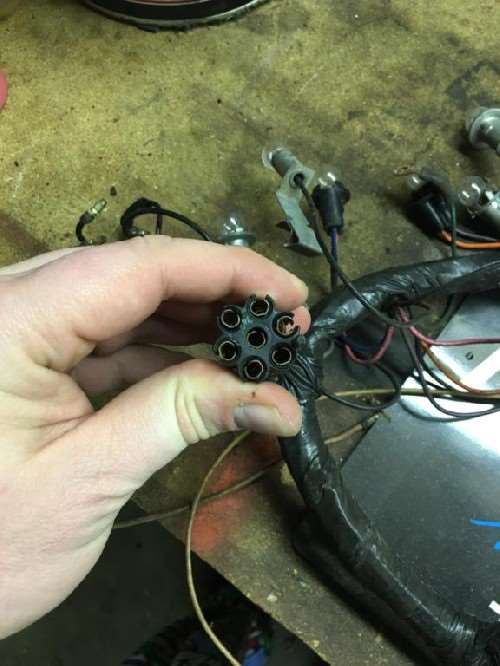  (88.95 KB) (88.95 KB)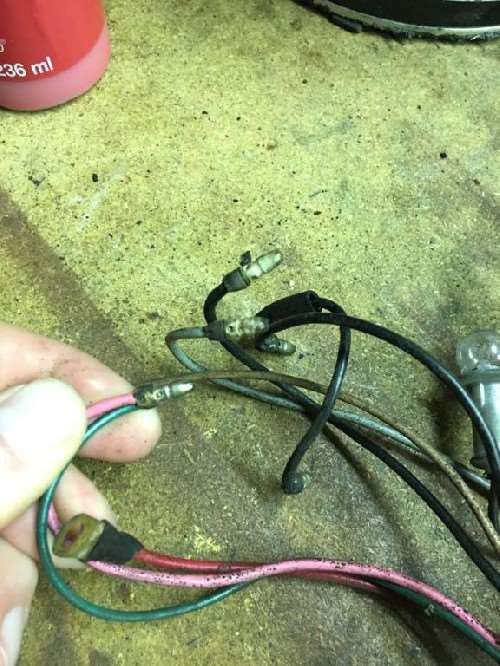  (66.16 KB) (66.16 KB)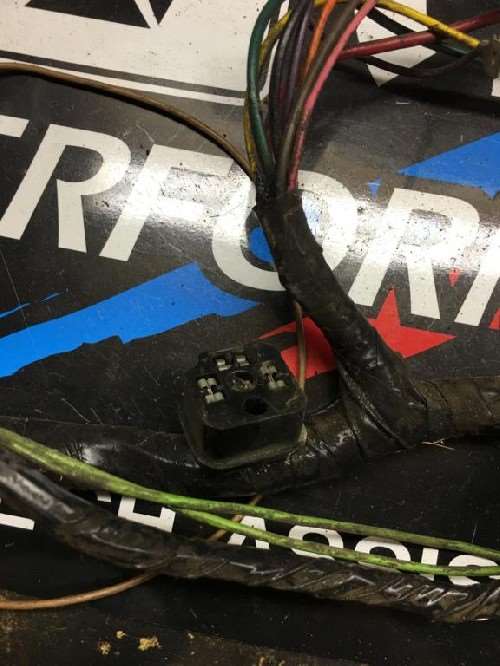  (49.26 KB) (49.26 KB)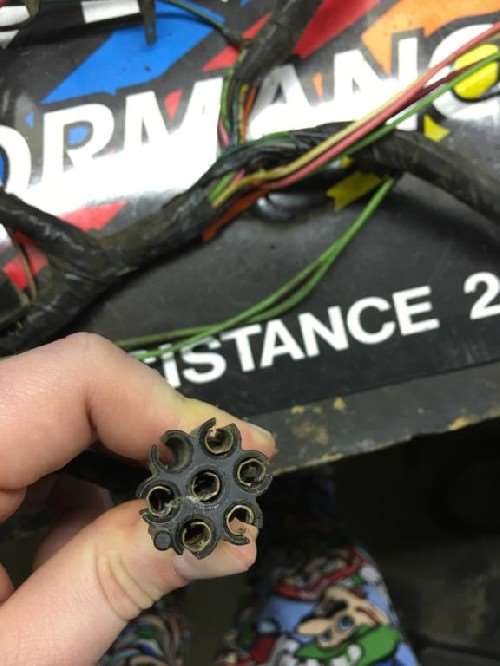  (66.27 KB) (66.27 KB)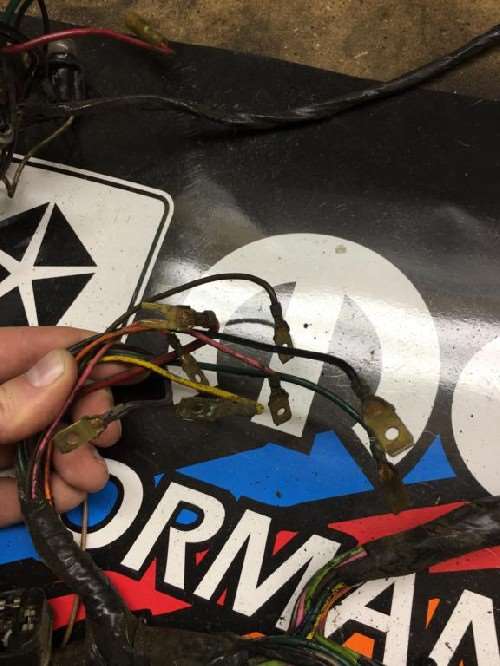  (85.02 KB) (85.02 KB)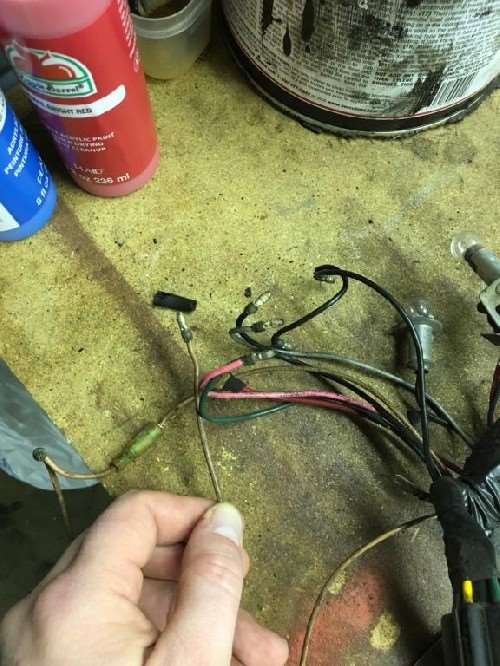  (82.02 KB) (82.02 KB)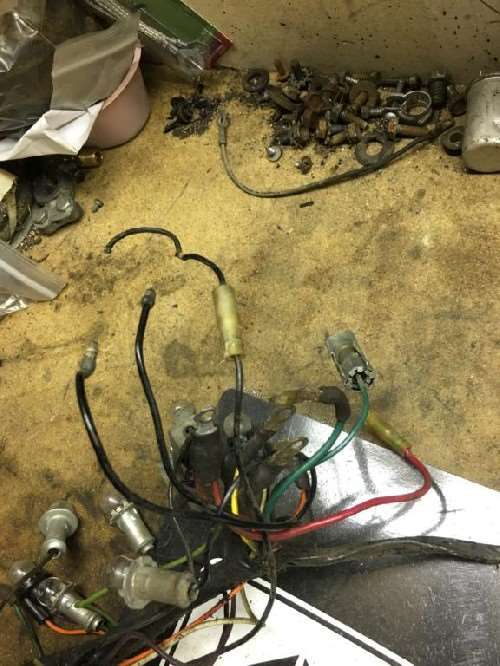  (65.75 KB) (65.75 KB)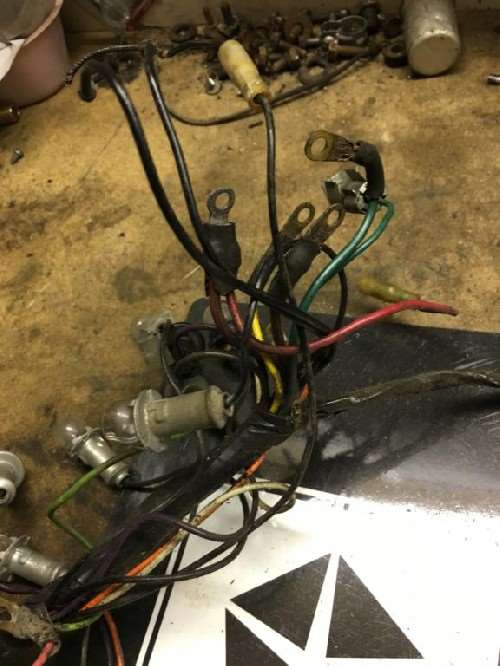  (74.52 KB) (74.52 KB)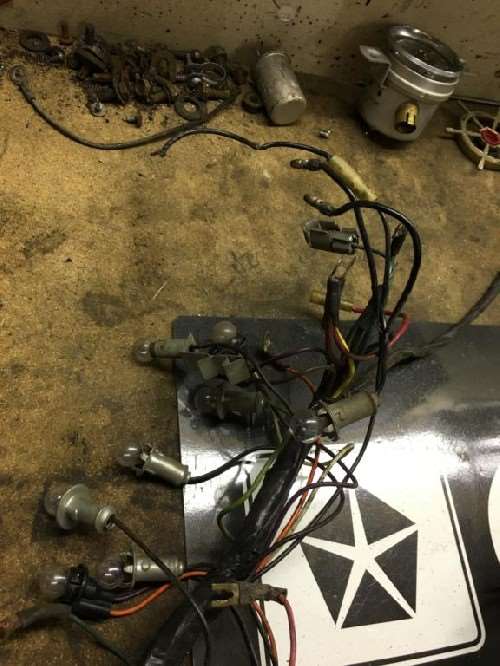  (74.87 KB) (74.87 KB)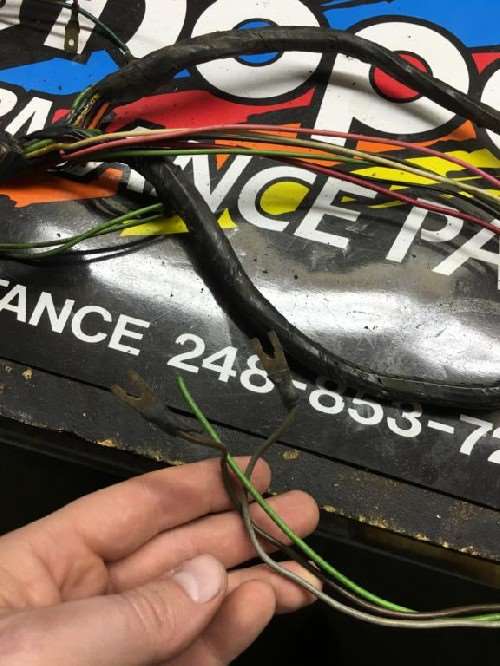  (95.48 KB) (95.48 KB)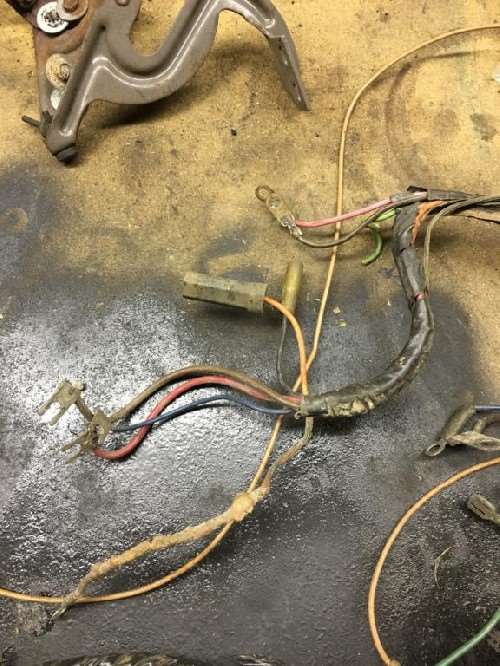  (152.47 KB) (152.47 KB)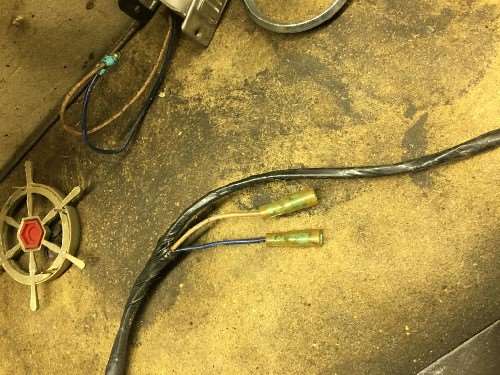  (86.57 KB) (86.57 KB)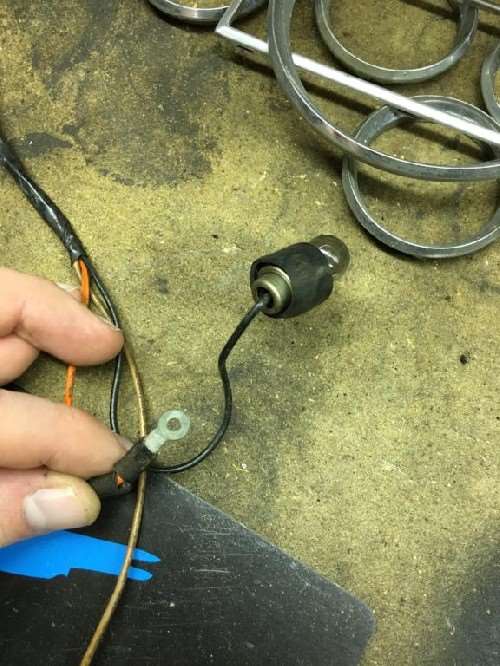  (75.61 KB) (75.61 KB)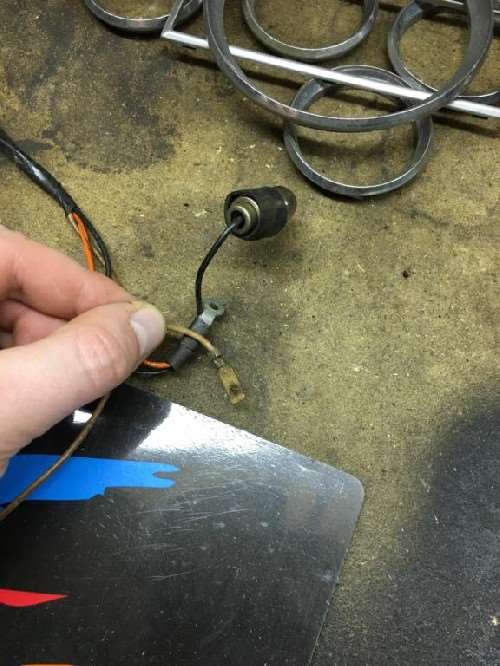  (143.38 KB) (143.38 KB)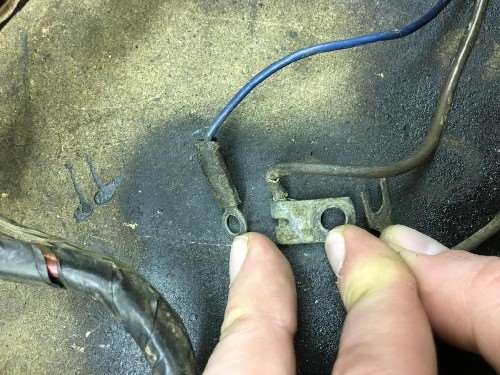  (87.94 KB) (87.94 KB)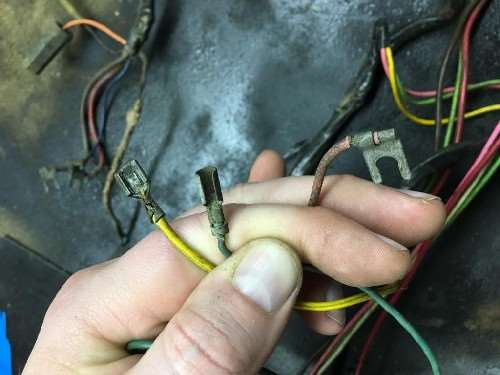  (86.98 KB) (86.98 KB)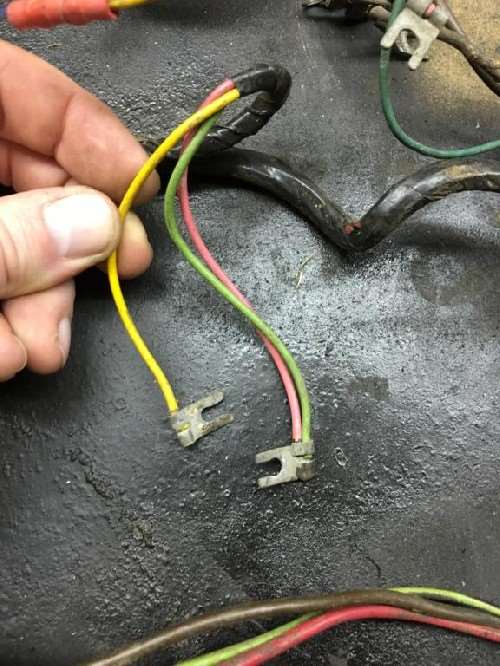  (73.98 KB) (73.98 KB)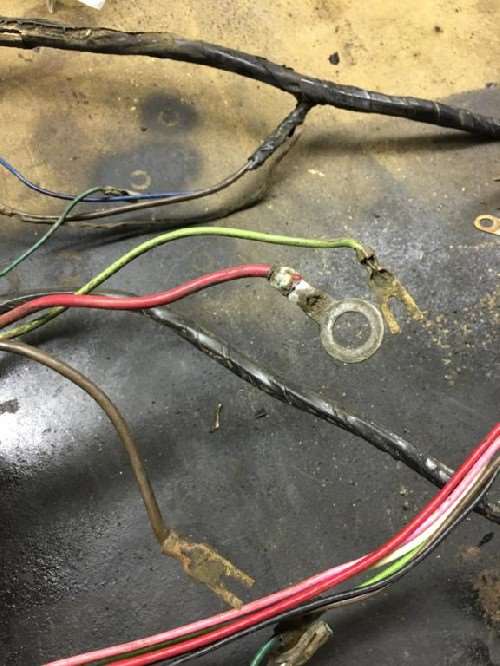  (51.73 KB) (51.73 KB)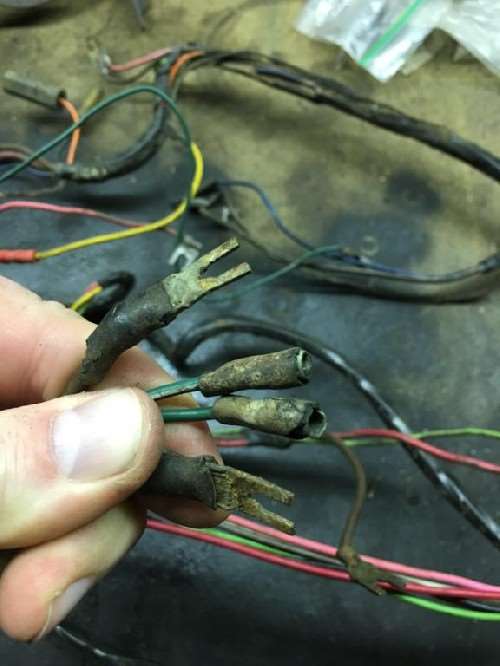  (69.85 KB) (69.85 KB)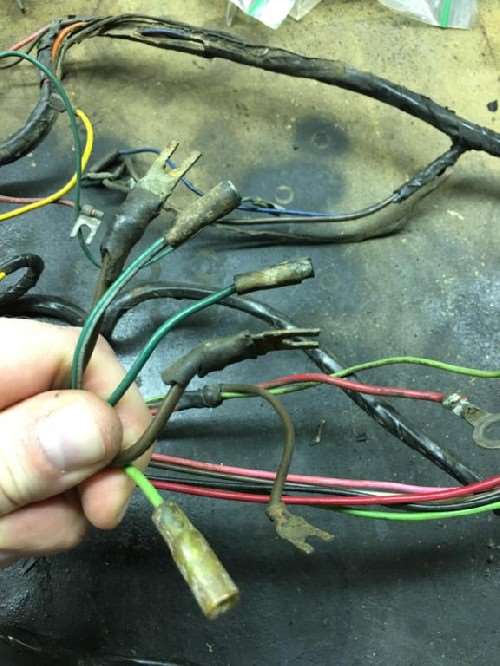  (81.06 KB) (81.06 KB)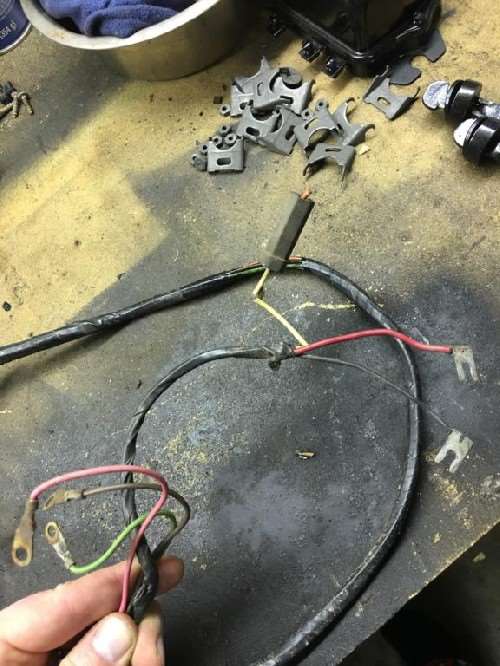  (64.53 KB) (64.53 KB)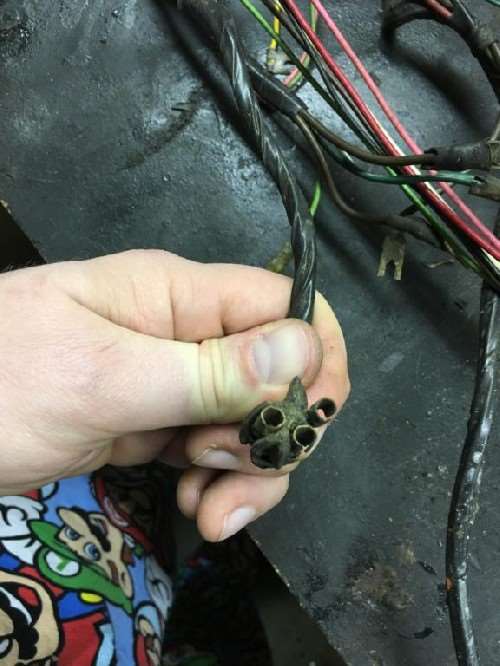  (57.77 KB) (57.77 KB)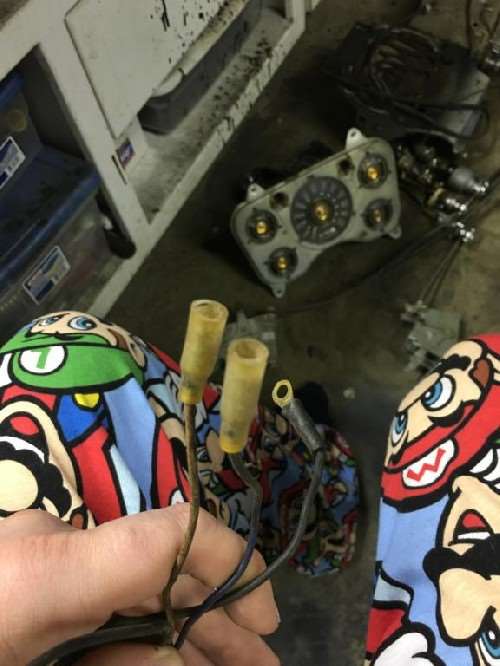  (85.83 KB) (85.83 KB)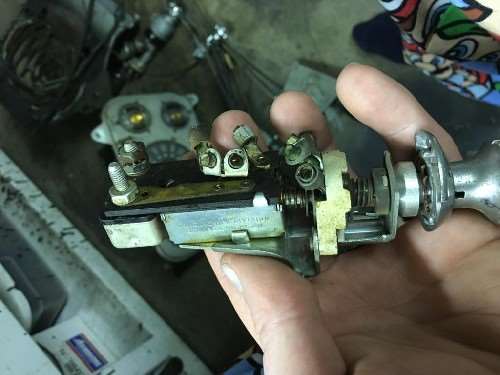  (87.23 KB) (87.23 KB)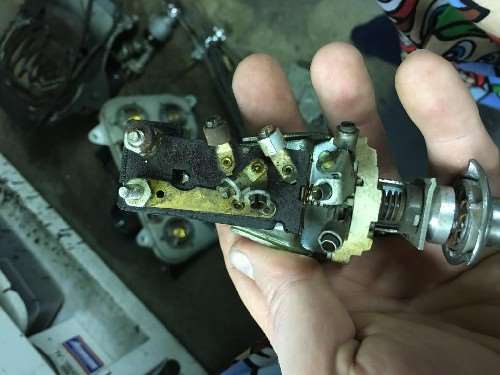  (83.29 KB) (83.29 KB)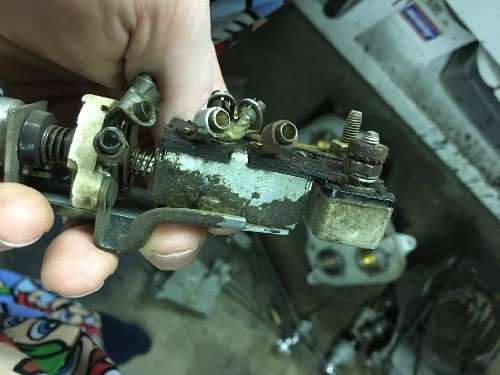
Posted on: 2015/10/26 10:42
|
|||
|
1937 Packard 138-CD Deluxe Touring Limousine
Maroon/Black 1090-1021 [url=https://packardinfo.com/xoops/html/modules/registry/View.php?ID=232]1955 Packard |
||||
|
||||
|
Re: Henry's 55 Constellation
|
||||
|---|---|---|---|---|
|
Forum Ambassador

|
go back one post to see the dash wiring and tear down of the dash. this post serves to show the beginning of the reassembly of the dash.
of course with my luck....I ALWAYS break something that is VERY important. sometimes in the stupidest ways. as you can see I took the gauge cluster apart to clean all of the dirt out and polish the gauge faces. I also repainted the lettering and numbering with white enamel. I also redid the brass/gold details with some brass spray paint. sprayed it into a plastic bag and then used a very fine paint brush to brush it all on. I got all of this at Michael's craft store. anyways....during reassembly of the gauge cluster I took the top piece off that was just sitting on top of the bottom piece so that I could clean the finger prints off the speedo gauge face plate on the inside. well when I did that it slipped and the top part of the cluster hit the needle and wouldn't you know it.....broke the damn shaft the need was on...so yeah...its worthless. I took it apart to show how it broke.....didn't matter cause it was useless. I worked on the clock as well. I cleaned it with carb spray and then sprayed it down with pb blaster. cleaned up the points and it started working like it was new again. tested it with a battery charger. set the f/s setting and I'm good to go on that now. used some foam I had laying around to replace the old sound deadening in the clock cup. here are some pics of the dash clear coated as well. I cleaned up the stainless mesh of the dash as best I could by hand with a wire brush. using polish was a pita with all of the holes in the mesh. so I just did the best I could with the wire brush. I used contact cement to glue the cloth piece back to the dash. yes the inside of the gauge cluster is white, so I repainted it to make it brighter. figure it has something to do with the light. cleaned up the turn signal indicators. by doing so it rubbed off the chrome plating and now they are a bronze/brass color. oh well...they look better then they did with all that black gook all over them. I tried to show some pics of where I had painted the white compared to not painted. especially on the speedo faceplate. you can also see a pic showing the before and after of the brass on the center medallion in the speedo faceplate. here is a video of the clock in operation and the points rewinding it. <iframe width="560" height="315" src="https://www.youtube.com/embed/t6s32a9bvis" frameborder="0" allowfullscreen></iframe> I need a good 55 jr speedo now if anyone has one they could part with. Attach file:  (60.54 KB) (60.54 KB)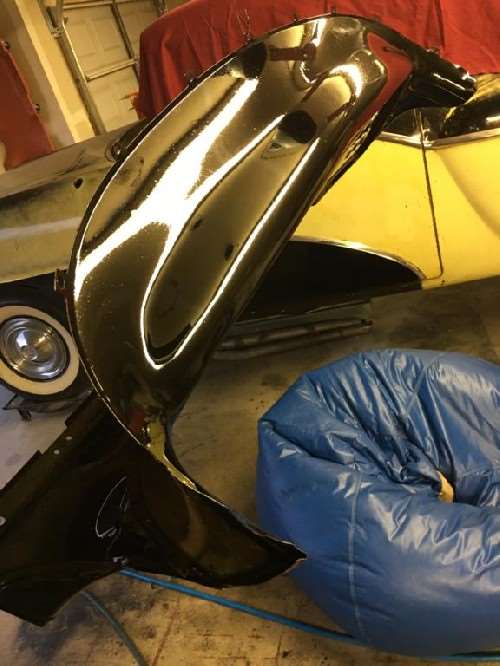  (56.90 KB) (56.90 KB)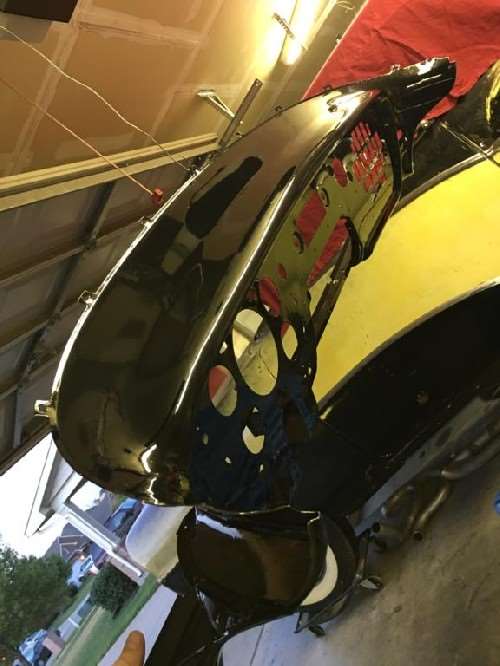  (63.51 KB) (63.51 KB)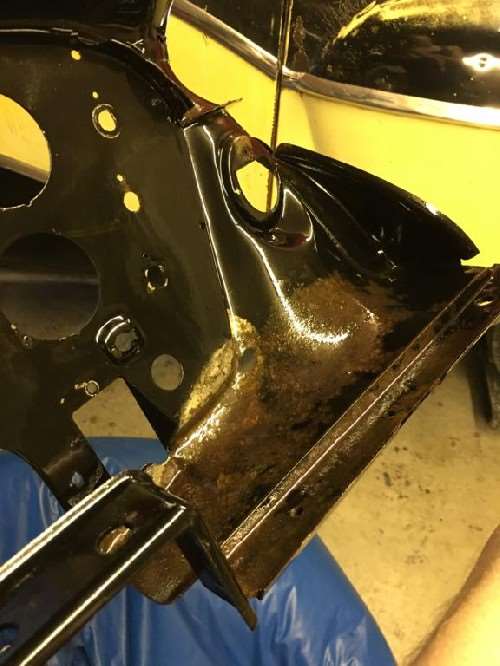  (103.10 KB) (103.10 KB)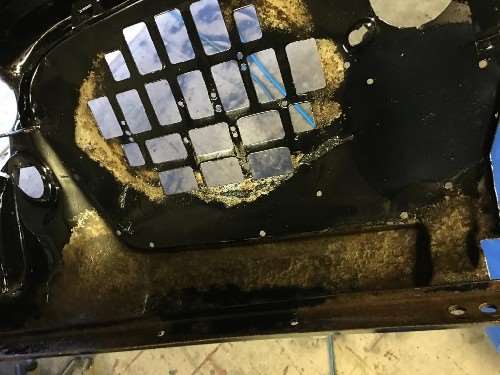  (112.46 KB) (112.46 KB)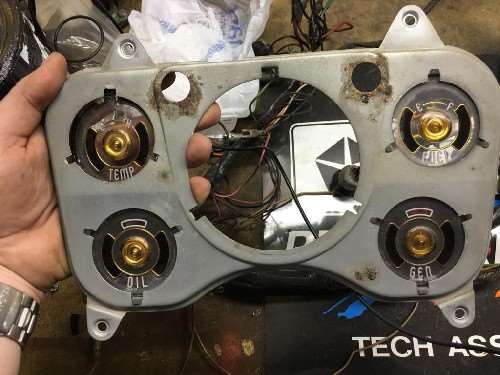  (57.07 KB) (57.07 KB)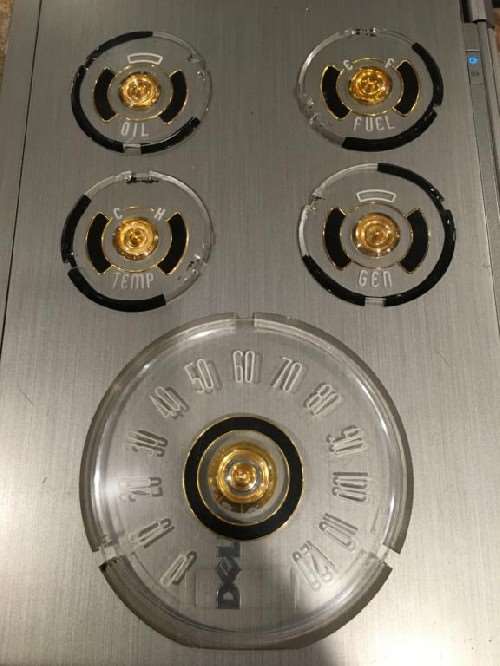  (93.51 KB) (93.51 KB)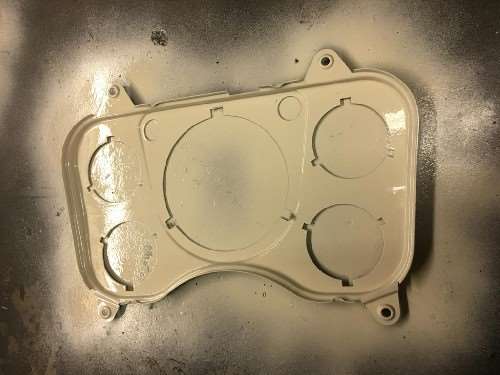  (108.30 KB) (108.30 KB)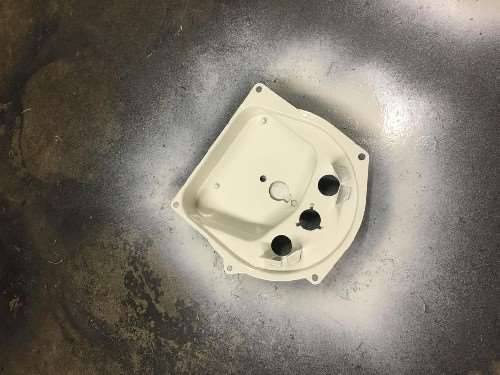  (75.46 KB) (75.46 KB)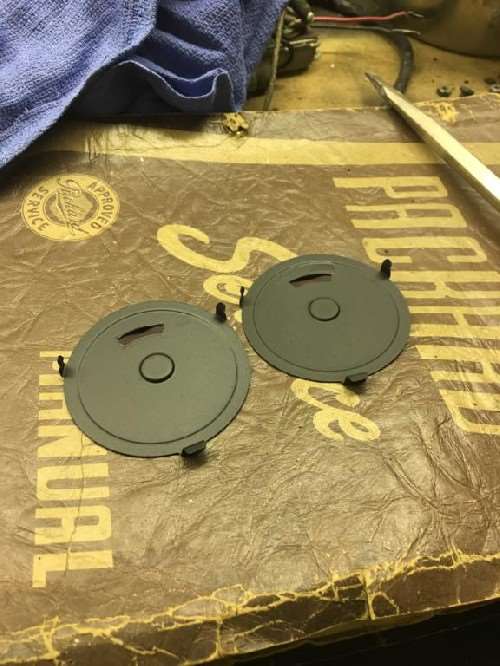  (115.67 KB) (115.67 KB)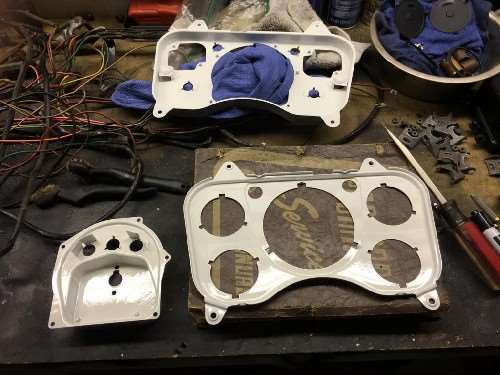  (66.14 KB) (66.14 KB)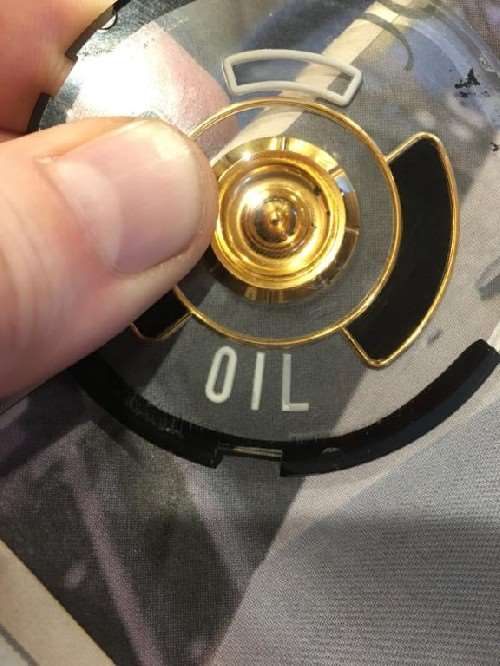  (60.73 KB) (60.73 KB)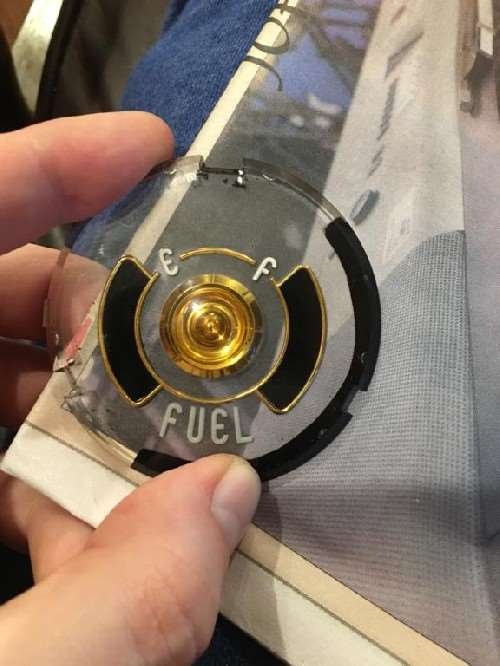  (50.59 KB) (50.59 KB)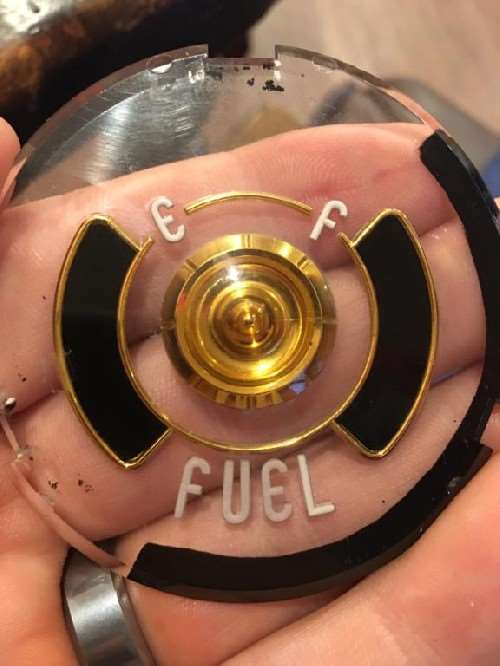  (48.56 KB) (48.56 KB)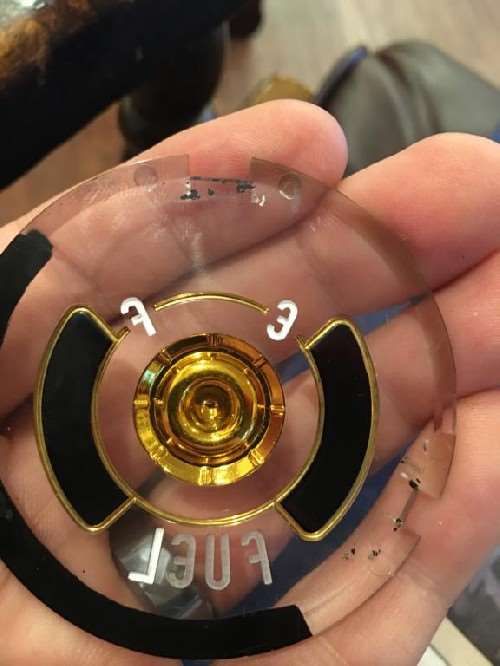  (48.75 KB) (48.75 KB)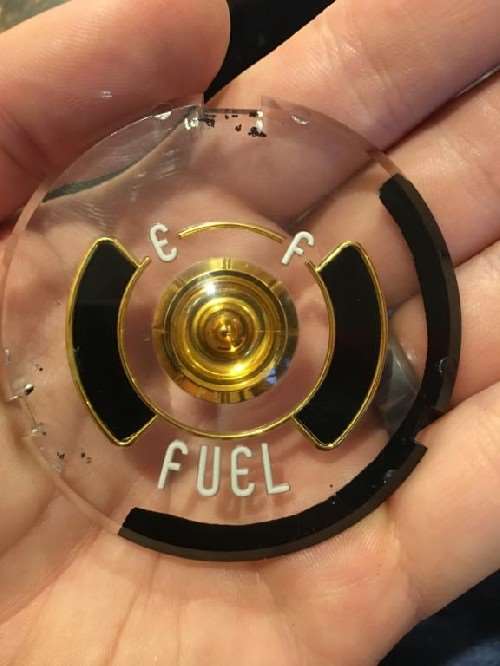  (48.60 KB) (48.60 KB)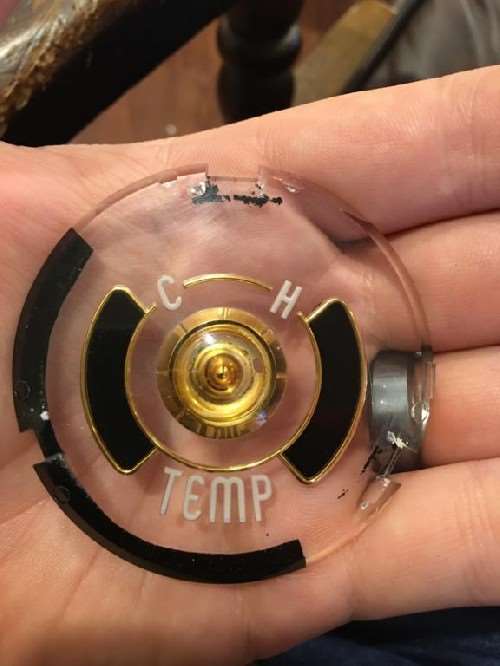  (59.06 KB) (59.06 KB)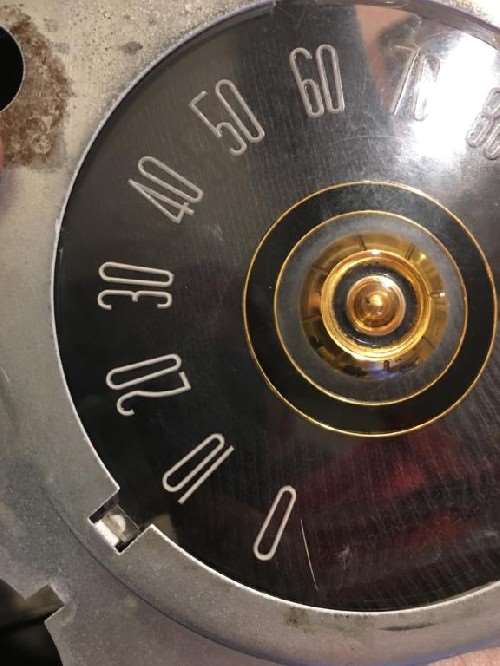  (56.54 KB) (56.54 KB)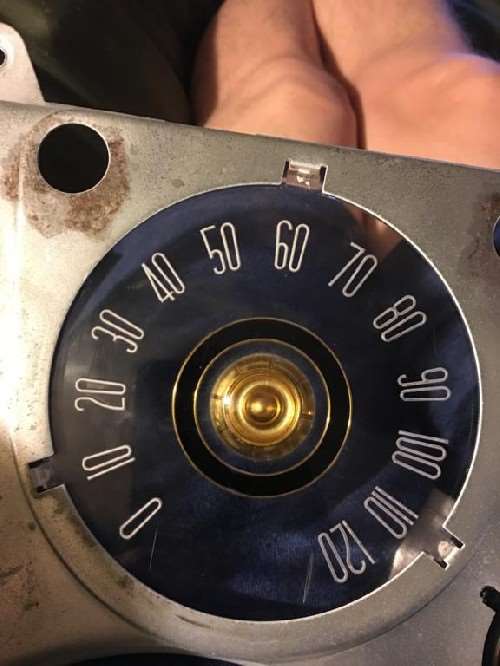  (129.97 KB) (129.97 KB)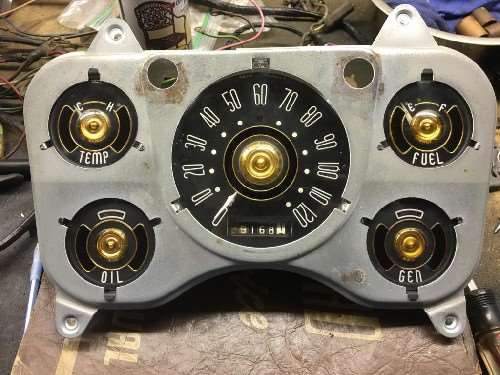  (77.22 KB) (77.22 KB)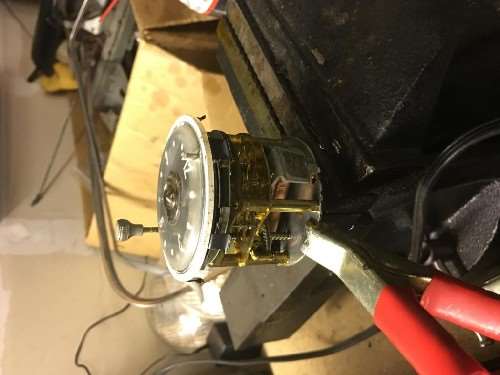  (88.33 KB) (88.33 KB)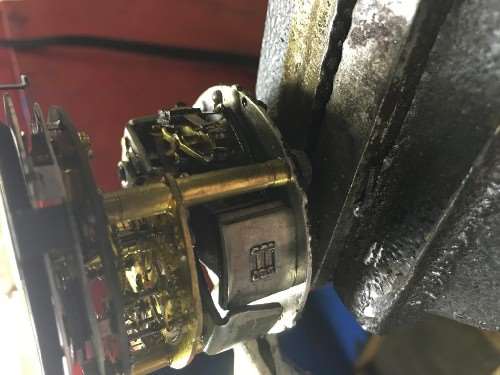  (104.82 KB) (104.82 KB)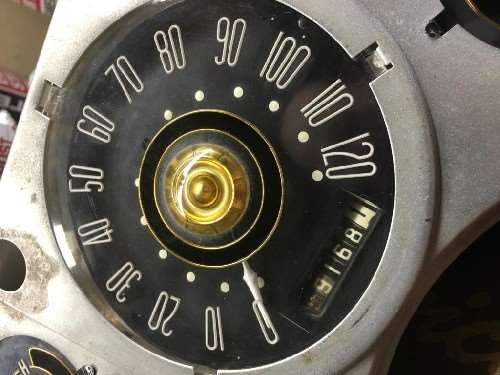  (68.08 KB) (68.08 KB)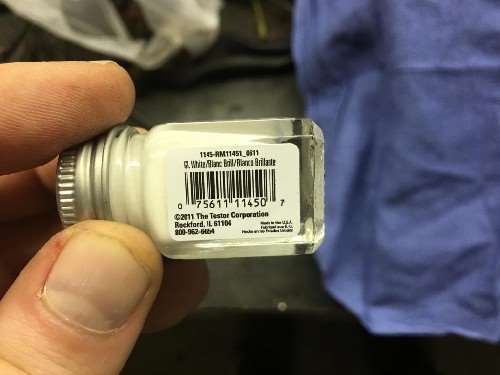  (131.01 KB) (131.01 KB)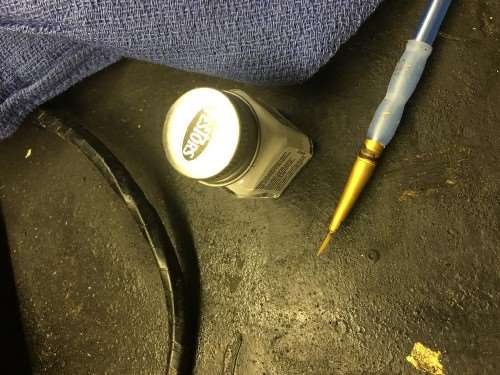  (52.16 KB) (52.16 KB)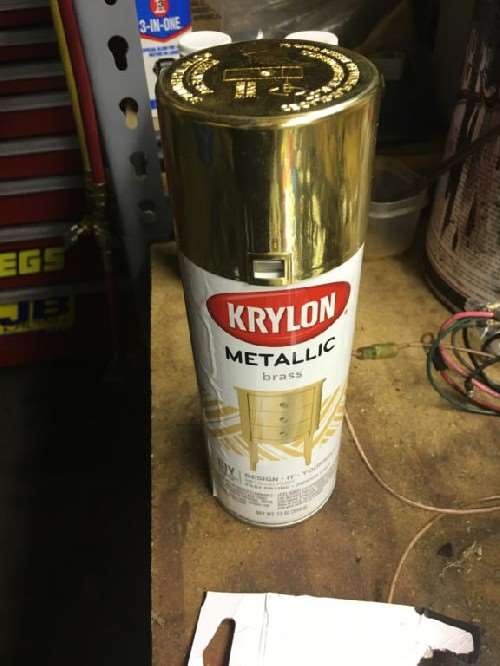  (105.83 KB) (105.83 KB)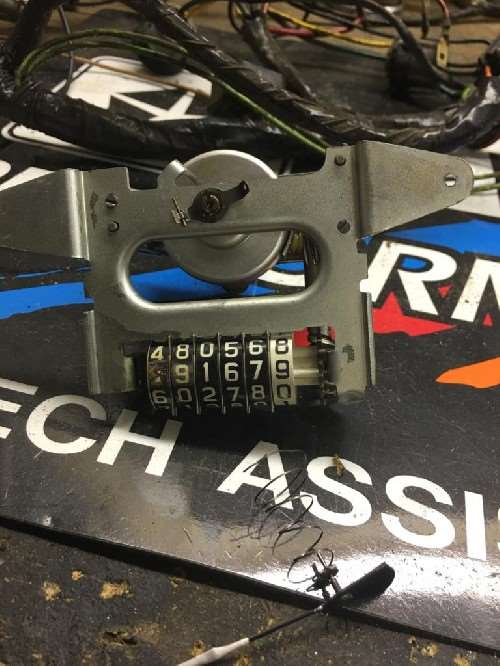  (92.30 KB) (92.30 KB)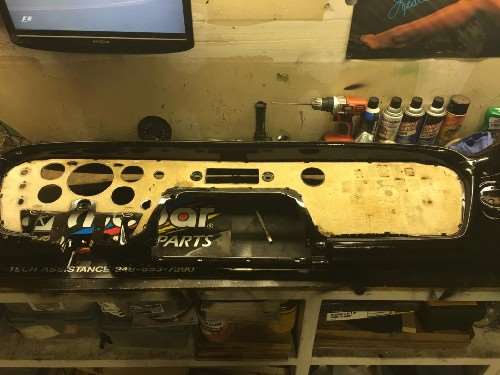  (133.43 KB) (133.43 KB)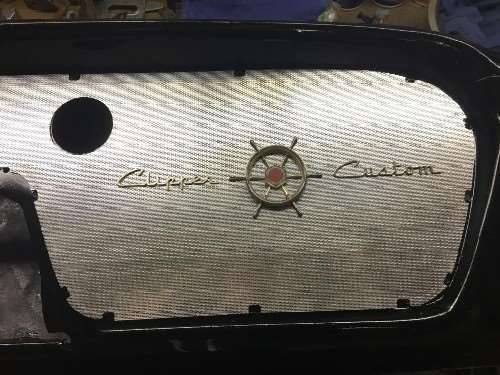  (83.20 KB) (83.20 KB)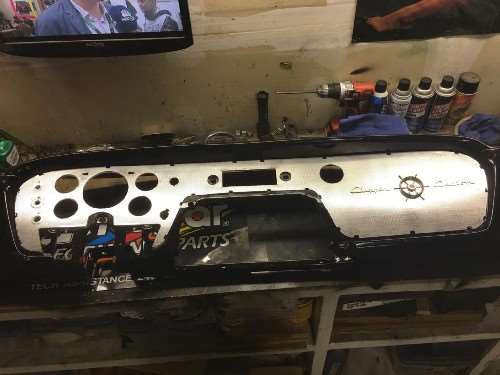  (107.02 KB) (107.02 KB)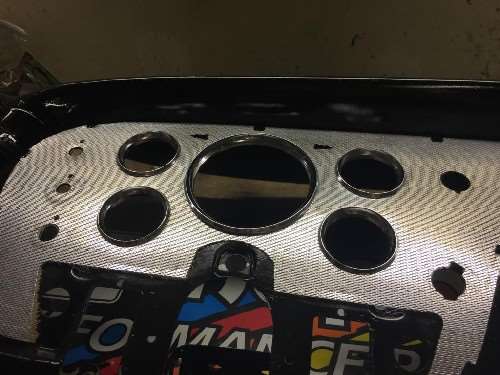  (113.22 KB) (113.22 KB)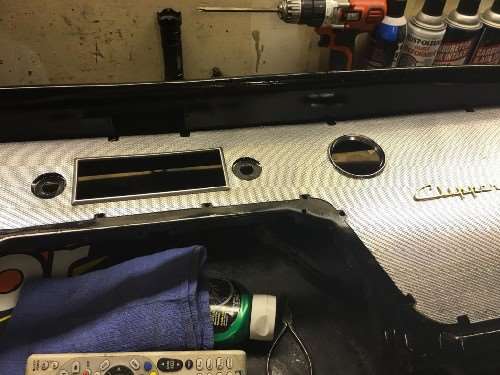  (74.57 KB) (74.57 KB)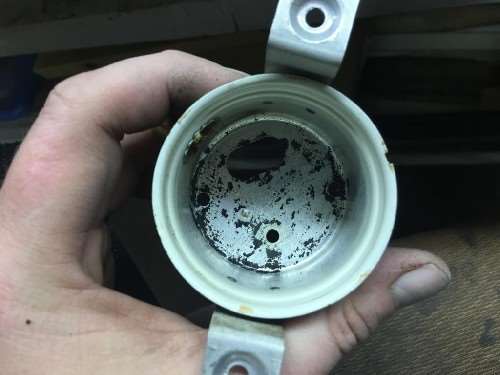  (115.23 KB) (115.23 KB)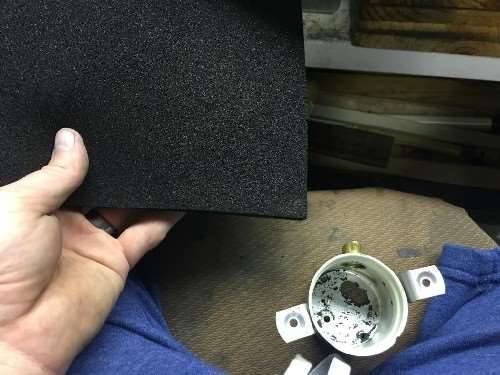  (76.72 KB) (76.72 KB)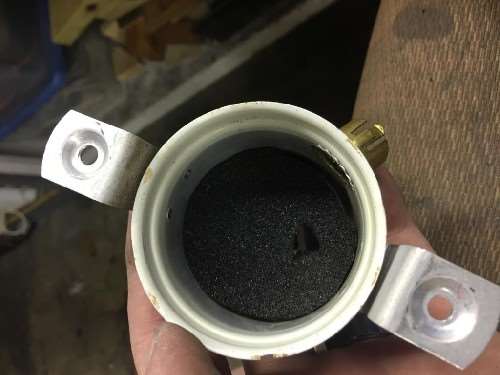  (60.06 KB) (60.06 KB)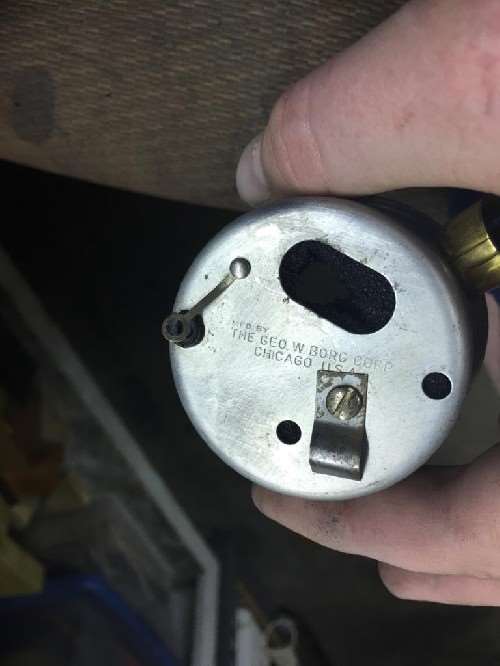  (138.63 KB) (138.63 KB)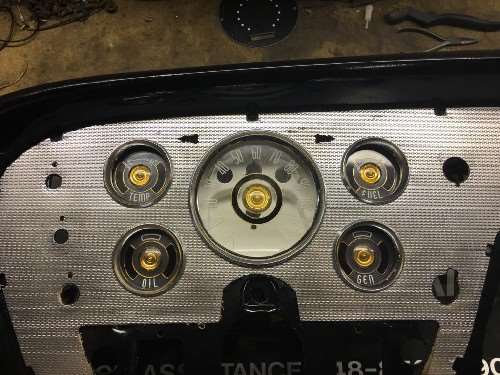  (139.80 KB) (139.80 KB)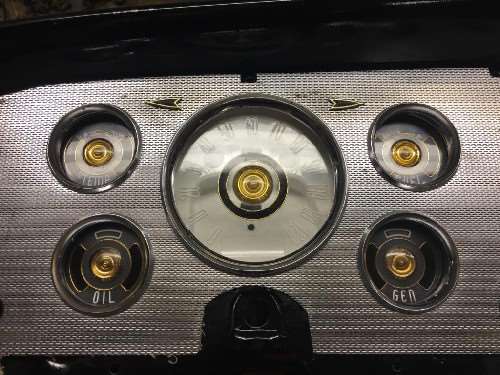
Posted on: 2015/10/26 11:02
|
|||
|
1937 Packard 138-CD Deluxe Touring Limousine
Maroon/Black 1090-1021 [url=https://packardinfo.com/xoops/html/modules/registry/View.php?ID=232]1955 Packard |
||||
|
||||
|
Re: Henry's 55 Constellation
|
||||
|---|---|---|---|---|
|
Forum Ambassador
|
"I know its a lot of pics"
Hank, Your lofty standards of picture proliferation are well known, and this time you even outdid yourself! "maybe it will help someone in the future when they are fiddling around blindly behind the dash" It certainly will do that! 
Posted on: 2015/10/26 14:33
|
|||
|
Mal
/o[]o\ ====  Bowral, Southern Highlands of NSW, Australia "Out of chaos comes order" - Nietzsche. 1938 Eight Touring Sedan - SOLD 1941 One-Twenty Club Coupe - SOLD 1948 Super Eight Limo, chassis RHD - SOLD 1950 Eight Touring Sedan - SOLD What's this?  Put your Packard in the Packard Vehicle Registry! Here's how! Any questions - PM or email me at ozstatman@gmail.com |
||||
|
||||

