|
Re: BigKev's 1937 115-C Convertible Coupe
|
||||
|---|---|---|---|---|
|
Webmaster

|
Well beyond my talents!
Posted on: 2023/6/22 20:10
|
|||
|
-BigKev
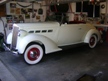
1954 Packard Clipper Deluxe Touring Sedan -> Registry | Project Blog 1937 Packard 115-C Convertible Coupe -> Registry | Project Blog |
||||
|
||||
|
Re: BigKev
|
||||
|---|---|---|---|---|
|
Webmaster
|
"Cheek" panels made from paper templates supplied by Gary.
The original panels would have been a black cardboard like material. Similar to the backing on a cheap Ikea bookcase. I decides to use something a bit more rigid and went with 1/8" coated hardboard. The originals would have been un-upholstered. But, I plan on covering these with the same fake leather I used on the kick panels and then painted to match the rest of leather. I still need to make the middle piece that rolls under from the lock latch area. Attach file:  Screenshot_20230622_200732_Gallery.jpg (228.38 KB) Screenshot_20230622_200732_Gallery.jpg (228.38 KB)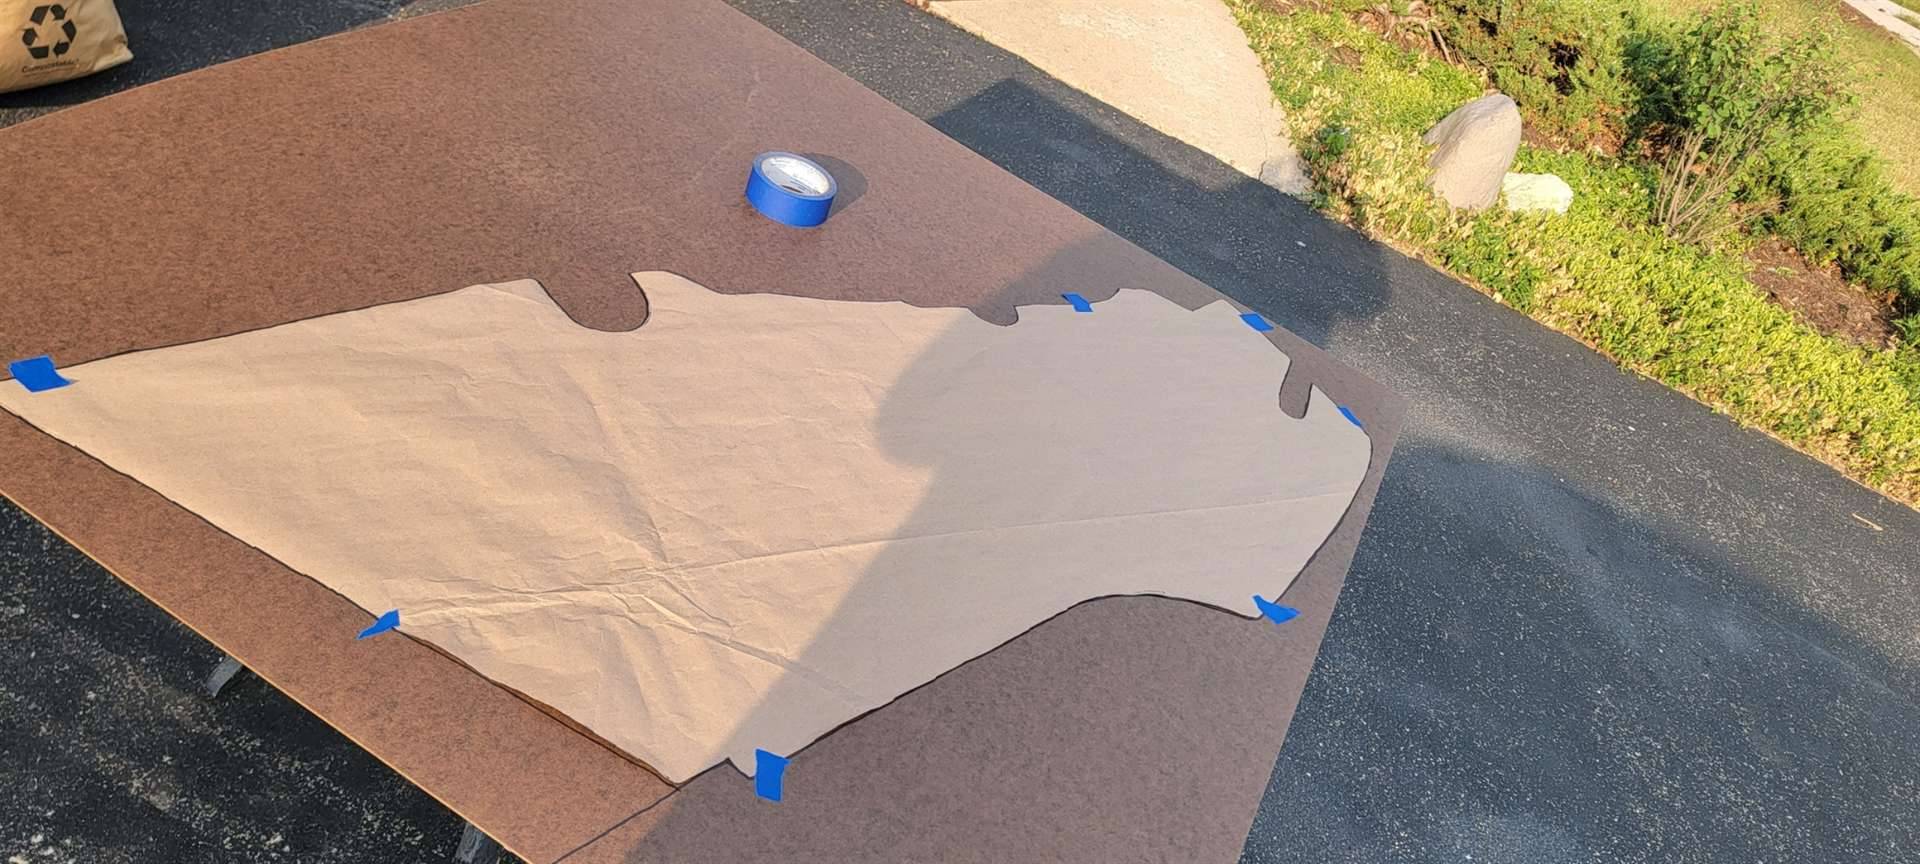 Screenshot_20230622_200756_Gallery.jpg (161.65 KB) Screenshot_20230622_200756_Gallery.jpg (161.65 KB)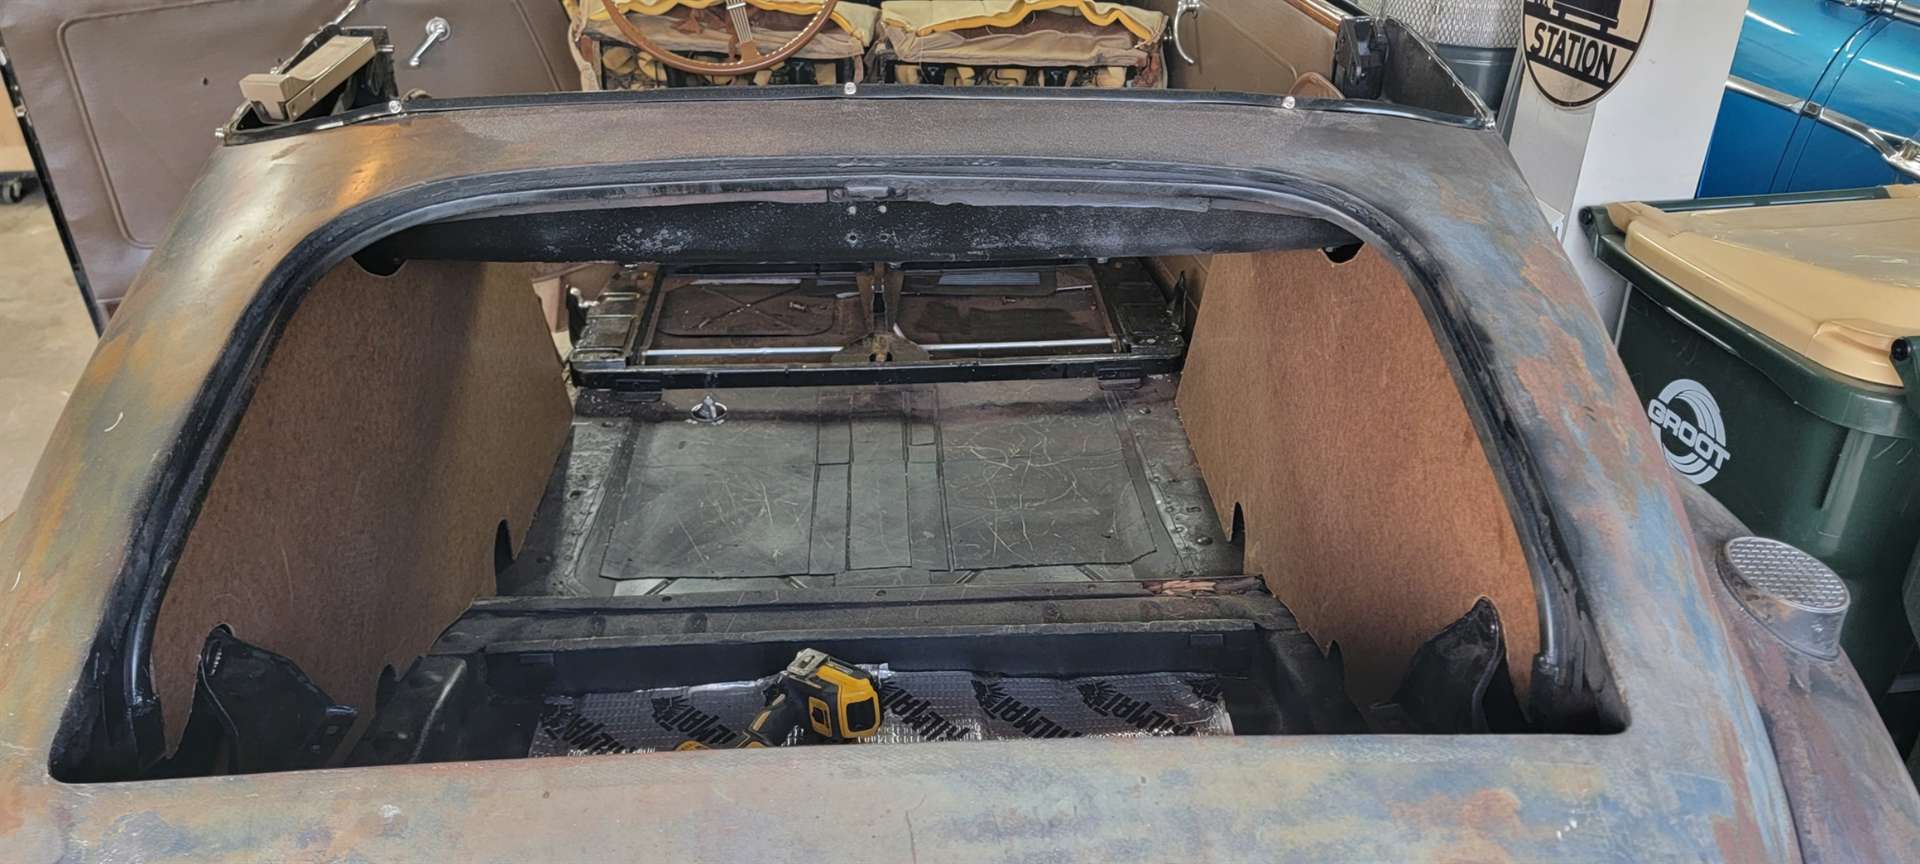
Posted on: 2023/6/22 20:15
|
|||
|
-BigKev
1954 Packard Clipper Deluxe Touring Sedan -> Registry | Project Blog 1937 Packard 115-C Convertible Coupe -> Registry | Project Blog |
||||
|
||||
|
Re: BigKev
|
||||
|---|---|---|---|---|
|
Webmaster
|
Continuing with making the panels for the rumble seat area, the middle piece wraps down from lock latch and goes underneath.
Since this needed to bend, I used door panel board-like material. I couldn't find any door panel board around here, and getting a single sheet of it shipped costs more than the piece itself as they are usually 32x48. So I found a cheaper, readily available alternative—an uncut picture framing mat board. My local Micheals store had black-on-black 32x40 mat board for about $14 a sheet. I cut the mat board out using Gary's template and then rolled it over a shipping tube I got parts in from Max Merrit to put the radiused bend into it. The last picture shows it roughly in place. Just held there by the cheek panels. Once I fasten it in place, it should be a nearly perfect fit. Attach file:  20230623_094930 Large.jpeg (103.43 KB) 20230623_094930 Large.jpeg (103.43 KB)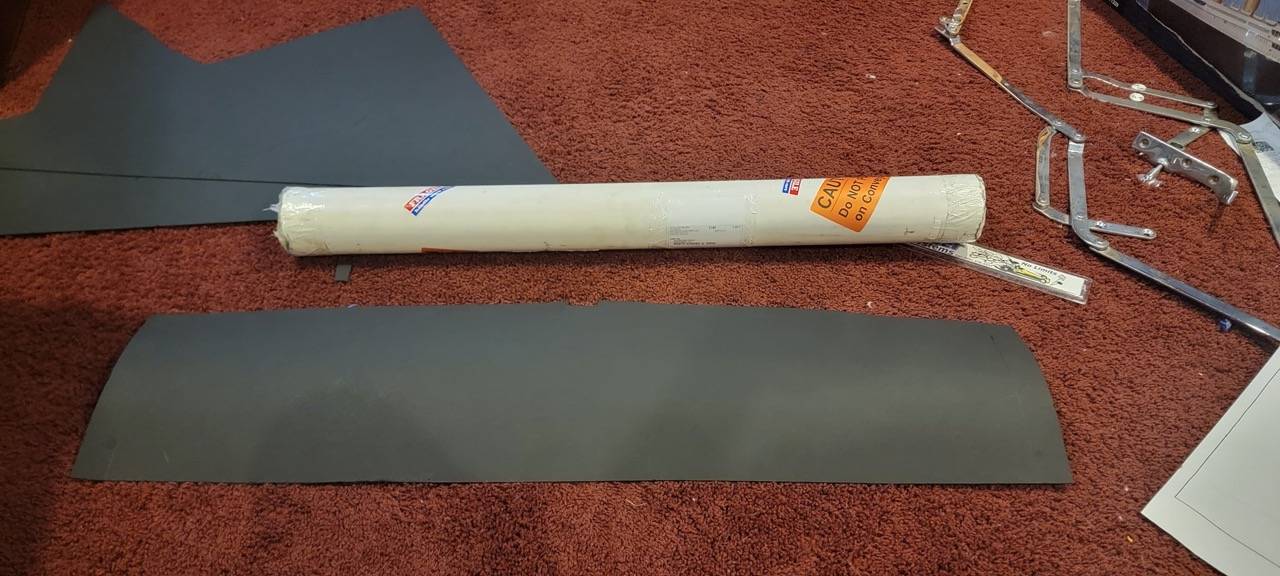 20230623_101530 Large.jpeg (90.95 KB) 20230623_101530 Large.jpeg (90.95 KB)
Posted on: 2023/6/23 10:39
|
|||
|
-BigKev
1954 Packard Clipper Deluxe Touring Sedan -> Registry | Project Blog 1937 Packard 115-C Convertible Coupe -> Registry | Project Blog |
||||
|
||||

|
Re: BigKev
|
||||
|---|---|---|---|---|
|
Webmaster
|
Yeah, I have thought about that.
Hopefully, this car will only be a fair-weather driver. But I plan on covering this in vinyl anyway. So that should help with any moisture. I can spray the back side with some paint to help seal it.
Posted on: 2023/6/23 11:01
|
|||
|
-BigKev
1954 Packard Clipper Deluxe Touring Sedan -> Registry | Project Blog 1937 Packard 115-C Convertible Coupe -> Registry | Project Blog |
||||
|
||||
|
Re: BigKev
|
||||
|---|---|---|---|---|
|
Webmaster
|
And done. Also, installed carpet.
Attach file: Screenshot_20230623_192008_Gallery.jpg (151.04 KB)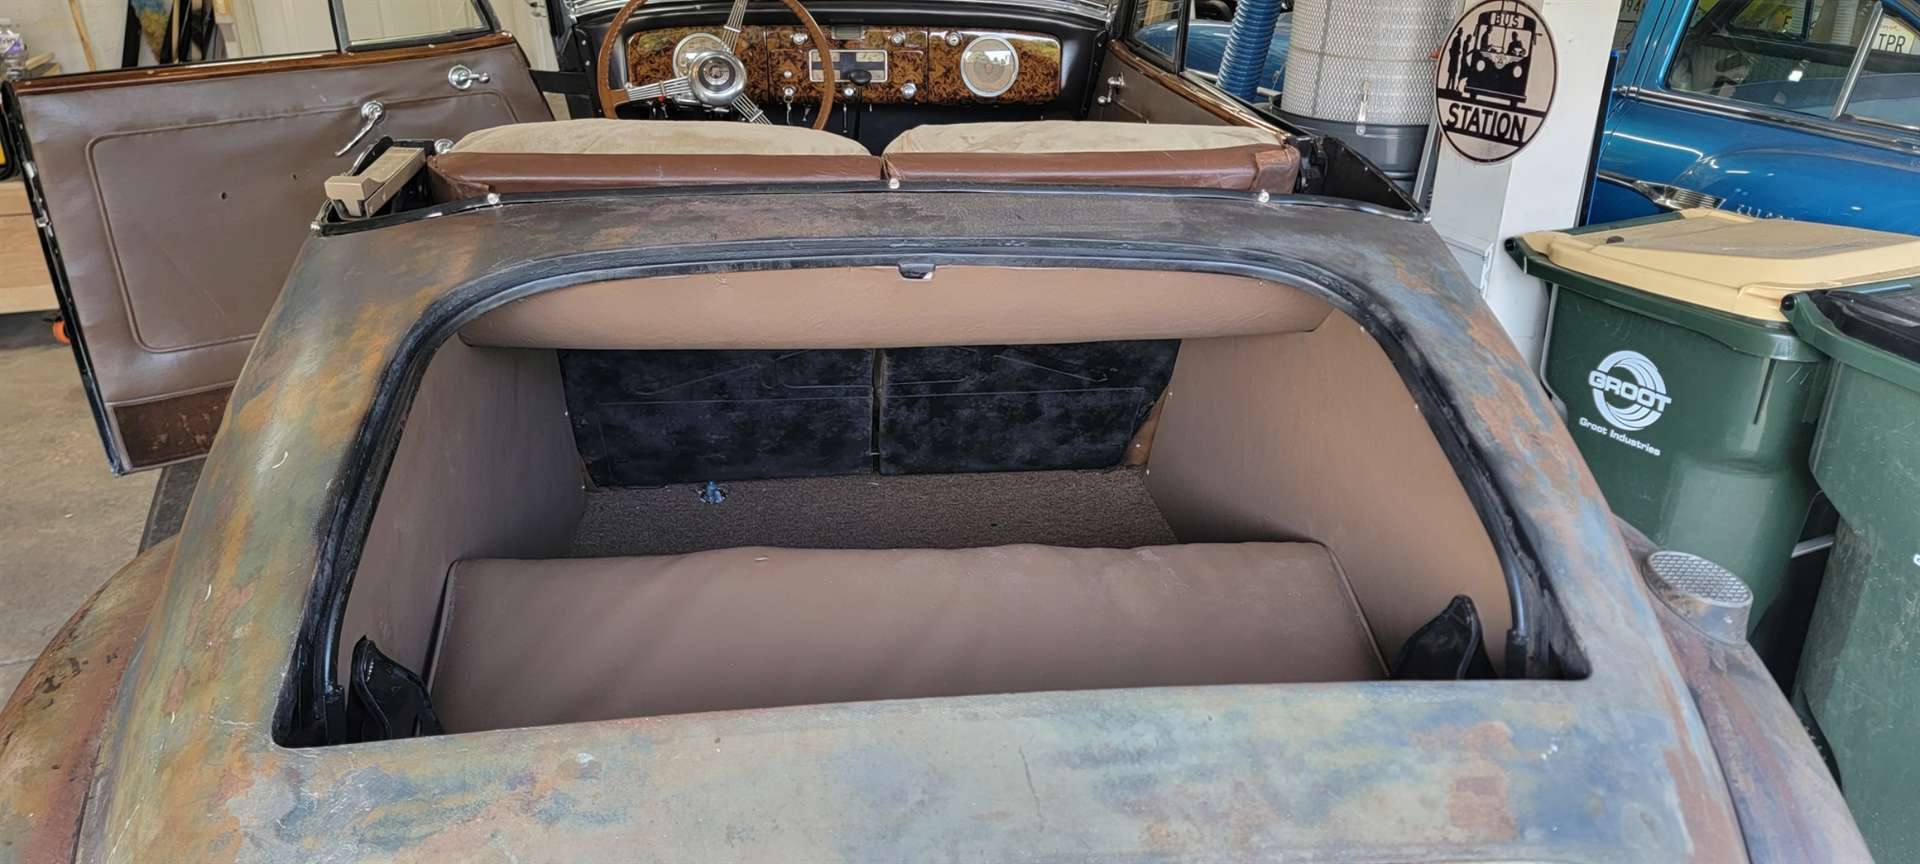
Posted on: 2023/6/23 19:23
|
|||
|
-BigKev
1954 Packard Clipper Deluxe Touring Sedan -> Registry | Project Blog 1937 Packard 115-C Convertible Coupe -> Registry | Project Blog |
||||
|
||||
|
Re: BigKev
|
||||
|---|---|---|---|---|
|
Home away from home

|
Are you sure that's the same car you bought not too long ago? Your progress and quality of work is just amazing!
Posted on: 2023/6/23 21:54
|
|||
|
||||
|
Re: BigKev
|
||||
|---|---|---|---|---|
|
Webmaster
|
Thanks Don. Big changes coming soon. Waiting on parts coming in from far corners of the globe.
Posted on: 2023/6/24 8:29
|
|||
|
-BigKev
1954 Packard Clipper Deluxe Touring Sedan -> Registry | Project Blog 1937 Packard 115-C Convertible Coupe -> Registry | Project Blog |
||||
|
||||
|
Re: BigKev
|
||||
|---|---|---|---|---|
|
Home away from home
|
Is there any adjustment available where the rumble seat lid hinges to the body?
Mine is almost 1/2" too high at the left lower corner when closed, and nearly that on the right lower corner. With the liner board tacked in place, I can't see the hinge mountings, and I can't loosen the hinge pivot bolts with the screw slots. Although not rusty, they're very tight. There appears to be a large nut on the hinge shaft outboard end, but I can't get a wrench in there. The wood framing of the lid and the attachment of the hinges to it look like brand new. There is some adjustment at that point, but I don't think it would lower the rear of the lid when in the closed position. It looks like a fore and aft adjustment. The tacks holding the liner panels are very firmly bedded in the wood,and I haven't had any luck removing them without damaging the liner board.
Posted on: 2023/6/24 9:39
|
|||
|
||||
|
Re: BigKev
|
||||
|---|---|---|---|---|
|
Home away from home
|
I had the same problem with mine. I had to remake the wooden frame as mine was lost to time and rot. In doing so the passenger side rail was a little shallow resulting in the lid sitting low at the back when closed. The Driver's side was high about 1/4". There is no adjustment in the hinge area, all simple through bolts. So in my case I added shims between the hinge plate and the wood on the passenger side. I used Tee Nuts for the wood fasteners similar to the ones used originally. I believe in your case you will need to do as I did on the driver's side, grind away some of the wooden surface on the rail to lower your lid where the hinge is attached. It is not too scary, if you remove a bit too much you can simply shim it back up. Mine is now flush with the body on both sides and am very happy with the result. The hinge is out of sight when the seat back is installed so the work to get it level is blind to the end form.
Bob J. Attach file: Rumble Seat Hinge.JPG (94.37 KB)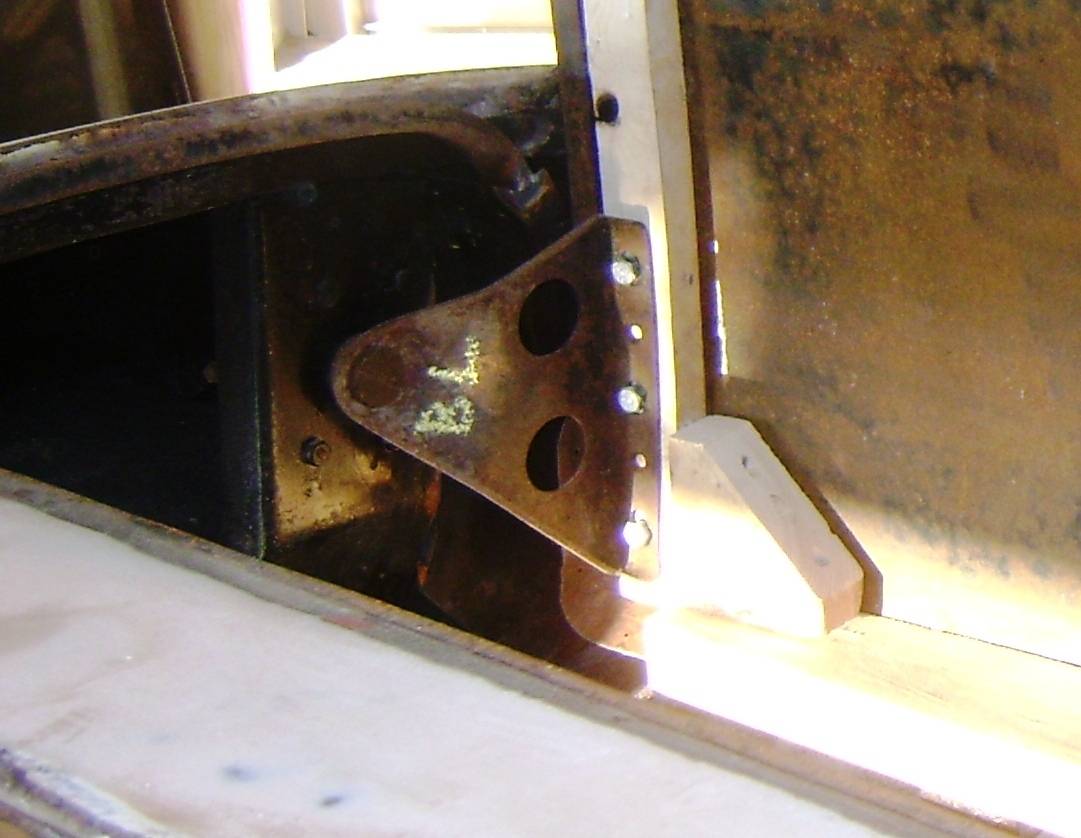 Rumble seat test fit.JPG (133.64 KB) Rumble seat test fit.JPG (133.64 KB)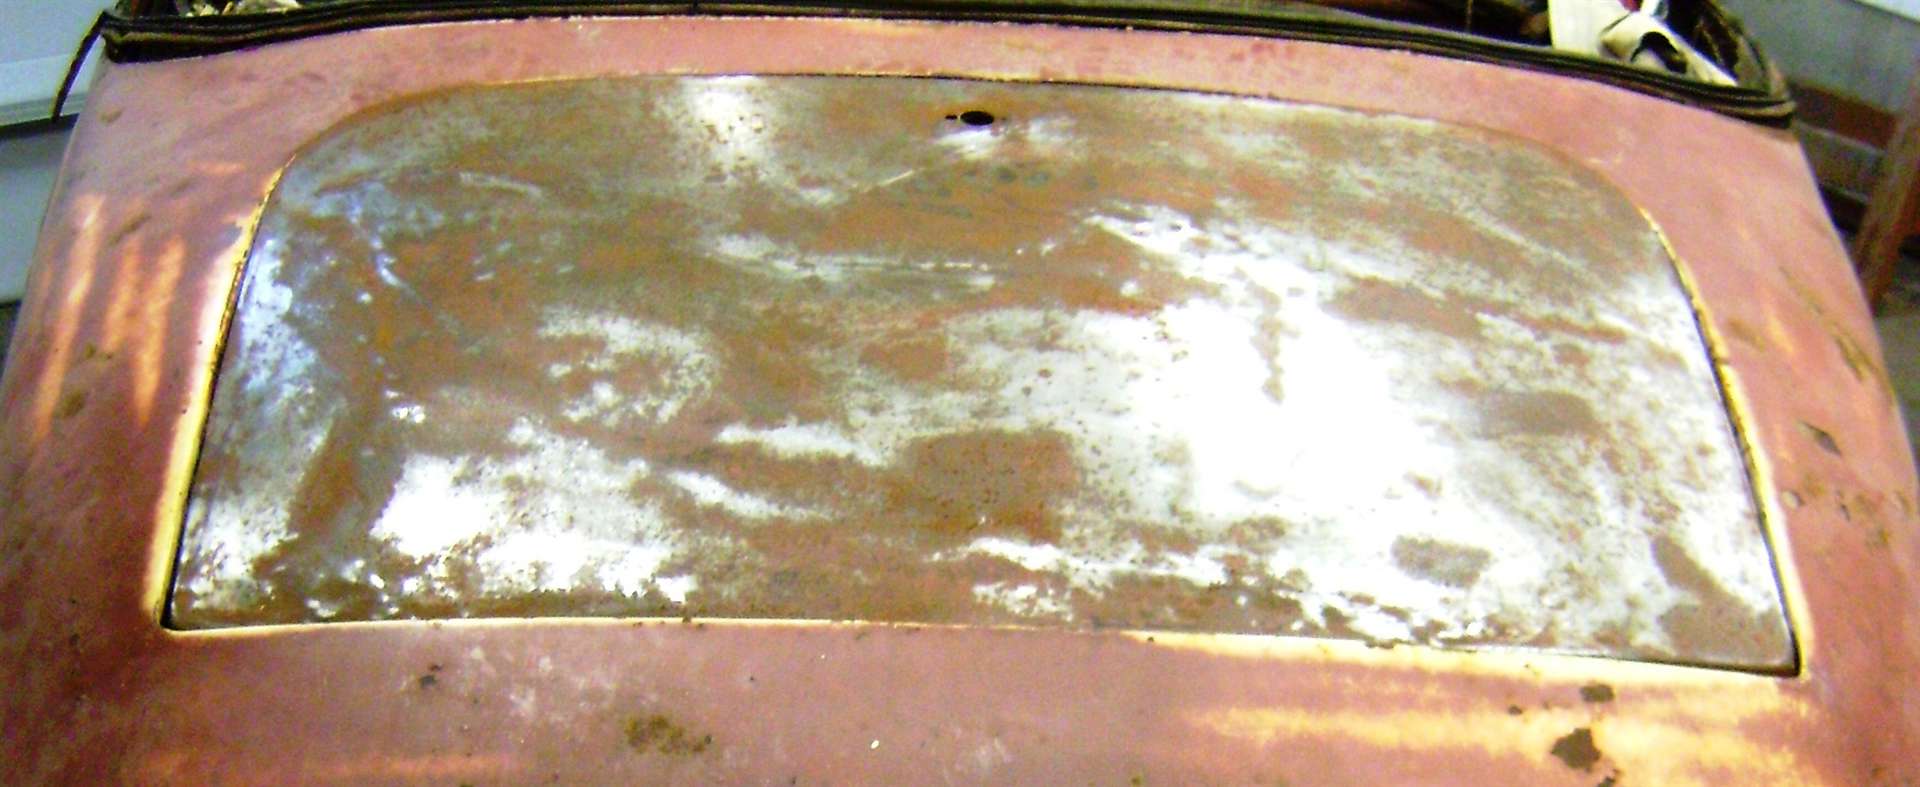 Rumble seat painted.JPG (89.05 KB) Rumble seat painted.JPG (89.05 KB)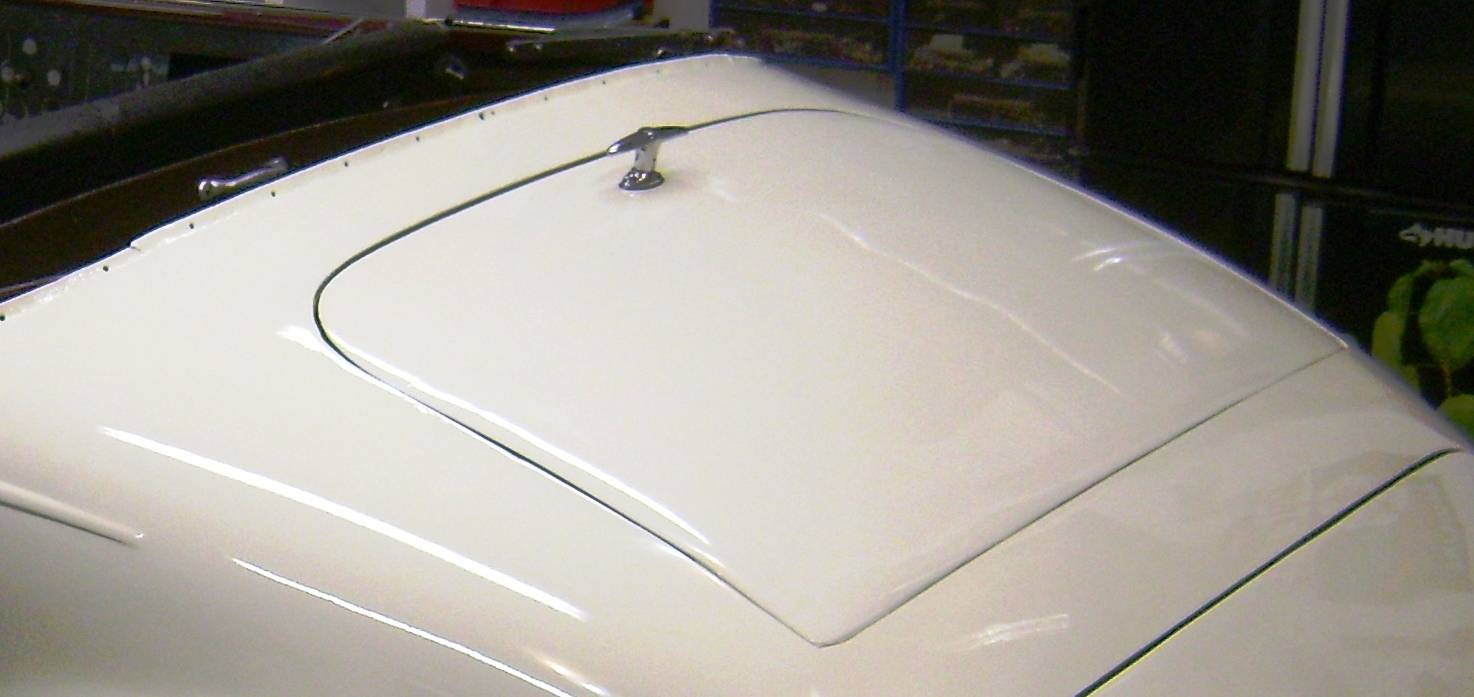
Posted on: 2023/6/24 11:38
|
|||
|
||||


