|
Re: March 12th Update
|
||||
|---|---|---|---|---|
|
Home away from home
|
Good job on the front suspension rebuild! In my experience, the front drum brakes, et al are OK, albeit not optimum.
One of the TWO BIG PROBLEMS with these V-8 cars is the Bendix Tredle-Vac. My opinion is well known amongst V-8 owners -- that it is a fatal accident waiting to happen. Failure comes unannounced (no warning). One moment you have brakes, the next you don't. This has nothing to do with the front drum brakes, et al. The solution is to replace the BTV with something else more modern. There are several solutions. I did one, Paul did one, Eric did one and Keith did one, all different, but all effective. The other problem is the V-8 oil pump failing to produce enough volume. There is a solution to that one too. Good luck! Craig
Posted on: 2008/3/14 0:37
|
|||
|
Nuke them from orbit, it's the only way to be sure! Ellen Ripley "Aliens"
Time flies like an arrow. Frui |
||||
|
||||
|
Re: March 12th Update
|
||||
|---|---|---|---|---|
|
Home away from home
|
Thanks Craig,
I'm working my way towards the brakes and I'll address those issues as a group when I'm done with the suspension and steering. I did the drums because they were already off, but the rest of the braking system is in need of freshening. When I'm ready, I'll pick your brain about solutions to the known problems. Thanks for checking out my project.
Posted on: 2008/3/14 9:32
|
|||
|
||||
|
March 22, 2008 Update
|
||||
|---|---|---|---|---|
|
Home away from home
|
March 22, 2008 Update
Well, the King Pin kit came from Kanter this week. I took the knuckle up to my tire place and they pressed the old bearing and bushing out and put the new ones in for me. $10 well spent since I don't have a press. As you can see from the pictures, the new bushing is all brass, whereas the original was steel with a brass sleeve. The diameter of the new king pin was 0.865 and the bushing had a 0.855 ID after it was installed. I thought about taking it to a machine shop to have it reamed out, but I decided to try it myself first because it sounded cheaper in my head. I bought a three stone brake hone from the local parts store for $12 and just went to town honing the brass bushing. I had to use a good amount of WD-40 to keep the stones from loading up with brass, but it ended up working just fine. It probably took about a half hour of alternating between honing and checking the bore with my calipers. After honing out the bushing I started reassembly. I found that the shim that I took out originally was now too big for the fresh parts. I guess that the new ball bearing is a little thicker than the old. The shim measured 0.069 and my feeler gauges told me I needed a 0.059 shim to do the job. I tried to find one locally here, but struck out. I decided to try and grind mine down and if that didn't work I'd order a new one. Luckily it worked out and I was able to get it put back together without finding a new set of shims. Finally, I could get it buttoned back together just like the driver's side with the new wheel bearings and new shock. I also employed the suggested tightening procedure for the hub and went back and did the same to the driver's side. Thanks again for the advice BH and Owen! Attach file:  (19.90 KB) (19.90 KB)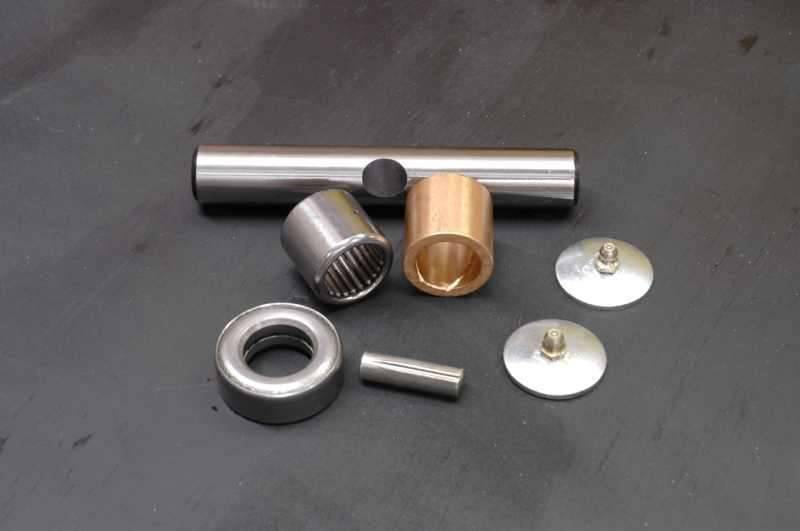 (28.35 KB) (28.35 KB)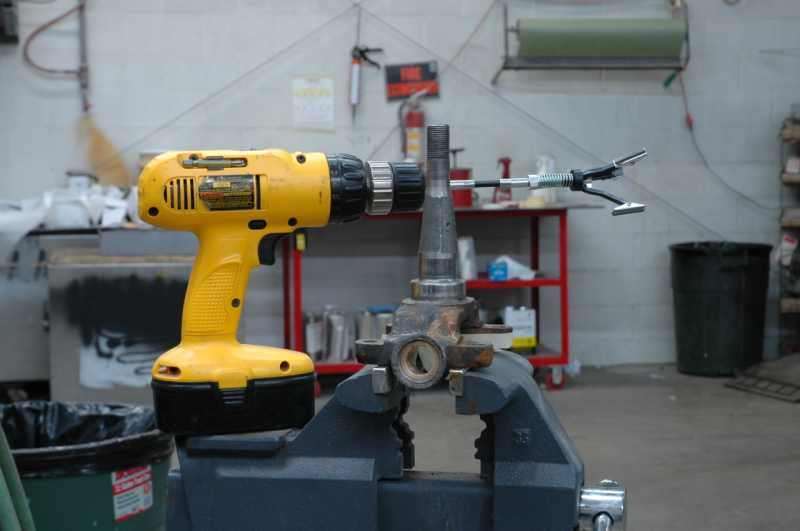 (30.46 KB) (30.46 KB)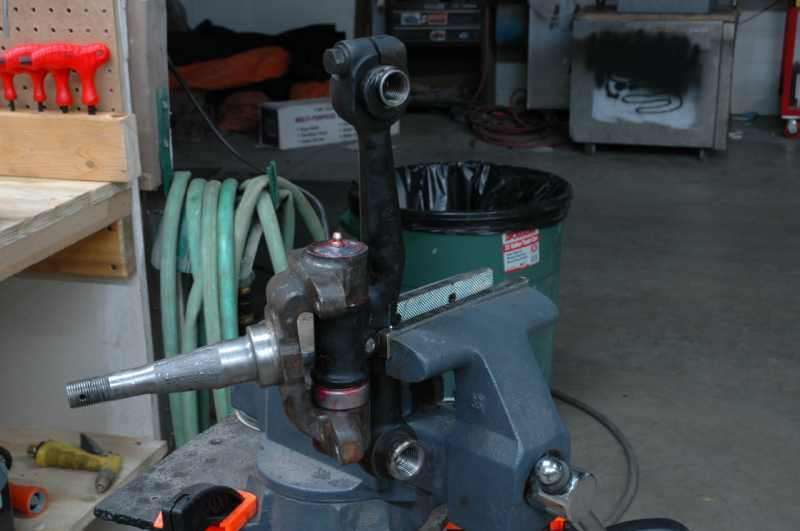
Posted on: 2008/3/22 13:06
|
|||
|
||||
|
March 27 Update
|
||||
|---|---|---|---|---|
|
Home away from home
|
I moved on to the rear suspension this week. I hadn't had the rear off of the ground yet so I didn't know what to expect. At first blush, it's apparent that the diff has been leaking out its lube. I'll clean it up and refill it, then keep an eye on how fast it's leaking out of there. I really don't want to put in a new seal or gasket. I can deal with a slow leak for a while.
The rear shocks were toast and they had these springs mounted on them. I have a feeling that these didn't come stock from the factory. They must have been an addition from a previous owner. The bottom nuts came off the shocks with the help from the impact wrench but the tops had to be cut off with the sawzall. They sure didn't leave much room to work on the top side of the shocks. New shocks were $20 each at my local O'Reilly's and they went in without incident. I never know how far to squish the new shock rubber isolators. I usually just tighten down until they kind-of conform to the dished washers. If I'm doing it wrong, someone here will let me know. I'm going to hold off on removing the leaf springs for now. I'm sure that the rubber bushings on the rear mounts need to be replaced; but I don't hear any rattling from them yet, even when I do my best trampoline act on the rear bumper. I'm not quite sure of the next project on the Clipper. I'm leaning towards the engine. It runs, but it's in need of a tune up. I should also take the carb off and at least give it a good cleaning, if not some new parts. I also want to rebuild the braking system, but it works so well right now that it's not my main concern. Still those 53 year old, rusting brake lines do gnaw at me and I don't think I'll be taking my son for a ride anytime soon. There are a dozen more areas that I can think of and that doesn't include the interior or exterior of the car. Attach file: (34.21 KB) (33.68 KB) (33.68 KB)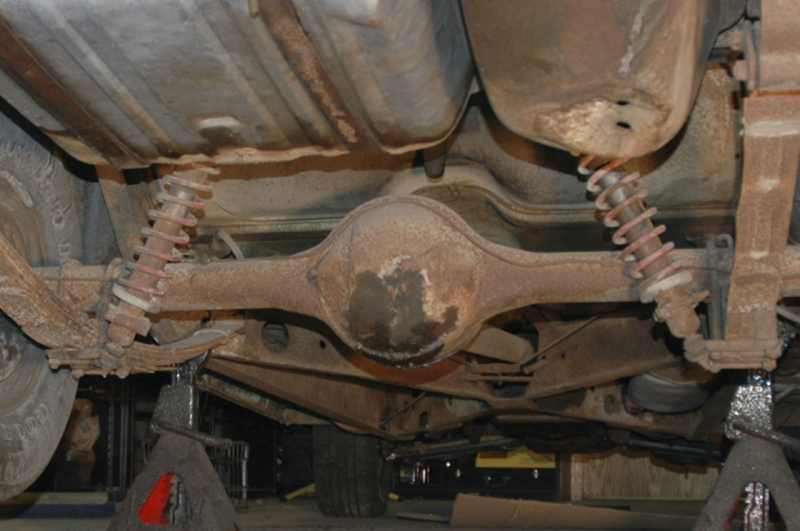 (31.45 KB) (31.45 KB)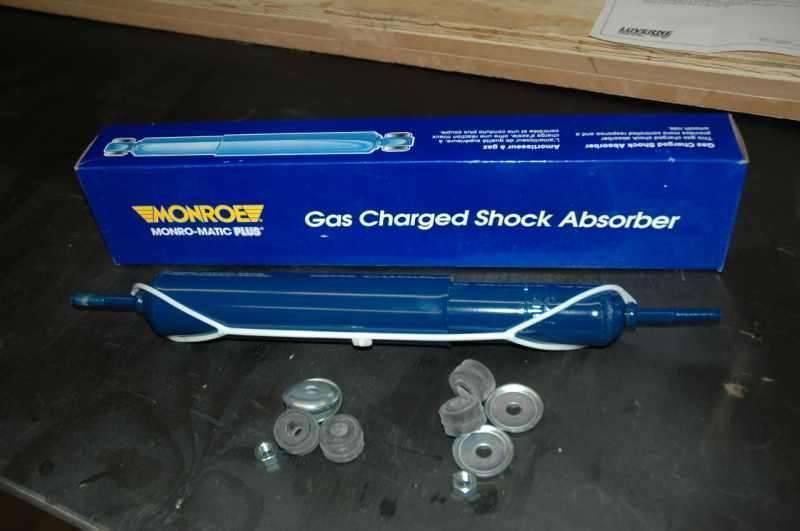
Posted on: 2008/3/27 17:04
|
|||
|
||||
|
Re: Keegan's 55 Clipper Deluxe
|
||||
|---|---|---|---|---|
|
Forum Ambassador

|
Just a comment about the king pin job. Best shop practice is to never use an abrasive hone to resize a bronze (or other) bushing; scrub and clean as best you can but particles of abrasive can and will become imbedded in the pores of the bronze and shorten the life of the fit. Always use a ream; you can buy an adjustable ream from most any machine shop supply house, and individual fixed size reams for various diamter kingpins show up at lots of flea markets, often for a $1 to $5 each.
Posted on: 2008/3/27 22:14
|
|||
|
||||
|
Re: Keegan's 55 Clipper Deluxe
|
||||
|---|---|---|---|---|
|
Home away from home
|
Well, my inexperience is showing through on approved machine shop practices
 I'm not that worried about it. The amount of miles this will travel in the next 5 years won't amount to much. Besides, I've got another chance if this one craps out. The rebuild kit came with two. I'm not that worried about it. The amount of miles this will travel in the next 5 years won't amount to much. Besides, I've got another chance if this one craps out. The rebuild kit came with two.
Posted on: 2008/3/27 23:59
|
|||
|
||||
|
Re: Keegan's 55 Clipper Deluxe
|
||||
|---|---|---|---|---|
|
Home away from home
|
After taking the summer off, the Clipper is back in my shop as my primary winter project. It's almost like starting from scratch again after walking away for a while.
I'm going to start on the interior problems this time around. Mainly the rusty floors and the BIO-HAZARD mold farm growing in every soft surface. I also want to add seat belts front and rear so that I can not only strap myself in but a car seat as well. Before I put it away, I decided to pay tribute to this wishing well of knowledge that I so frequently dip my empty bucket in. A vinyl graphics shop owed me a couple of favors for some work I did on his truck so I got him to whip this out for me. Now, if I only drove it more Kev would get some free advertising  Attach file: (19.14 KB)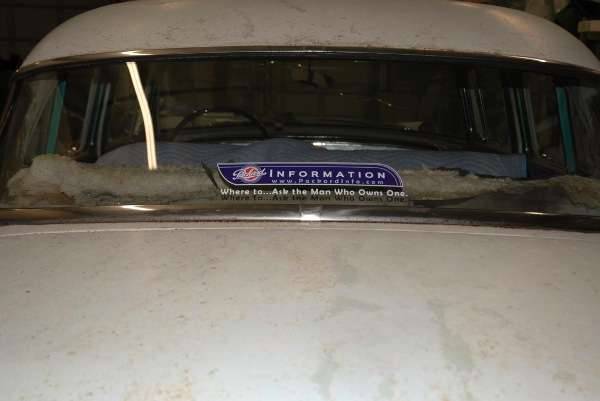 (64.69 KB) (64.69 KB)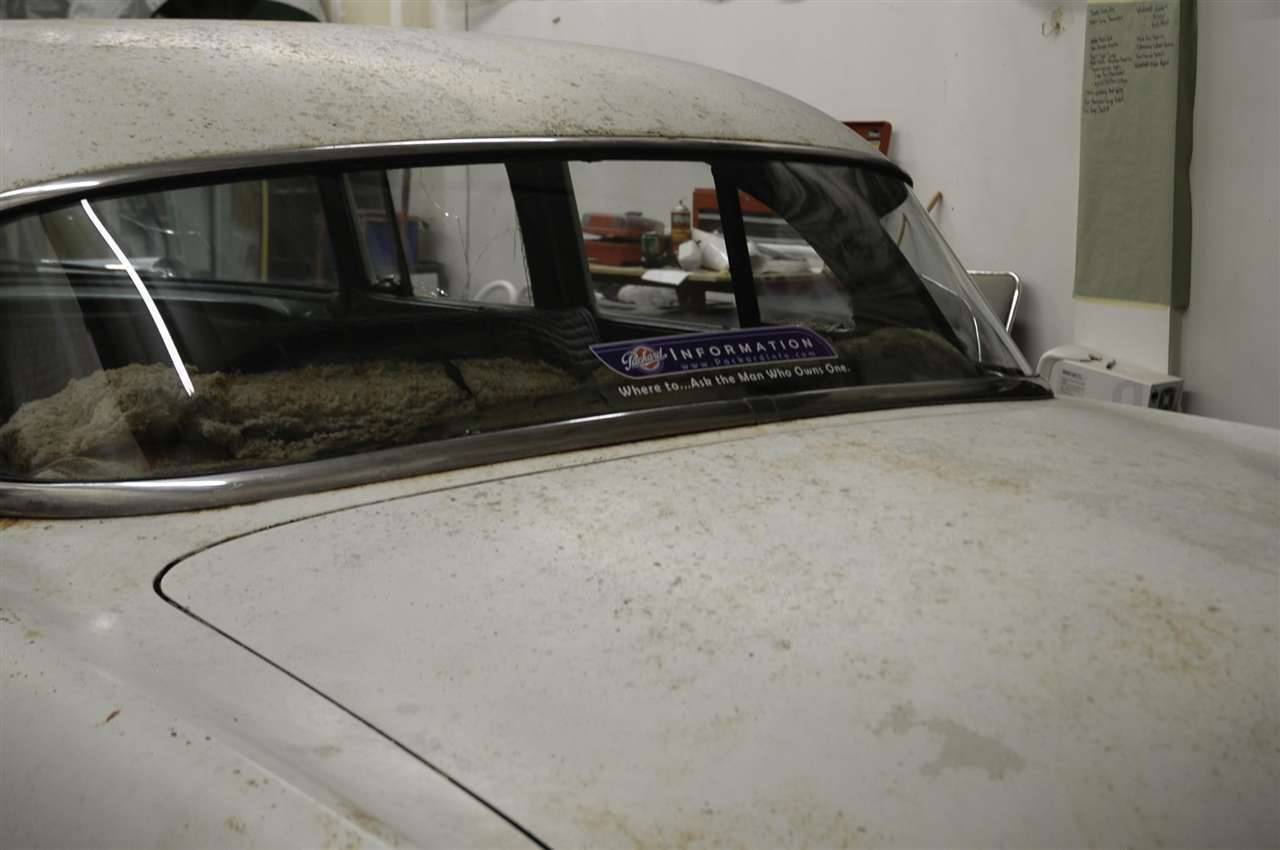
Posted on: 2008/9/13 15:18
|
|||
|
||||
|
Re: Keegan's 55 Clipper Deluxe
|
||||
|---|---|---|---|---|
|
Forum Ambassador

|
I luv it!
Who-da thunk that, in such a short time, a "simple" page header graphic would become such a pervasive icon? (I did.) 
Posted on: 2008/9/13 16:13
|
|||
|
||||
|
Re: Keegan's 55 Clipper Deluxe
|
||||
|---|---|---|---|---|
|
Forum Ambassador

|
Quote:
Keegan wrote:.......A vinyl graphics shop owed me a couple of favors for some work I did on his truck so I got him to whip this out for me....... Keegan, Is there any chance the Window Decal will be available to other Forum members? If so I would be interested in a couple for my Packards. 
Posted on: 2008/9/13 16:27
|
|||
|
Mal
/o[]o\ ====  Bowral, Southern Highlands of NSW, Australia "Out of chaos comes order" - Nietzsche. 1938 Eight Touring Sedan - SOLD 1941 One-Twenty Club Coupe - SOLD 1948 Super Eight Limo, chassis RHD - SOLD 1950 Eight Touring Sedan - SOLD What's this?  Put your Packard in the Packard Vehicle Registry! Here's how! Any questions - PM or email me at ozstatman@gmail.com |
||||
|
||||


