|
Re: BigKev's 1954 Packard Clipper Deluxe Sedan
|
||||
|---|---|---|---|---|
|
Webmaster

|
Ok folks mission accomplished. Epoxy primered the fenders and painted the wheel wells and inner fenders in single stage black. I also primered the wheel skirts also to keep them from flash rusting. Not a lot of narrative required here as the picture speak for themselves.
For folks that have never seen mixing cups like this, these are painters cups. They are used for easy measuring of parts. So both the primer and the paint are a 4:1:(1) mix. 4 parts primer or paint to one part Activator to one part reducer. So the way it works is you find the 4:1 scale on the top of the cut. Then you pour in the paint/primer to the amount you want. I poured to '6'. Then what ever number you picked for the paint, you pour to the that same number in the next column. So activator on top of the primer until it reaches '6' in the next column. Same with the reducer. '6' in the far column. This cup has a 10% column which I did not use, but some paints/primers use that for reducing 10%. Attach file:  (37.15 KB) (37.15 KB)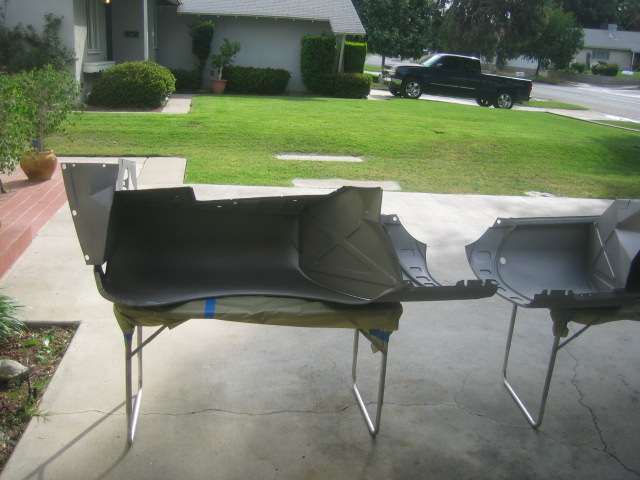 (30.66 KB) (30.66 KB)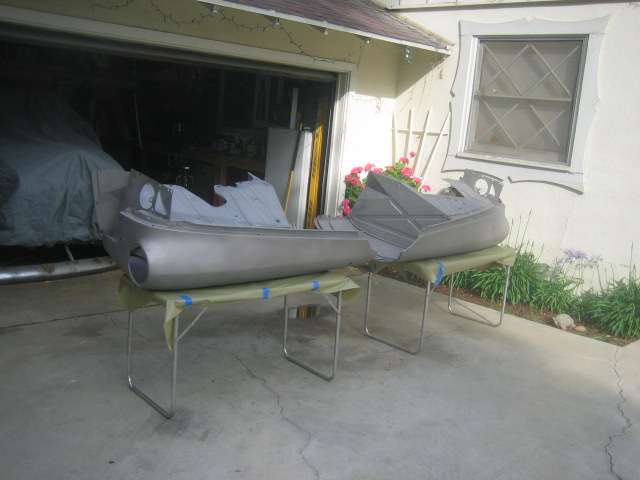 (38.26 KB) (38.26 KB)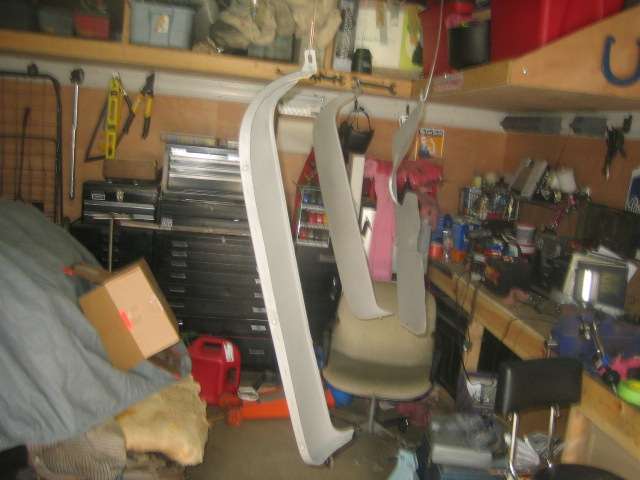 (26.75 KB) (26.75 KB)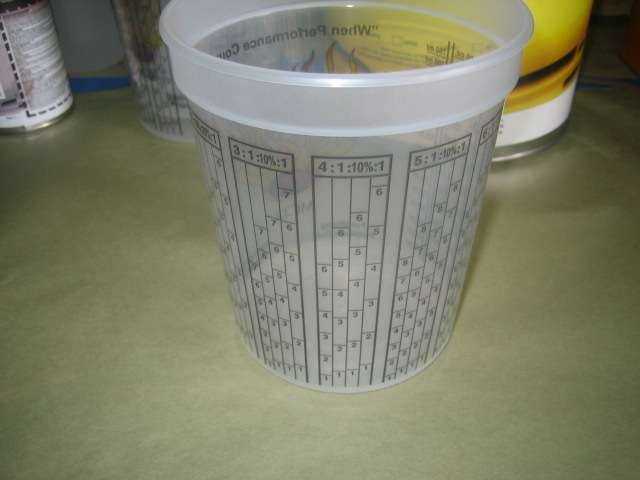 (29.03 KB) (29.03 KB)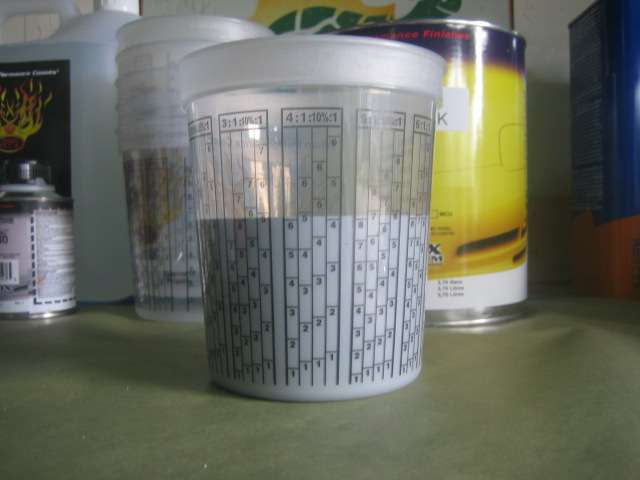 (37.67 KB) (37.67 KB)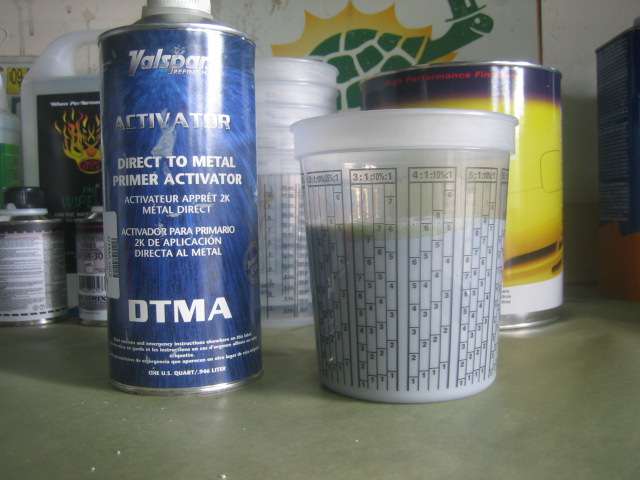 (30.60 KB) (30.60 KB)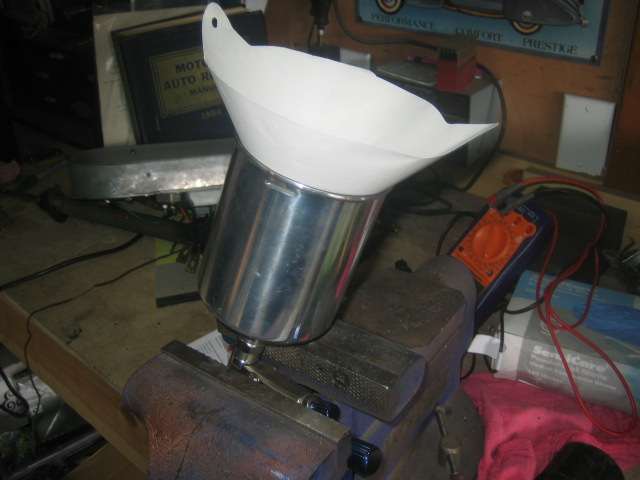 (30.46 KB) (30.46 KB)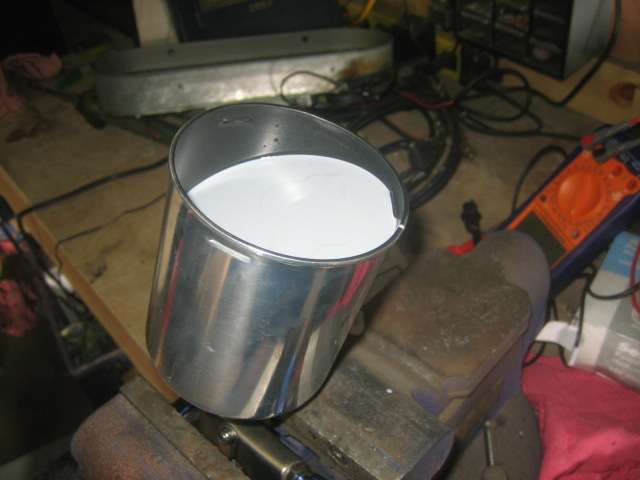 (29.20 KB) (29.20 KB)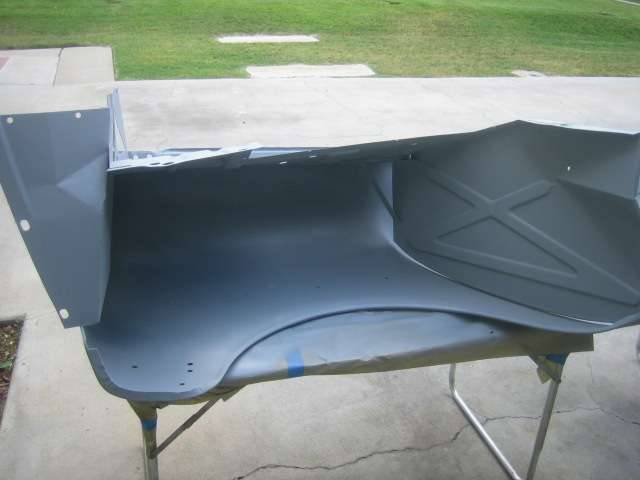 (30.69 KB) (30.69 KB)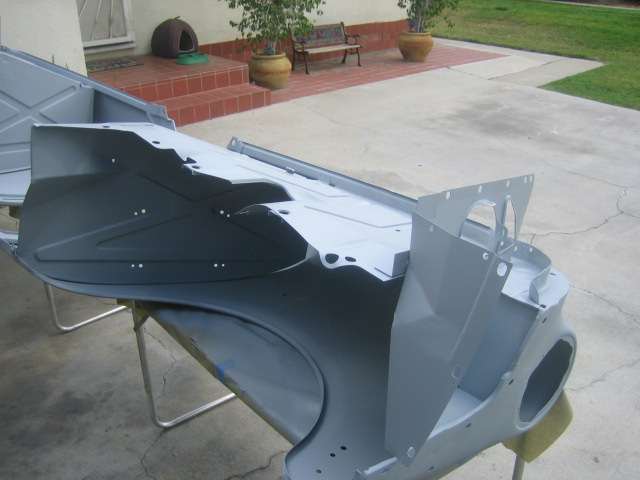 (37.65 KB) (37.65 KB)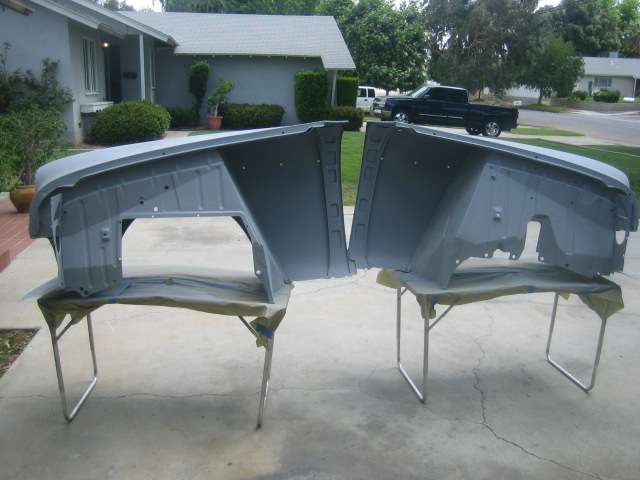 (25.54 KB) (25.54 KB)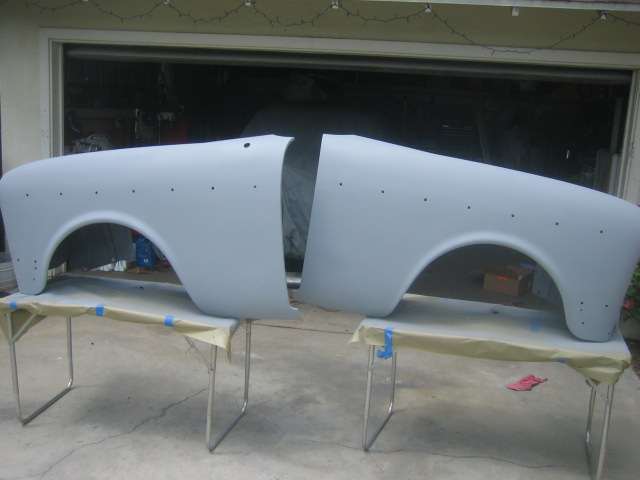 (41.10 KB) (41.10 KB) (30.85 KB) (30.85 KB)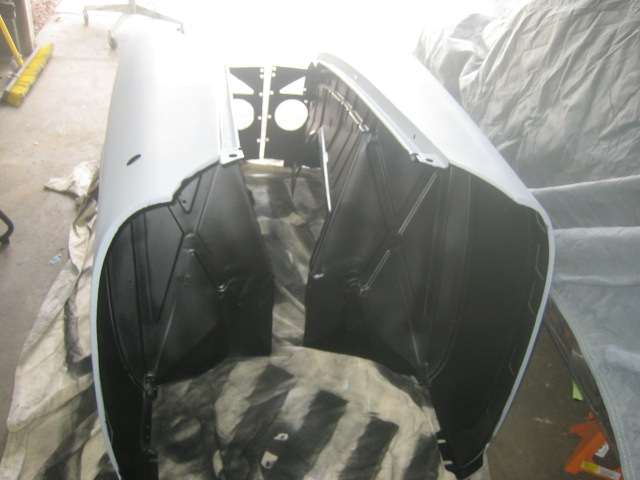 (33.16 KB) (33.16 KB)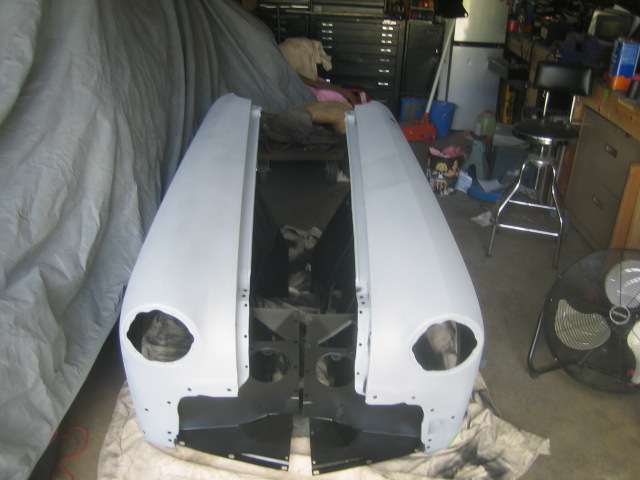 (26.22 KB) (26.22 KB)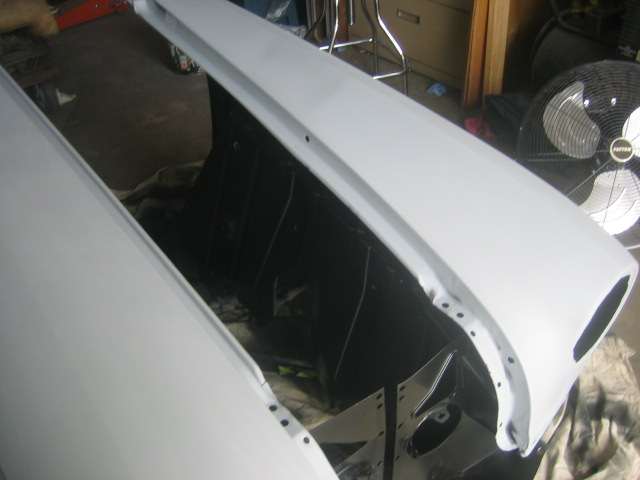
Posted on: 2010/5/22 17:14
|
|||
|
-BigKev
1954 Packard Clipper Deluxe Touring Sedan -> Registry | Project Blog 1937 Packard 115-C Convertible Coupe -> Registry | Project Blog |
||||
|
||||
|
Re: BigKev's 1954 Packard Clipper Deluxe Sedan
|
||||
|---|---|---|---|---|
|
Webmaster
|
Someone check me on this. I seem to remember a rubber body spacer that was between the top-rear of the front fender and where it bolts to the top of the cowl (top-most mounting point). But for the life of me I can't find where I may have put them after removing the fenders many years ago. Is there supposed to be a rubber spacer there, or am I remembering wrong?
Posted on: 2010/5/22 18:39
|
|||
|
-BigKev
1954 Packard Clipper Deluxe Touring Sedan -> Registry | Project Blog 1937 Packard 115-C Convertible Coupe -> Registry | Project Blog |
||||
|
||||

|
Re: BigKev's 1954 Packard Clipper Deluxe Sedan
|
||||
|---|---|---|---|---|
|
Webmaster
|
I dont remember any strips of cloth. Hmmmm....off to the part books Batman!
Posted on: 2010/5/22 18:59
|
|||
|
-BigKev
1954 Packard Clipper Deluxe Touring Sedan -> Registry | Project Blog 1937 Packard 115-C Convertible Coupe -> Registry | Project Blog |
||||
|
||||
|
Re: BigKev's 1954 Packard Clipper Deluxe Sedan
|
||||
|---|---|---|---|---|
|
Home away from home

|
The object of your desire can be purchased at any really good hardware store in the form of kerosene lamp wick. That goes right where the fender bolts down at the top.
But perhaps you are thinking of the rubber disk that is wedged between the fender and the top of the cowl at the very back edge to aid alignment. I don't believe it is in the parts book, and it is actually a body mount pad. Think of it as an undocumented assembly aid. All the 51-56 seem to have them.
Posted on: 2010/5/22 20:53
|
|||
|
||||
|
Re: BigKev's 1954 Packard Clipper Deluxe Sedan
|
||||
|---|---|---|---|---|
|
Forum Ambassador
|
Looking great Kev! you are going to be terrorizing Rivertucky in no time!
Posted on: 2010/5/22 22:32
|
|||
|
||||
|
Re: BigKev's 1954 Packard Clipper Deluxe Sedan
|
||||
|---|---|---|---|---|
|
Forum Ambassador
|
Ross, glad you brought up the rubber disk at the rear of the front fender by the cowl. I don't recall any on my 400 and the caribbean doesn't have any either, but I believe you are correct.
Thanks also for the kerosene wick use as an "anti-squeak". An anti-squeak is also used where the two main bolts for the dash bolt up to the inside of the cowl. Mine have deteriorated to the point of looking like old shredded wheat.
Posted on: 2010/5/23 1:00
|
|||
|
||||
|
Re: BigKev's 1954 Packard Clipper Deluxe Sedan
|
||||
|---|---|---|---|---|
|
Webmaster
|
I pulled out the ziplock of fender bolts and I located one of the mysterious rubber discs. So is the "lamp-wick" just used right where the mounting bolt on the top of the cowl is? Basically just sandwiched between the cowl and fender right where the bolt is?
Also I finished up a few loose end before the fenders go back on. I finished replacing the rubber in the vent flappers, and then made new gaskets that go between the flapper housing and the firewall. I also replaced the firewall wire-harness with a new one from Steele. Then I media blasted all the fender attachment bolts, and sprayed them with some cadmium paint. Only issue left is to drill out the lower cowl to fender bolt. 3 out of the 4 of them broke off upon disassemble and I just remembered that. So I will have to drill them out and retap as needed. Any way here are the pictures. Last chance photos on the naked front end before the sheet metal goes back on. Attach file: (42.17 KB)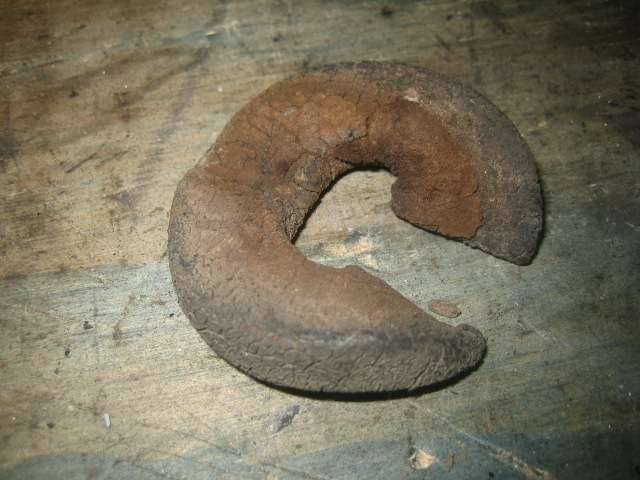 (40.29 KB) (40.29 KB)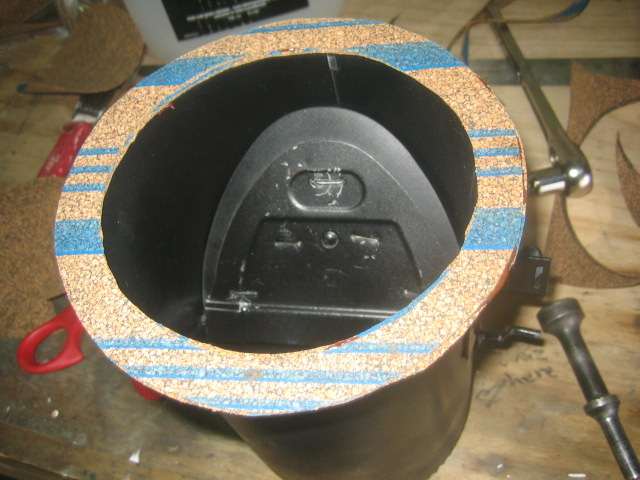 (39.14 KB) (39.14 KB)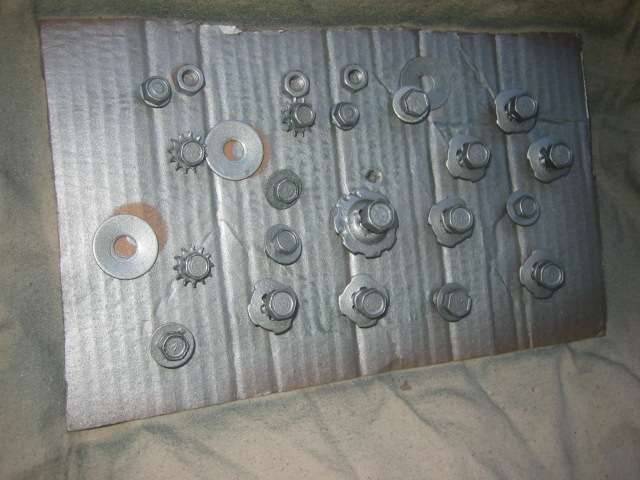 (45.18 KB) (45.18 KB)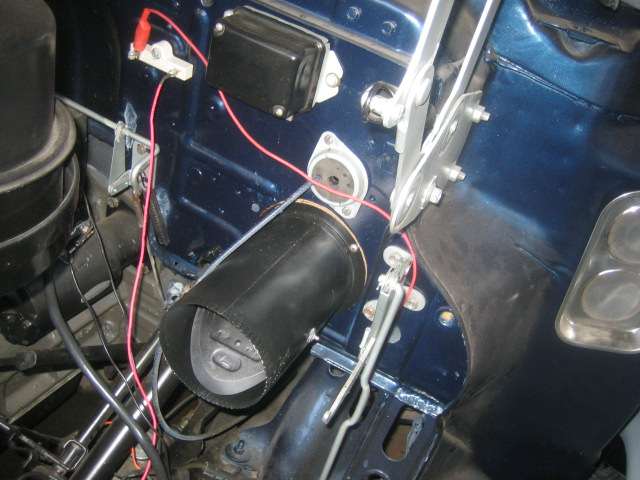 (38.48 KB) (38.48 KB)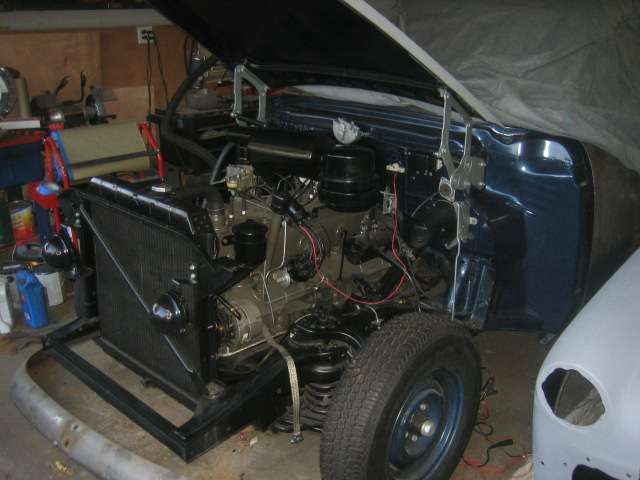 (38.52 KB) (38.52 KB) (38.73 KB) (38.73 KB)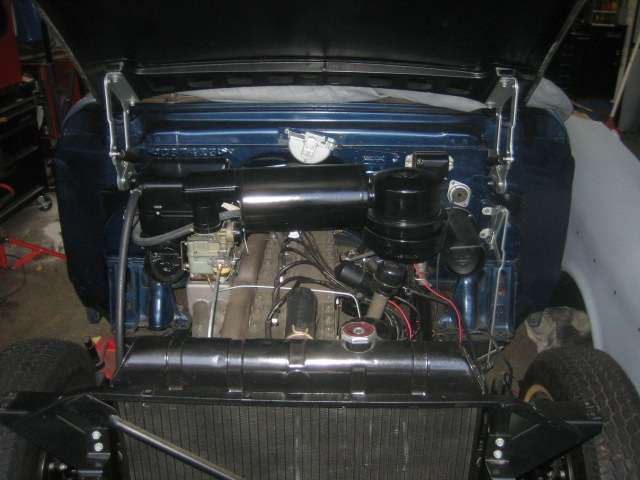
Posted on: 2010/5/23 22:19
|
|||
|
-BigKev
1954 Packard Clipper Deluxe Touring Sedan -> Registry | Project Blog 1937 Packard 115-C Convertible Coupe -> Registry | Project Blog |
||||
|
||||
|
Re: BigKev's 1954 Packard Clipper Deluxe Sedan
|
||||
|---|---|---|---|---|
|
Forum Ambassador

|
It really is looking good Kev, a credit to you.
Posted on: 2010/5/24 2:54
|
|||
|
Mal
/o[]o\ ====  Bowral, Southern Highlands of NSW, Australia "Out of chaos comes order" - Nietzsche. 1938 Eight Touring Sedan - SOLD 1941 One-Twenty Club Coupe - SOLD 1948 Super Eight Limo, chassis RHD - SOLD 1950 Eight Touring Sedan - SOLD What's this?  Put your Packard in the Packard Vehicle Registry! Here's how! Any questions - PM or email me at ozstatman@gmail.com |
||||
|
||||
|
Re: BigKev's 1954 Packard Clipper Deluxe Sedan
|
||||
|---|---|---|---|---|
|
Forum Ambassador

|
Kev, you're a good, meticulous craftsman - great job.
Posted on: 2010/5/24 8:57
|
|||
|
||||


