|
Re: Windshield trim installation
|
||||
|---|---|---|---|---|
|
Forum Ambassador

|
You didn't mention the year but if it is a V8 and you are using one of Steele's gaskets, my best advice is to stock up on tranquilizers and swear words. I do believe the repro gaskets are softer than originals & do not have the strength to hold the molding as the originals did.
The procedure is in the SM and for the most part works well on the long straighter pieces. Where I had issues was on the two side pieces. The rubber did not have the strength to hold around the curves and particularly at the top corners. On those side pieces I finally had to resort to tape and adhesive starting with a dab at the bottom. Once that was held I was able to walk it around the curve and then up with the rubber holding. Needed a bit more tape and adhesive to hold the top corners. IIRC, BigKev has a few photos and info in his project blog on how he did his 54 so that might give some insight if you have one of the earlier models.
Posted on: 2015/2/3 15:01
|
|||
|
Howard
|
||||
|
||||
|
Re: Windshield trim installation
|
||||
|---|---|---|---|---|
|
Home away from home
|
The windshield was replaced on my 55 just before I got it and the trim was removed and left off. I too had issues installing these after the repaint. There is a svc bulletin on the glass sliding down and with the softer durometer rubber this is a bigger issue as the rubber is now in a lower position and the curves and contours do not match the profile. Review the bulletin and decide if this is part of your problem. I had a friend who was a glass specialist and he recc these little square blocks in the channel in the seal at the bottom of the shield with a urethane bead to take up the gap. Still fit may not be perfect and if you cant get the trim to fit into the grove there are a few tricks to get it secure without the above tape ore glues. Are the studs still secured to the end caps?
See stb 55-10 on this site Raising the glass up slightly and rearward at the bottom may correct some of these issues
Posted on: 2015/2/3 20:10
|
|||
|
||||
|
Re: Windshield trim installation
|
||||
|---|---|---|---|---|
|
Home away from home
|
Have to agree with Howard that attempting to install the windshield stainless on the Caribbean with the new rubber from Steele will test your patience. My friend got to do most of the cursing but I got some time to harmonize.
One thing that did become clear during the installation was that the channels in the replacement molding is different from the originals which caused problems on the sides-- the original channels were much wider cuts.Once the channels were,widened to approximate the originals the installation was completed without putting the car up for sale. A terrible job. My only suggestion is to check the molding that is removed,and compare to the replacement.
Posted on: 2015/2/3 20:36
|
|||
|
||||
|
Re: Windshield trim installation
|
||||
|---|---|---|---|---|
|
Forum Ambassador

|
All I can add is when I had the 56 Caribbean painted, I also went for a new windshield and Steele windshield rubber. I forewarned the shop that I had heard it was a difficult job to reinstall the stainless trim but his experience was contrary, it went on perfectly with no problems at all. I later asked him if there were some trick to it and he said "no", took less than 1 hour. It's nice once in a while to find a job is so easy when others have experienced otherwise.
Posted on: 2015/2/3 23:35
|
|||
|
||||
|
Re: Windshield trim installation
|
||||
|---|---|---|---|---|
|
Just can't stay away

|
my car is a 1955
Posted on: 2015/2/4 9:55
|
|||
|
||||
|
Re: Windshield trim installation
|
||||
|---|---|---|---|---|
|
Home away from home
|
I did it with tge old seal..need to put rope in seal pull and. Put trim in....i will be doubg u t with. Tge steele seal..i will see what its like and post.. The repair. Book shows. It
Posted on: 2015/2/4 11:20
|
|||
|
Riki
|
||||
|
||||
|
Re: Windshield trim installation
|
||||
|---|---|---|---|---|
|
Webmaster

|
Get a piece of thick cord/thin rope and liberally soak it in undiluted dishwashing soap. Using your wife's favorite plastic spatula, evenly push the rope in the stainless channel in the rubber. If you used thick enough cord, it will force open the channel up a bit. Using your finger apply move soap over the channel opening.
Now start one end of the stainless into the channel pressing down firmly, as you slowly pull the cord out by pulling it to the side. Make sure to have someone hold the other end of the cord so it doesn't just pull through the channel, or just tape it so it doesn't move. As you pull the cord to the side, it the open the channel up at that spot allow the stainless to slip past and seat. When done, use a damp rag to clean up the soap. I did all the front and back stainless window on my car this way by myself. It literally only takes a few minutes. Dilling all the holes through the rubber for the fasteners is more of a nightmare. But I figured that out a trick for that as well. I think a lot of this may be on my project blog. Different year of car, but principles are the same.
Posted on: 2015/2/9 16:23
|
|||
|
-BigKev
1954 Packard Clipper Deluxe Touring Sedan -> Registry | Project Blog 1937 Packard 115-C Convertible Coupe -> Registry | Project Blog |
||||
|
||||
|
Re: Windshield trim installation
|
||||
|---|---|---|---|---|
|
Home away from home
|
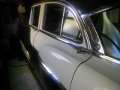
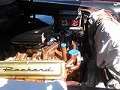
need more let me know
Attach file:  (144.98 KB) (144.98 KB)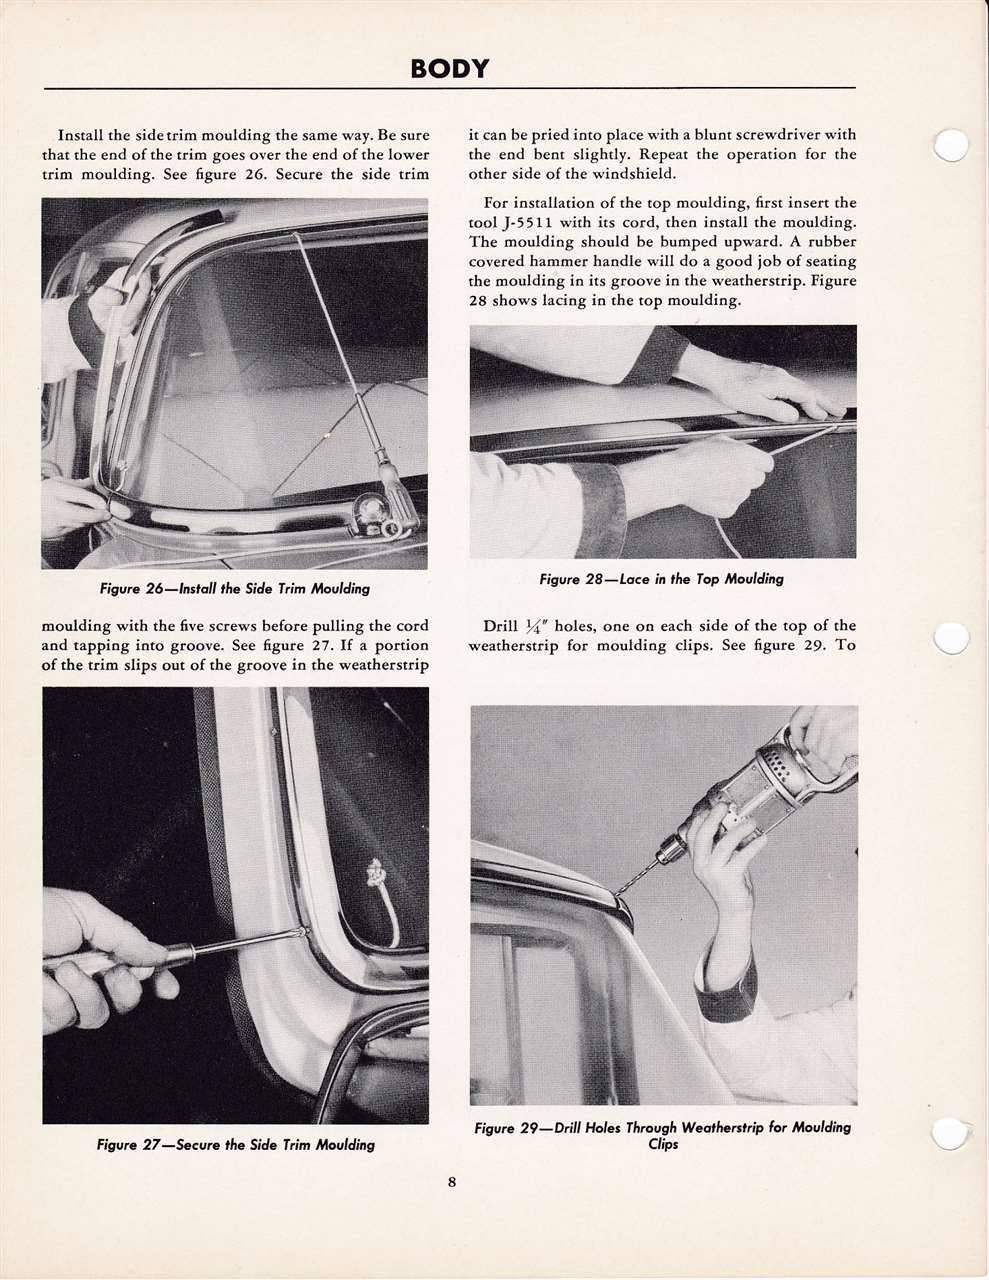 (137.43 KB) (137.43 KB)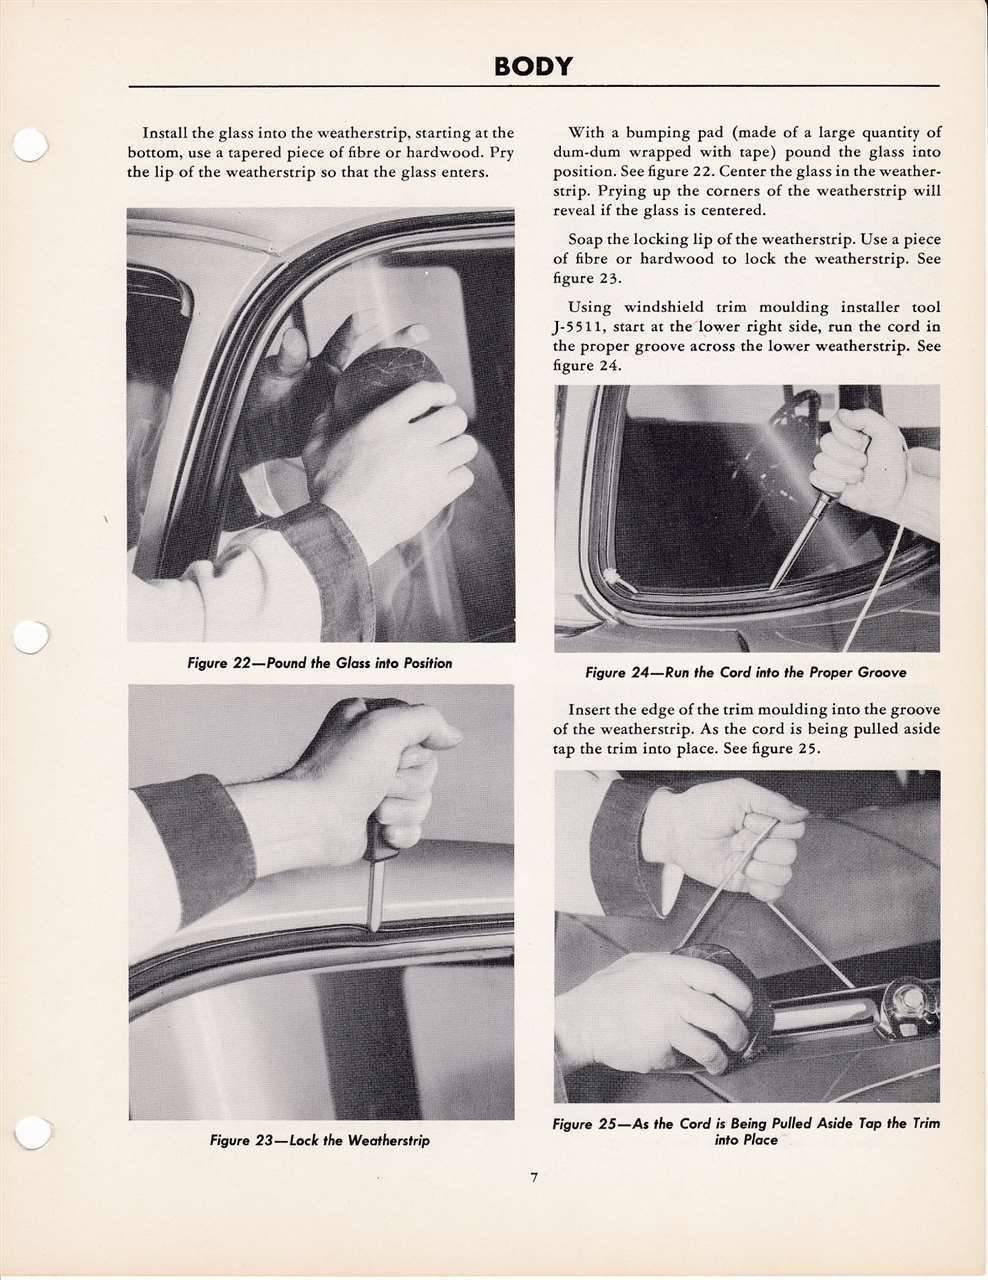
Posted on: 2015/2/9 17:49
|
|||
|
Riki
|
||||
|
||||


