|
Re: 1940 Super 8 160 Model 1803 Project
|
||||
|---|---|---|---|---|
|
Forum Ambassador
|
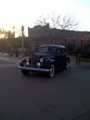
Started the evening out with close inspection of finishes mentioned by West. Sure enough the generator adjusting bracket had small remnants of the dark (seems more olive drab than the paint currently available) green. Then turned attention to the intake and exhaust finish. Sure enough, the intake had a fair amount of faint black places and the exhaust even had some very faint black patches left here and there. So... I have no reason to believe the total and complete lack of any green on the engine support and remnants of black might indicate it left the factory black. In any case, I agree with West's citation of a factory photo with an engine stay painted to match engine color. Who knows... one of those weird restoration conundrums. At this point, it is not a restoration project, just receiving sympathetic repair in the vain of being done as correctly as possible. The car deserves this at the very least.
As for the front engine mount being to rigid and creating more vibration, yes that is true. I had to weigh a tiny bit more vibration (couldn't be more than sacked mount nearly resting metal to metal) to installing a modern replacement part not as durable as the ones Packard installed when the car was new. For better or worse, this seems to be the best option in my view given challenges reported about various rubber mounts prematurely sacking out. Attach file:  (37.06 KB) (37.06 KB) (32.02 KB) (32.02 KB)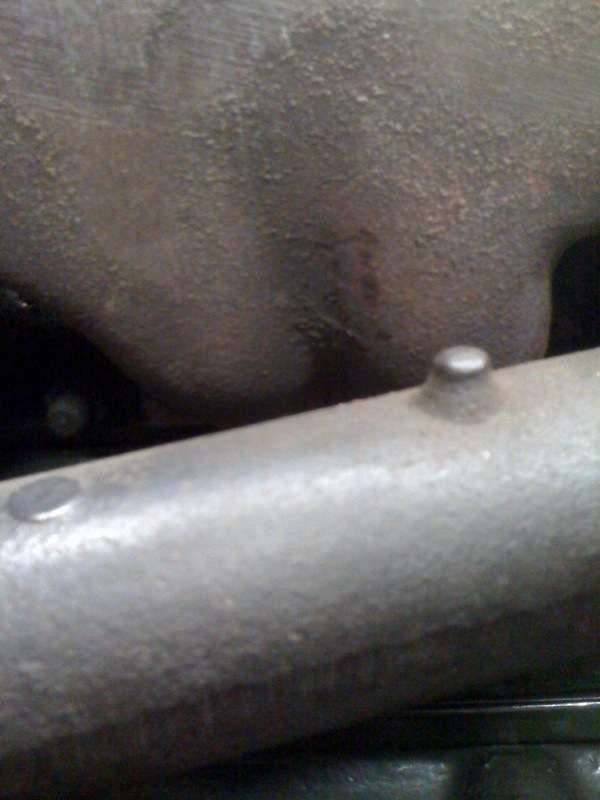 (18.69 KB) (18.69 KB)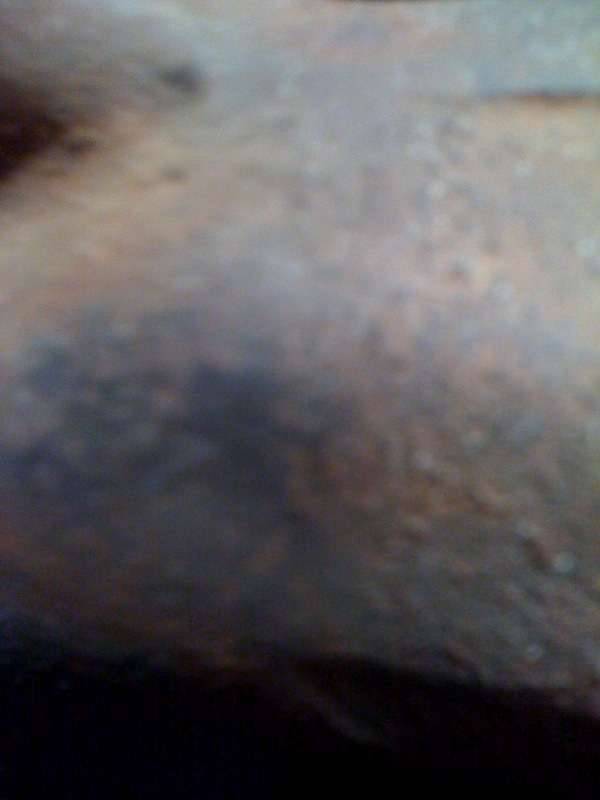
Posted on: 2011/5/11 1:27
|
|||
|
||||
|
Re: 1940 Super 8 160 Model 1803 Project
|
||||
|---|---|---|---|---|
|
Forum Ambassador
|
On to more progress. Began by soaking the fasteners the other day and re-soaked before starting this evening. Chased the exposed threads of all manifold studs with a 3/8 - 24 die. The nuts were still brass (to my utter surprise) and came off with relative ease. One stud backed out with no damage. The exhaust flange bolts came apart with ease also. One interesting note (And Flackmaster mentioned this while he, Big Kev, and I were visiting Egge in January) there appears to be no intake to exhaust heat box gasket. The bolts look original and undisturbed and there seems to be no leaks! Heat damper seems to work freely and properly, so I might leave well enough alone.
Cleaned up the manifold block surface and moved on to cylinder head removal. Pulled spark plugs and found all 8 to be uniform fluffy brown. How fortunate I thought. Soaked the head bolts and soaked studs while removing other odds and ends. Ate dinner and went out to fill my truck. When I returned I tapped the side of the cylinder head with a large shot filled dead blow hammer and the head soon changed sounds as it released from the head gasket. The head came off with ease to revel a terrific looking top end. Inspection of the bores and valves showed no evidence of trouble. The valve faces are clean with no cupping or pitting, seats in excellent shape and valve margins are nice and thick. Remembered that Kev's car had an issue with loose #7 exhaust and my car was actually collapsed #6 exhaust. Good thing I read back through this thread to refresh my memory. No matter, I would have double checked and realized this I suppose. Tomorrow I will attempt to remove the hydraulic lash adjuster body from the body of the tappet. Might involve designing and machining some special collar clamp tools to hold the lifter and tappet bodies to avoid damage if they are stuck together. I remember JD mentioned this condition in his thread. Attach file: (42.67 KB) (35.96 KB) (35.96 KB)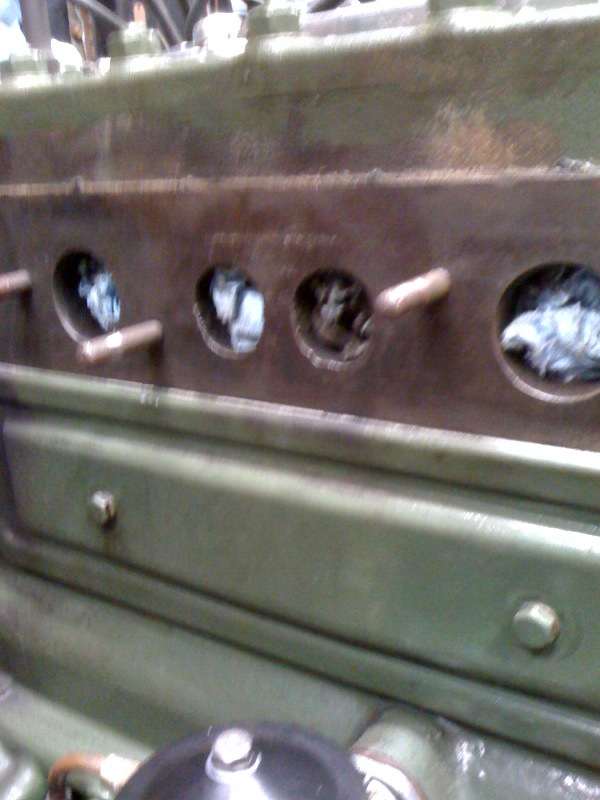 (49.20 KB) (49.20 KB)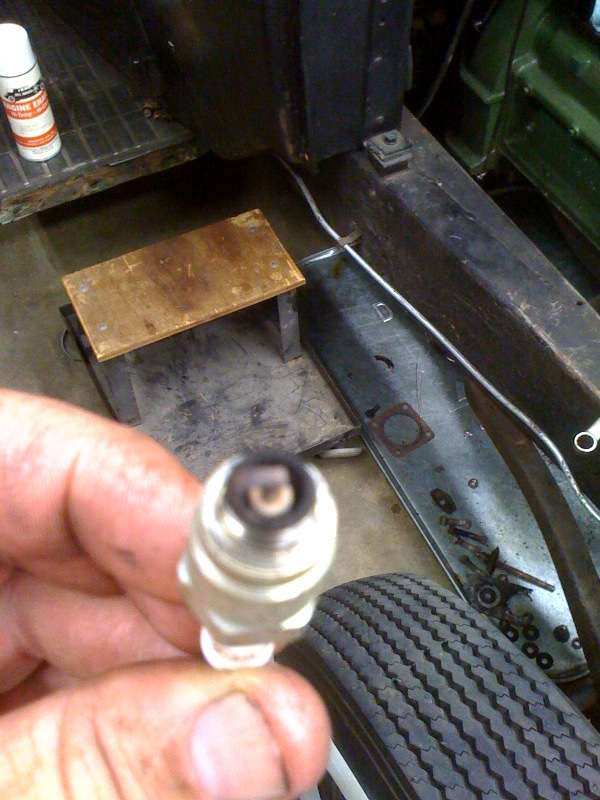 (51.46 KB) (51.46 KB)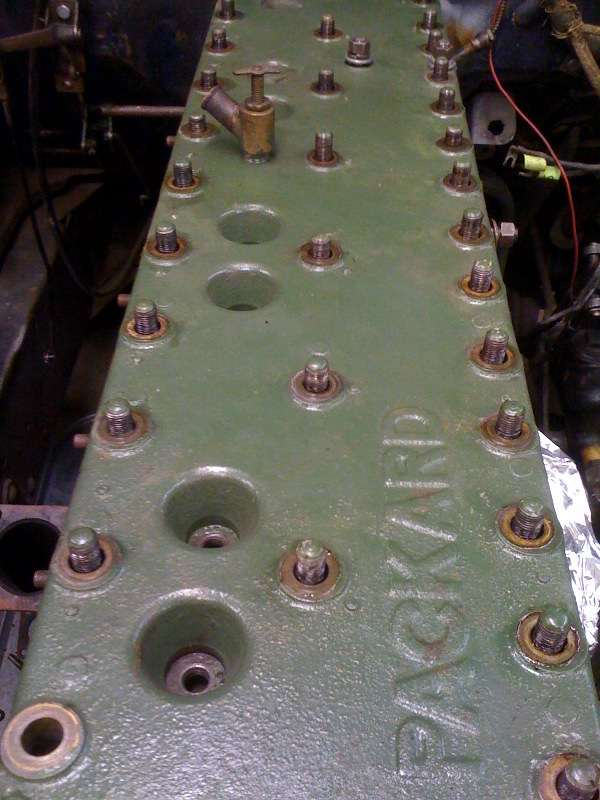 (67.92 KB) (67.92 KB)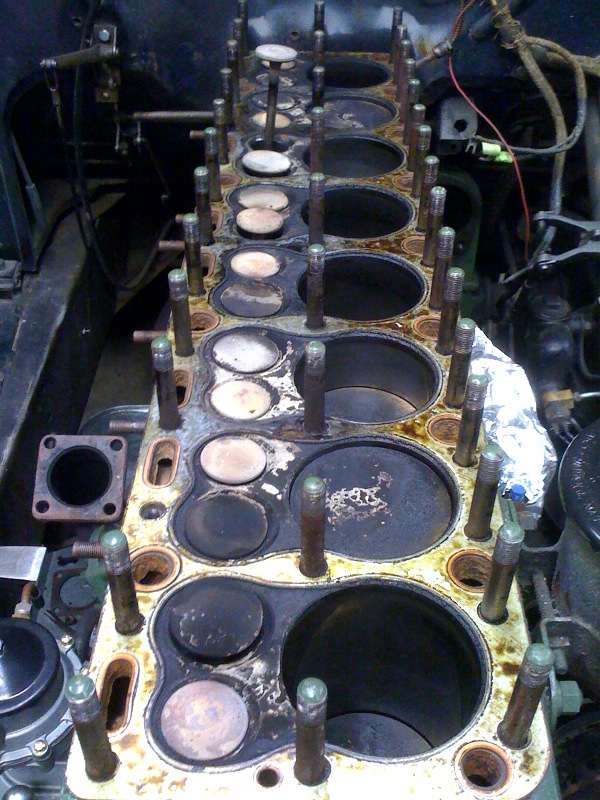
Posted on: 2011/5/11 1:34
|
|||
|
||||
|
Re: 1940 Super 8 160 Model 1803 Project
|
||||
|---|---|---|---|---|
|
Home away from home

|
Wow, Jim, you're barreling through here. Fantastic how much progress in a short time. I checked Jim Hollingsworth's 1940 book and on page 27 the bracket is engine color. Mine is black, taken from one of the engine illustrations probably, but if some tailpipe peeping judge sticks a flashlight down there could I borrow your dead blow hammer to bean him one?
I imagined my oil filler tube black, and was thinking I'd have to paint it again, but it is green. Black cap. BTW Painted pieces coming fast. Picked up all I could carry last night. Another load today. I'll have an update on the Duchess soon. Joe
Posted on: 2011/5/11 9:02
|
|||
|
||||
|
Re: 1940 Super 8 160 Model 1803 Project
|
||||
|---|---|---|---|---|
|
Forum Ambassador

|
Nice progress - keep it up. It appears you may well have an engine in very good condition. Did you happen to take compression readings before you pulled the head?
Spark plug appearance is completely typical. Though the Steele rubber front engine mount isolators seem to last pretty well (the ones on my old 48 Custom have been in service for a couple of decades), if it was my choice and the car was a personal keeper, I'd probably have gone with the urethane as well. Tell me more about where you sourced them?
Posted on: 2011/5/11 9:15
|
|||
|
||||
|
Re: 1940 Super 8 160 Model 1803 Project
|
||||
|---|---|---|---|---|
|
Forum Ambassador
|
A very, very long night. Last night I gently attempted to extract the hydraulic lifter body from the tappet. No luck. I was not surprised because I was pretty sure the issue was a stuck valve at some point creating hydraulic lock and ballooning the hydraulic body into the tappet body. This would explain the lifter loosing enough oil between the lifter plunger and lifter body and never successfully pumping up. The problem is when this condition occurs the tappet is normally damaged and broken while attempting to extract the hydraulic lifter body.
The night started with a quick sketch and measurements to facilitate a tappet clamping fixture. This fixture will allow the tappet to be held tight and not spin or move up or down. Roughed a piece of scrap aluminum with the band saw. Used an end mill to rough the hole to .710" and then used to boring head to get precisely the same size as the OD of the tappet .718". Once that was done, the holding fixture had to be slotted, cross drilled, and tapped to 5/16 - 18 to facilitate a pinch bolt. The tool took a few hours total but turned out fairly nice considering it was something dreamed up in a few minutes. Attach file: (57.33 KB)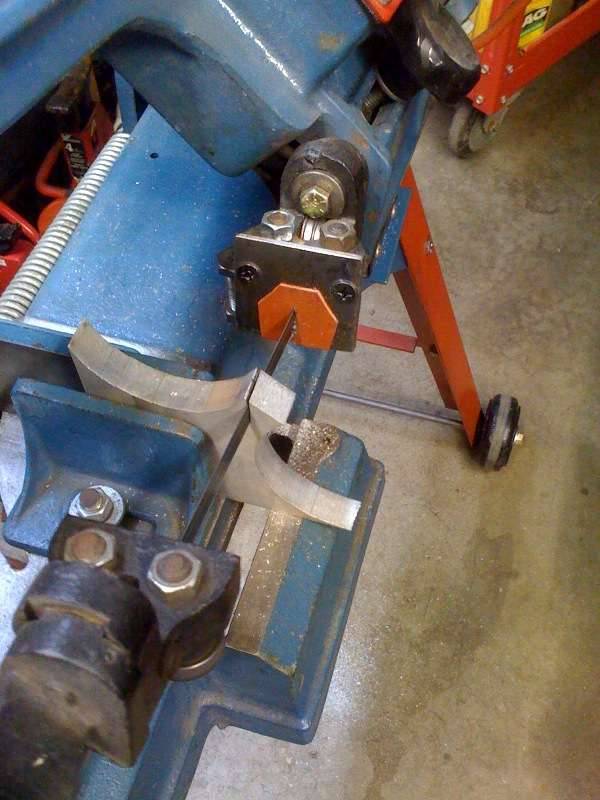 (43.63 KB) (43.63 KB)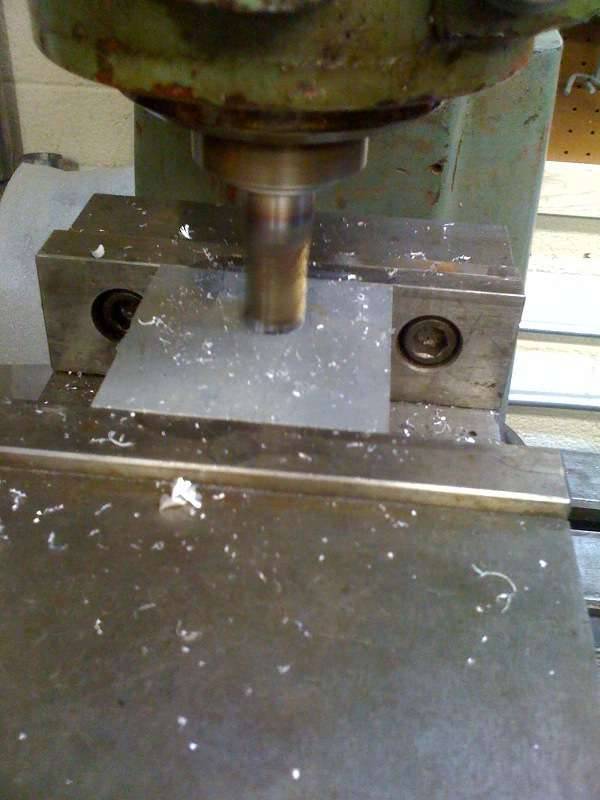 (36.42 KB) (36.42 KB)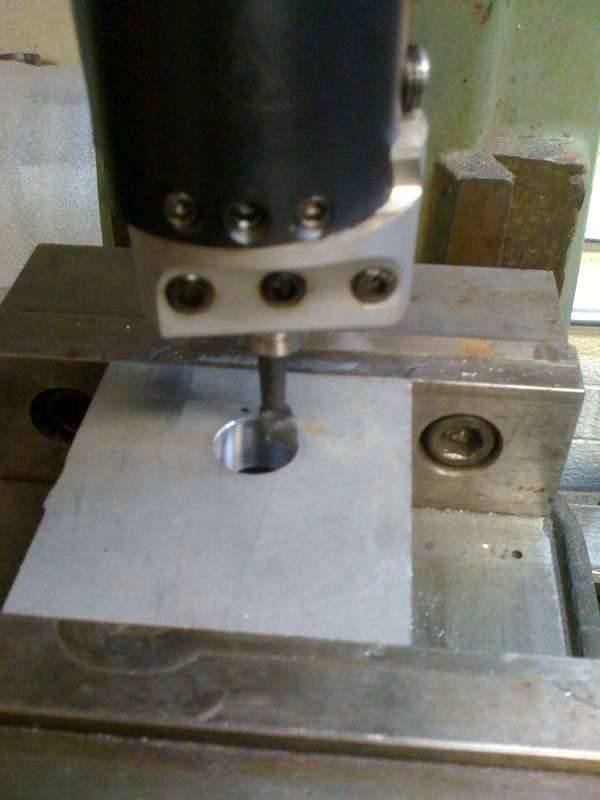 (47.39 KB) (47.39 KB)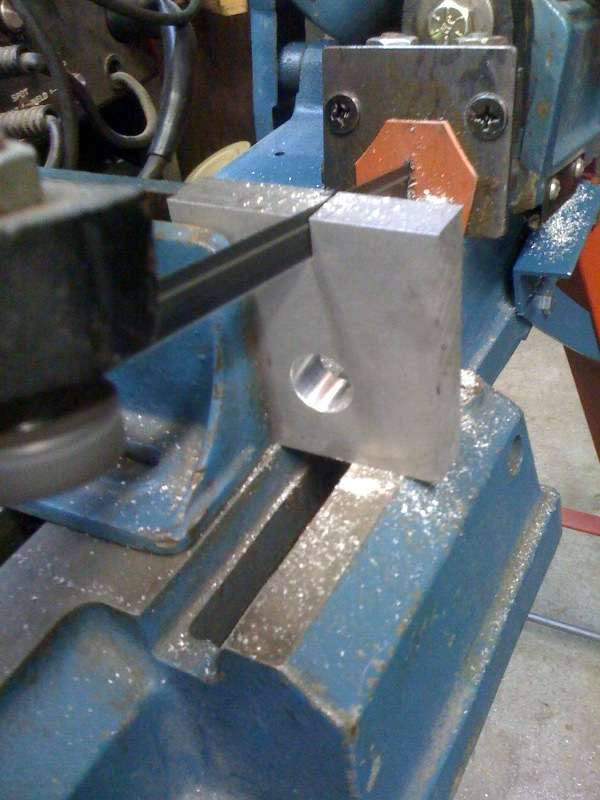 (34.31 KB) (34.31 KB)
Posted on: 2011/5/12 3:20
|
|||
|
||||
|
Re: 1940 Super 8 160 Model 1803 Project
|
||||
|---|---|---|---|---|
|
Forum Ambassador
|
The tool was opened just slightly by wedging open and used a large pair of circlip pliers to gently draw the tappet into the clamping fixture.
Once in the fixture I threaded a short 5/16 bolt in the other end of the cross drilled hole to give me a place to place a pair of sockets and extensions that held the fixture in position so the lifter body could be worked back and forth while the tappet was held in place. In the beginning, I didn't think the lifter body would move. It was unbelievably tight. Finally got it to begin moving. I quickly understood why the tappets break when trying to remove ballooned lifter bodys. I struggled for close to an hour and only got it up about .020". at this point I went in for dinner and thought on it for a bit. Went to the super market and bought dry ice to pack into the lifter body in hopes of a couple tenths shrinkage while the holding fixture warmed with a heat gun to possibly gain a few tenths. This seemed to help and the lifter body began of lift out of the tappet with rotating movement while pulling up and against the holding fixture. Patience, thought, and some home made tooling prevailed! I was sweating bullets for a while, wasn't sure it would extract. I can't begin to explain how pleased I am to succeeded in this phase of the planned repairs. After considerable clean up to ensure there were no contaminants the new lifter was test fitted. It slid right in and fit very well. What a delightful sight to see at 12:30 am in the morning. A much longer time in the garage after a day at work than planned. I don't know if anyone has done this, but I sure am happy to not have to remove the front of the engine, pan, and camshaft! If this is a new approach to an occasional problem I hope I have described it well enough for others to try. Attach file: (35.70 KB)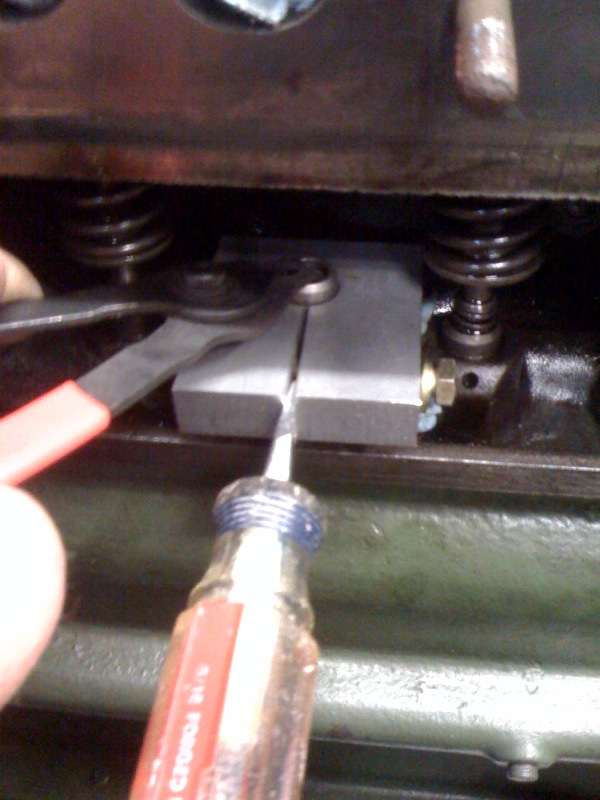 (34.13 KB) (34.13 KB) (33.99 KB) (33.99 KB)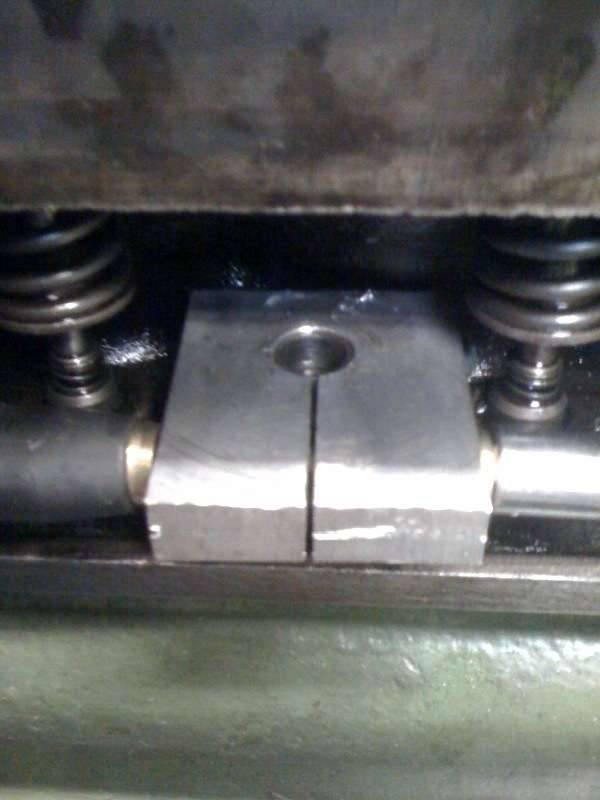 (32.08 KB) (32.08 KB)
Posted on: 2011/5/12 3:23
|
|||
|
||||
|
Re: 1940 Super 8 160 Model 1803 Project
|
||||
|---|---|---|---|---|
|
Home away from home

|
Congratulations! If my mechanic had access to your clever invention before he shattered the lifter, it might have saved me a bundle.
Posted on: 2011/5/12 8:30
|
|||
|
||||
|
Re: 1940 Super 8 160 Model 1803 Project
|
||||
|---|---|---|---|---|
|
Webmaster

|
Another quality tool produced by Jim's Wheel, Tire, Fabrication, CAM repair, and Moulton Farming Company!
Posted on: 2011/5/12 11:32
|
|||
|
-BigKev
1954 Packard Clipper Deluxe Touring Sedan -> Registry | Project Blog 1937 Packard 115-C Convertible Coupe -> Registry | Project Blog |
||||
|
||||
|
Re: 1940 Super 8 160 Model 1803 Project
|
||||
|---|---|---|---|---|
|
Forum Ambassador
|
Never enountered that lifter problem - I suppose it can occur by failure to check and adjust the lifter/valve stem clearance after a valve replacement or grind. In any case, clever tool and nice solution.
Great stuff, dry ice. I used to use it regularly when fitting new valve guides, and also on my Caribbean I had to use it in the crankshaft snout to reinstall the vibration damper.
Posted on: 2011/5/12 12:12
|
|||
|
||||


